tonyiweb
tonyiweb
ring chart中颜色怎么设置呢 **series: [{ name: "已完成", color:"#ffba00", data: 2, }, { name:"未完成", data: item.totalSignInTimes - 2, }],**
ring chart怎么使得圆环的起点是正上方,而不是右边呢 **extra:{ pie:{ offsetAngle:-90 } },**
 加入了等分的白色分割线 配置: drawWhiteLine:true, whiteLineCount:10 链接:https://github.com/MobileGo2015/wx-charts 完整代码: var drawProgress =function(that){ for(var index=0;index
我用这样可以清空内容的 //清空内容 editor._$textarea.val(""); 不过如果能有一个clear的方法更好啦。 3Q
主要配置点就是优图youtu的appid等信息,如果图片要上传到oss上,也需要配置,目前项目使用的是阿里云OSS。 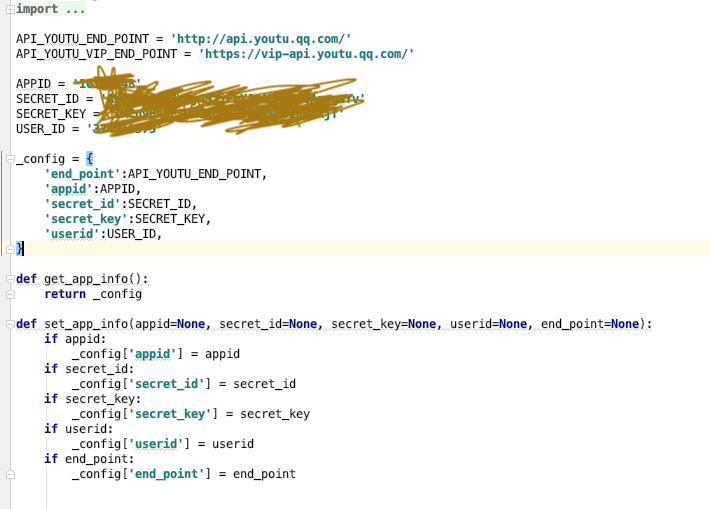 优图https://open.youtu.qq.com/#/open/experience/points, 是用来人脸关键点检测的,其它家比如百度,face++等都是可以用的,可以按需要修改。 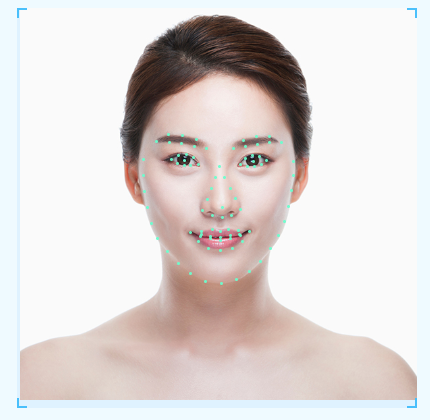
融合步骤: 1,检测及关键的定位。 获取模特图片,和待融合人脸图片(用户自己的人脸图片)的关键点定位数据。  2,对齐人脸角度  3,再次取点后融合脸部 基于https://www.learnopencv.com/face-morph-using-opencv-cpp-python/ 4,处理加工模特图片 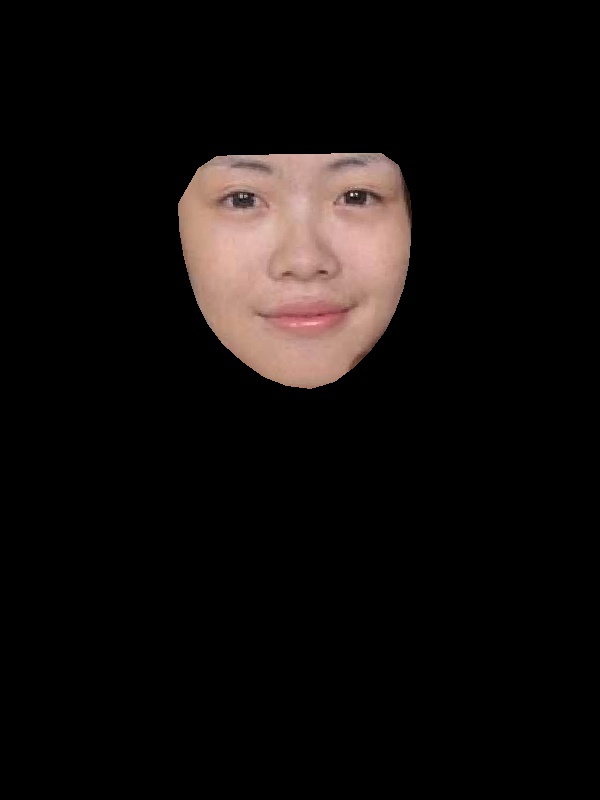 5,将融合后的脸部贴到模特图上 
可以在morph之前和之后分别进行一次correct_color。 发自我的iPhone ------------------ 原始邮件 ------------------ 发件人: leemengxing
上面的截图中  nohup python -u run.py& 这种运行方法是对的,你可以用cat nohup.out来查看结果。  这个提示是说没有安装tornado, 需要先安装。
体验页面如下 https://worldcup.pro365.cn/index.html
原因是在运行一次之后会把这里的dst_image删除掉。为什么要这样做呢,是因为,要融合的这个图片下载过多之后会占用本地内存,所以在完成融合操作之后会删除掉这张图片。 # 生成不同融合度的图片 # images.append(url) output_image = merge_one(src_img,dst_img, 1,dst_matrix, dst_points) self.write({"imageUrl": output_image}) tempImage = str(dst_img) if os.path.exists(tempImage): # 删除文件 os.remove(tempImage) 所以你在运行第二次的时候,其实是没有smallgirl.jpg这张图片的。补上这张图片就可以。 为避免后面出现这种情况,可以去掉最后删除dst_image这个过程。