Inkplate-6-micropython
 Inkplate-6-micropython copied to clipboard
Micropython driver for Inkplate 6
Inkplate 6 micropython module
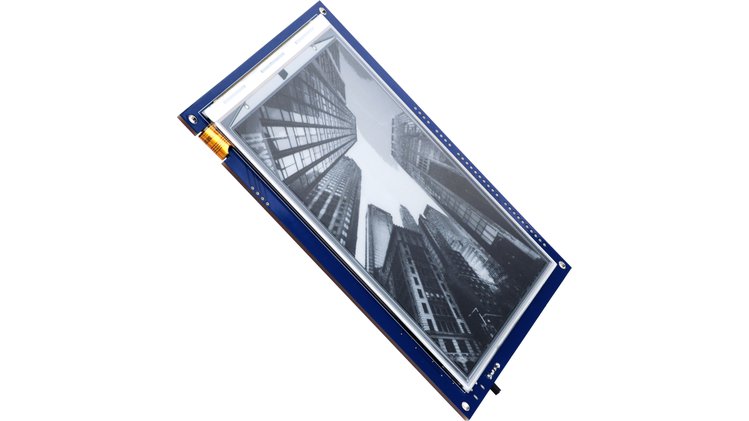
Micropython for all-in-one e-paper display Inkplate 6 can be found in this repo. Inkplate 6 is a powerful, Wi-Fi enabled ESP32 based six-inch e-paper display – recycled from a Kindle e-reader. Its main feature is simplicity. Just plug in a USB cable, open Arduino IDE, and change the contents of the screen with few lines of code. Learn more about Inkplate 6 on official website. Inkplate was crowdfunded on Crowd Supply.
Original effort done by tve.
Features
- Simple graphics class for monochrome use of the e-paper display
- Simple graphics class for 2 bits per pixel greyscale use of the e-paper display
- Support for partial updates (currently only on the monochrome display)
- Access to touch sensors
- Everything in pure python with screen updates virtually as fast as the Arduino C driver
- Bitmap drawing, although really slow one
Getting started with micropython on Inkplate 6
-
Flash MicroPython firmware supplied, or from http://micropython.org/download/esp32/ .
-
Run
esptool.py --port /dev/cu.usbserial-1420 erase_flashto erase esp32 flash and then
esptool.py --chip esp32 --port /dev/cu.usbserial-1420 write_flash -z 0x1000 esp32spiram-idf4-20191220-v1.12.binto flash supplied firmware.
If you don't have esptool.py installed, install it from here: https://github.com/espressif/esptool.
-
Copy library files to your board, something like:
python3 pyboard.py --device /dev/ttyUSB0 -f cp mcp23017.py sdcard.py inkplate.py image.py gfx.py gfx_standard_font_01.py :(You can find
pyboard.pyin the MicroPython tools directory or just download it from GitHub: https://raw.githubusercontent.com/micropython/micropython/master/tools/pyboard.py) -
Run
example.py:python3 pyboard.py --device /dev/ttyUSB0 example.py -
You can run our other 2 examples, showing how to use the Sd card and network class.
Examples
The repo contains many examples which can demonstrate the Inkplate capabilites.
- example.py -> demonstrates basic drawing capabilites, as well as drawing some images
- exampleNetwork.py -> demonstrates connection to WiFi network while drawing the HTTP request response on the screen
- exampleSd.py -> demonstrates reading files and images from SD card
Battery power
Inkplate 6 has two options for powering it. First one is obvious - USB port at side of the board. Just plug any micro USB cable and you are good to go. Second option is battery. Supported batteries are standard Li-Ion/Li-Poly batteries with 3.7V nominal voltage. Connector for the battery is standard 2.00mm pitch JST connector. The onboard charger will charge the battery with 500mA when USB is plugged at the same time. You can use battery of any size or capacity if you don't have a enclosure. If you are using our enclosure, battery size shouldn't exceed 90mm x 40mm (3.5 x 1.57 inch) and 5mm (0.19 inch) in height. This battery is good fit for the Inkplate.
Arduino?
Looking for Arduino library? Look here!
Open-source
All of Inkplate-related development is open-sourced:
Where to buy & other
Inkplate 6 is available for purchase via:
Inkplate 6 is open-source. If you are looking for hardware design of the board, check the Hardware repo. You will find 3D printable enclosure there, as well as detailed dimensions. In this repo you will find code for driving the ED060SC7 e-paper display used by Inkplate.
For all questions and issues, please use our forum to ask an question. For sales & collaboration, please reach us via e-mail.