Blowrage2
 Blowrage2 copied to clipboard
A bridge crossing game challange ver 2.0
Blowrage2
A bridge crossing game challange ver 2.0
Watch gameplay here YOUTUBE
Built With
- UNITY
- C#
game working links
- GitHub Github hosted
- itch itch.io hosted
- Download for windows
Development setup
Install unity in your WINDOWS
open unity -> open project -> open sourceCode folder
Start development
Installation
Windows & Linux:
git clone https://github.com/prateek76/Blowrage2.git
open unity -> open project -> open sourceCode folder
go to file -> build
that's it
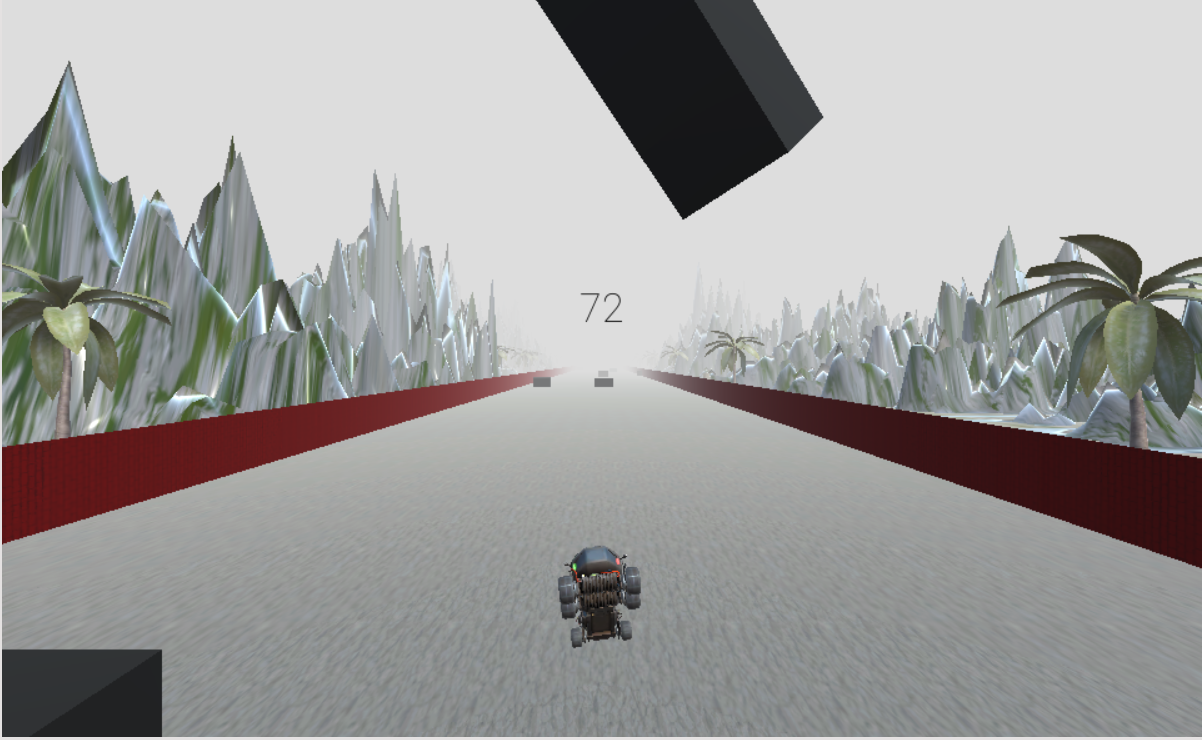
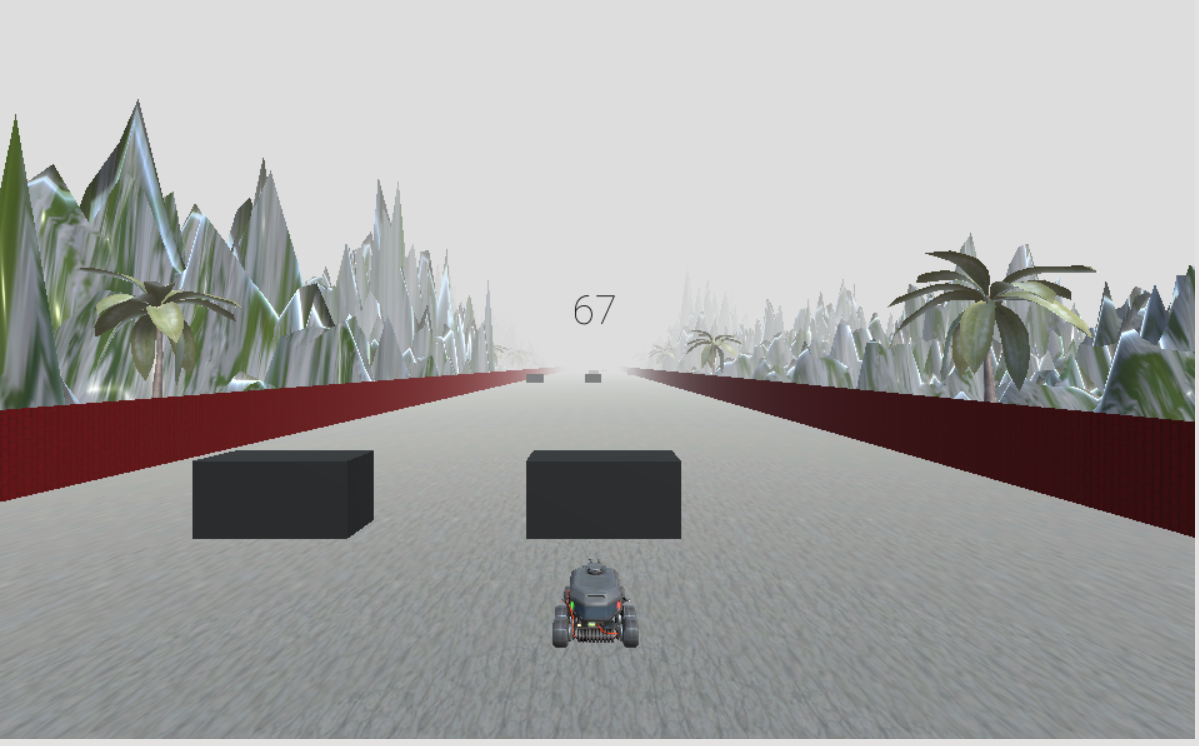
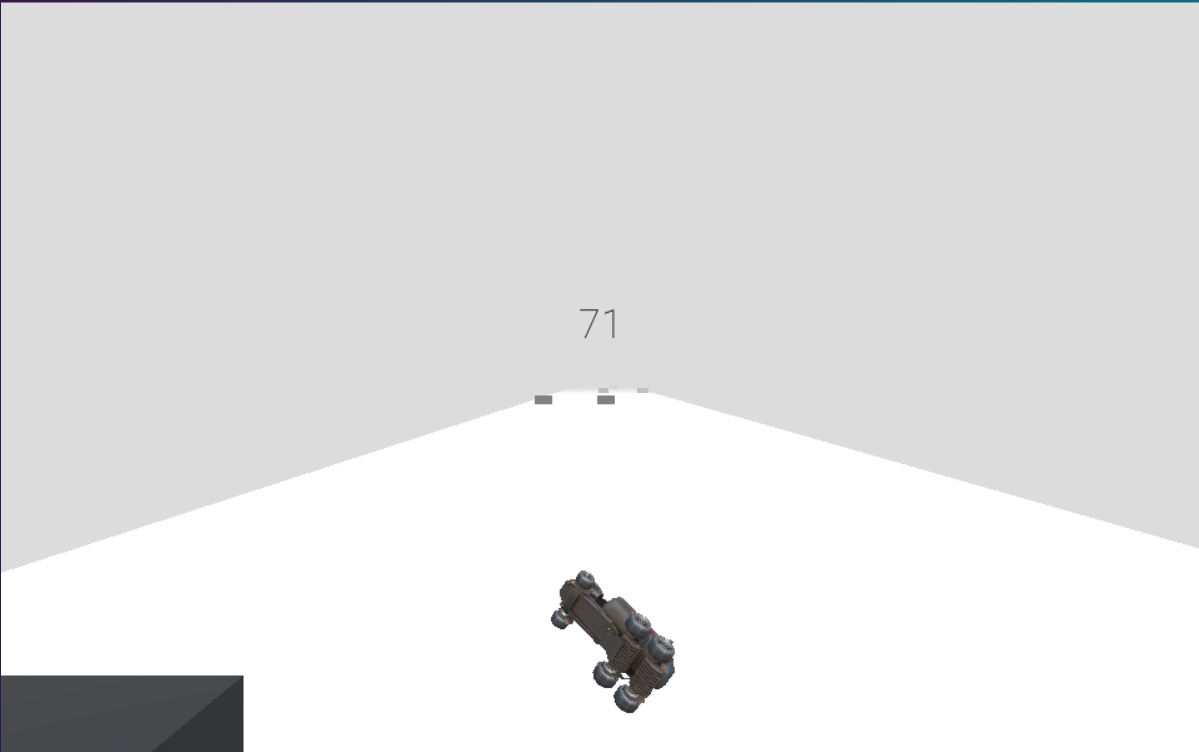
Screenshots


Authors
- Prateek
101
-
Client/Server model using tcp nc -l 1234 //To listen nc 127.0.0.1 1234 // To send
-
Client Server model using udp nc -u -l 1234 nc -u 172.20.34.108 1234
-
Data transfer using tcp nc -l port > received file nc ip port < sending file
-
Data transfer using udp nc -u -l port > received file nc -u ip port < sending file
-
port scanning nc -z host.example.com 20-30
-
Open a TCP connection to port 42 of host.example.com, using port 31337 as the source port, with a timeout of 5 seconds: $ netcat -p 31337 -w 5 host.example.com 42
-
Open a UDP connection to port 53 of host.example.com: $ netcat -u host.example.com 53
-
Open a TCP connection to port 42 of host.example.com using 10.1.2.3 as the IP for the local end of the connection: $ netcat -s 10.1.2.3 host.example.com 42
9.Create and listen on a UNIX-domain stream socket: $ netcat -lU /var/tmp/dsocket
-
Connect to port 42 of host.example.com via an HTTP proxy at 10.2.3.4, port 8080. This example could also be used by ssh; see the ProxyCommand directive in ssh_config(5) for more information. $ netcat -x10.2.3.4:8080 -Xconnect host.example.com 42
-
The same example again, this time enabling proxy authentication with username ``ruser'' if the proxy requires it: $ netcat -x10.2.3.4:8080 -Xconnect -Pruser host.example.com 42