esp-idf-st7789
 esp-idf-st7789 copied to clipboard
ST7789 Driver for esp-idf
esp-idf-st7789
ST7789 Driver for esp-idf
The demo video by Dmitry Andreev.
https://www.youtube.com/watch?v=aOyaK0pUiPk&t
Software requirements
esp-idf v4.4 or later.
This is because this version supports ESP32-C3.
Installation
git clone https://github.com/nopnop2002/esp-idf-st7789
cd esp-idf-st7789/
idf.py set-target {esp32/esp32s2/esp32s3/esp32c3}
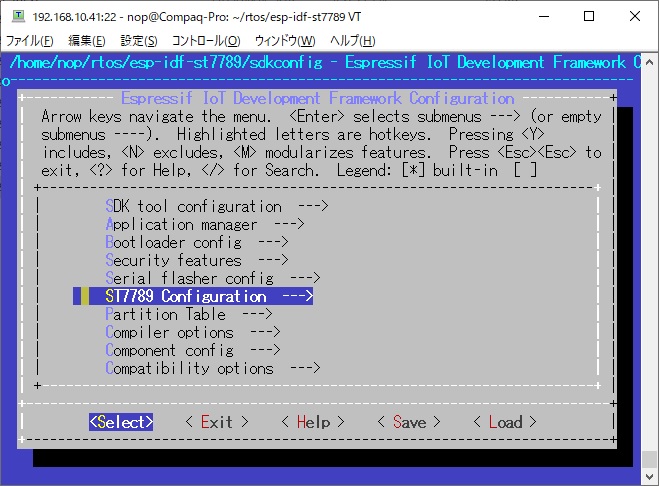
idf.py menuconfig
idf.py flash
Note for ESP32-S2
The tjpgd library is not included in the ESP32-S2 ROM because the ROM of the ESP32-S2 is small.
Therefore, JPEG files cannot be displayed.
Note for ESP32-C3
For some reason, there are development boards that cannot use GPIO06, GPIO08, GPIO09, GPIO19 for SPI clock pins.
According to the ESP32C3 specifications, these pins can also be used as SPI clocks.
I used a raw ESP-C3-13 to verify that these pins could be used as SPI clocks.
Configuration
You have to set this config value with menuconfig.
- CONFIG_WIDTH
- CONFIG_HEIGHT
- CONFIG_OFFSETX
- CONFIG_OFFSETY
- CONFIG_MOSI_GPIO
- CONFIG_SCLK_GPIO
- CONFIG_CS_GPIO
- CONFIG_DC_GPIO
- CONFIG_RESET_GPIO
- CONFIG_BL_GPIO
Generic ST7789 1.3 Inch
There is 2 kinds of marking.
The pin marking is written as SCL/SDA, so it looks like i2c, but it is SPI.


MISO is not use.


BMP file

JPEG file(ESP32/ESP32-C3)

PNG file

QR-CODE

Generic ST7789 1.14 Inch


About 7Pin breakout
There are two types of ST7789 breakouts.
One has a CS pin and one does not have a CS pin.
I think there is an electrical problem around reset circuit in the breakout without the CS pin.
I inserted a 100 ohm resistor between Vcc and RESET.

Perhaps the reset circuit requires a lot of current.
Ultimately I ended up using the following circuit.
And press the reset button several times.
ESP32 3V3  -------------------------------+
                                          |
                                          | Emitter
                                         /
                                        /
ESP32 RES  ------------R(2.2K)---------|    S8080
                                Base    \
                                         \
                                          | Collector
                                          |
ST7789 RST -------------------------------+
                                          |
                                          |
                                          |
                                          |
ESP32 GND  ------------R(220)-------------+
If you know the cause, please let me know.
LILYGO TTGO 1.14 Inch


LILYGO TTGO T8 ESP32-S2


JPEG Decoder
The ESP-IDF component includes Tiny JPEG Decompressor.
The document of Tiny JPEG Decompressor is here.
This can reduce the image to 1/2 1/4 1/8.
PNG Decoder
The ESP-IDF component includes part of the miniz library, such as mz_crc32.
But it doesn't support all of the miniz.
The document of miniz library is here.
And I ported the pngle library from here.
This can reduce the image to any size.
Font File
You can add your original fonts.
The format of the font file is the FONTX format.
Your font file is put in font directory.
Your font file is uploaded to SPIFFS partition using meke flash.
Please refer this page about FONTX format.
Font File Editor(FONTX Editor)
There is a font file editor.
This can be done on Windows 10.
Developer page is here.

This library uses the following as default fonts:
- font/ILGH16XB.FNT // 8x16Dot Gothic
- font/ILGH24XB.FNT // 12x24Dot Gothic
- font/ILGH32XB.FNT // 16x32Dot Gothic
- font/ILMH16XB.FNT // 8x16Dot Mincyo
- font/ILMH24XB.FNT // 12x24Dot Mincyo
- font/ILMH32XB.FNT // 16x32Dot Mincyo
From 0x00 to 0x7f, the characters image of Alphanumeric are stored.
From 0x80 to 0xff, the characters image of Japanese are stored.
Changing this file will change the font.
How to build your own font file
step1)
download fontxedit.exe.
step2)
download BDF font file from Internet.
I downloaded from here.
fontxedit.exe can ONLY import Monospaced bitmap fonts file.
Monospaced bitmap fonts can also be downloaded here.
step3)
import the BDF font file into your fontxedit.exe.
this tool can convert from BDF to FONTX.

step4)
adjust font size.

step5)
check font pattern.

step6)
save as .fnt file from your fontedit.exe.

step7)
upload your font file to $HOME/esp-idf-st7789/fonts directory.
step8)
add font to use
FontxFile fx32L[2];
InitFontx(fx32L,"/spiffs/LATIN32B.FNT",""); // 16x32Dot LATIN
Font file that From 0x80 to 0xff, the characters image of Japanese are stored.

Font file that From 0x80 to 0xff, the characters image of Latin are stored.

SPI BUS selection

The ESP32 series has three SPI BUSs.
SPI1_HOST is used for communication with Flash memory.
You can use SPI2_HOST and SPI3_HOST freely.
When you use SDSPI(SD Card via SPI), SDSPI uses SPI2_HOST BUS.
When using this module at the same time as SDSPI or other SPI device using SPI2_HOST, it needs to be changed to SPI3_HOST.
When you don't use SDSPI, both SPI2_HOST and SPI3_HOST will work.
Previously it was called HSPI_HOST / VSPI_HOST, but now it is called SPI2_HOST / SPI3_HOST.
External input module
You can use these if you need some input.
-
MPR121 Capacitive Touch switch
https://github.com/nopnop2002/esp-idf-mpr121 -
TTP229 Capacitive Touch switch
https://github.com/nopnop2002/esp-idf-ttp229