UIOnboarding
 UIOnboarding copied to clipboard
Apple-esque animated welcome screen for iOS and iPadOS. Configurable.
UIOnboarding


UIOnboarding is an animated, configurable welcome screen in a Swift Package – inspired by Apple's Stocks app.
It supports iPhone, iPad and iPod touch running iOS and iPadOS 13 or higher, including core accessibility features such as Dynamic Type, Reduce Motion and VoiceOver for all devices – Split View and Slide Over for iPad.
Developed and designed by Lukman Aščić.
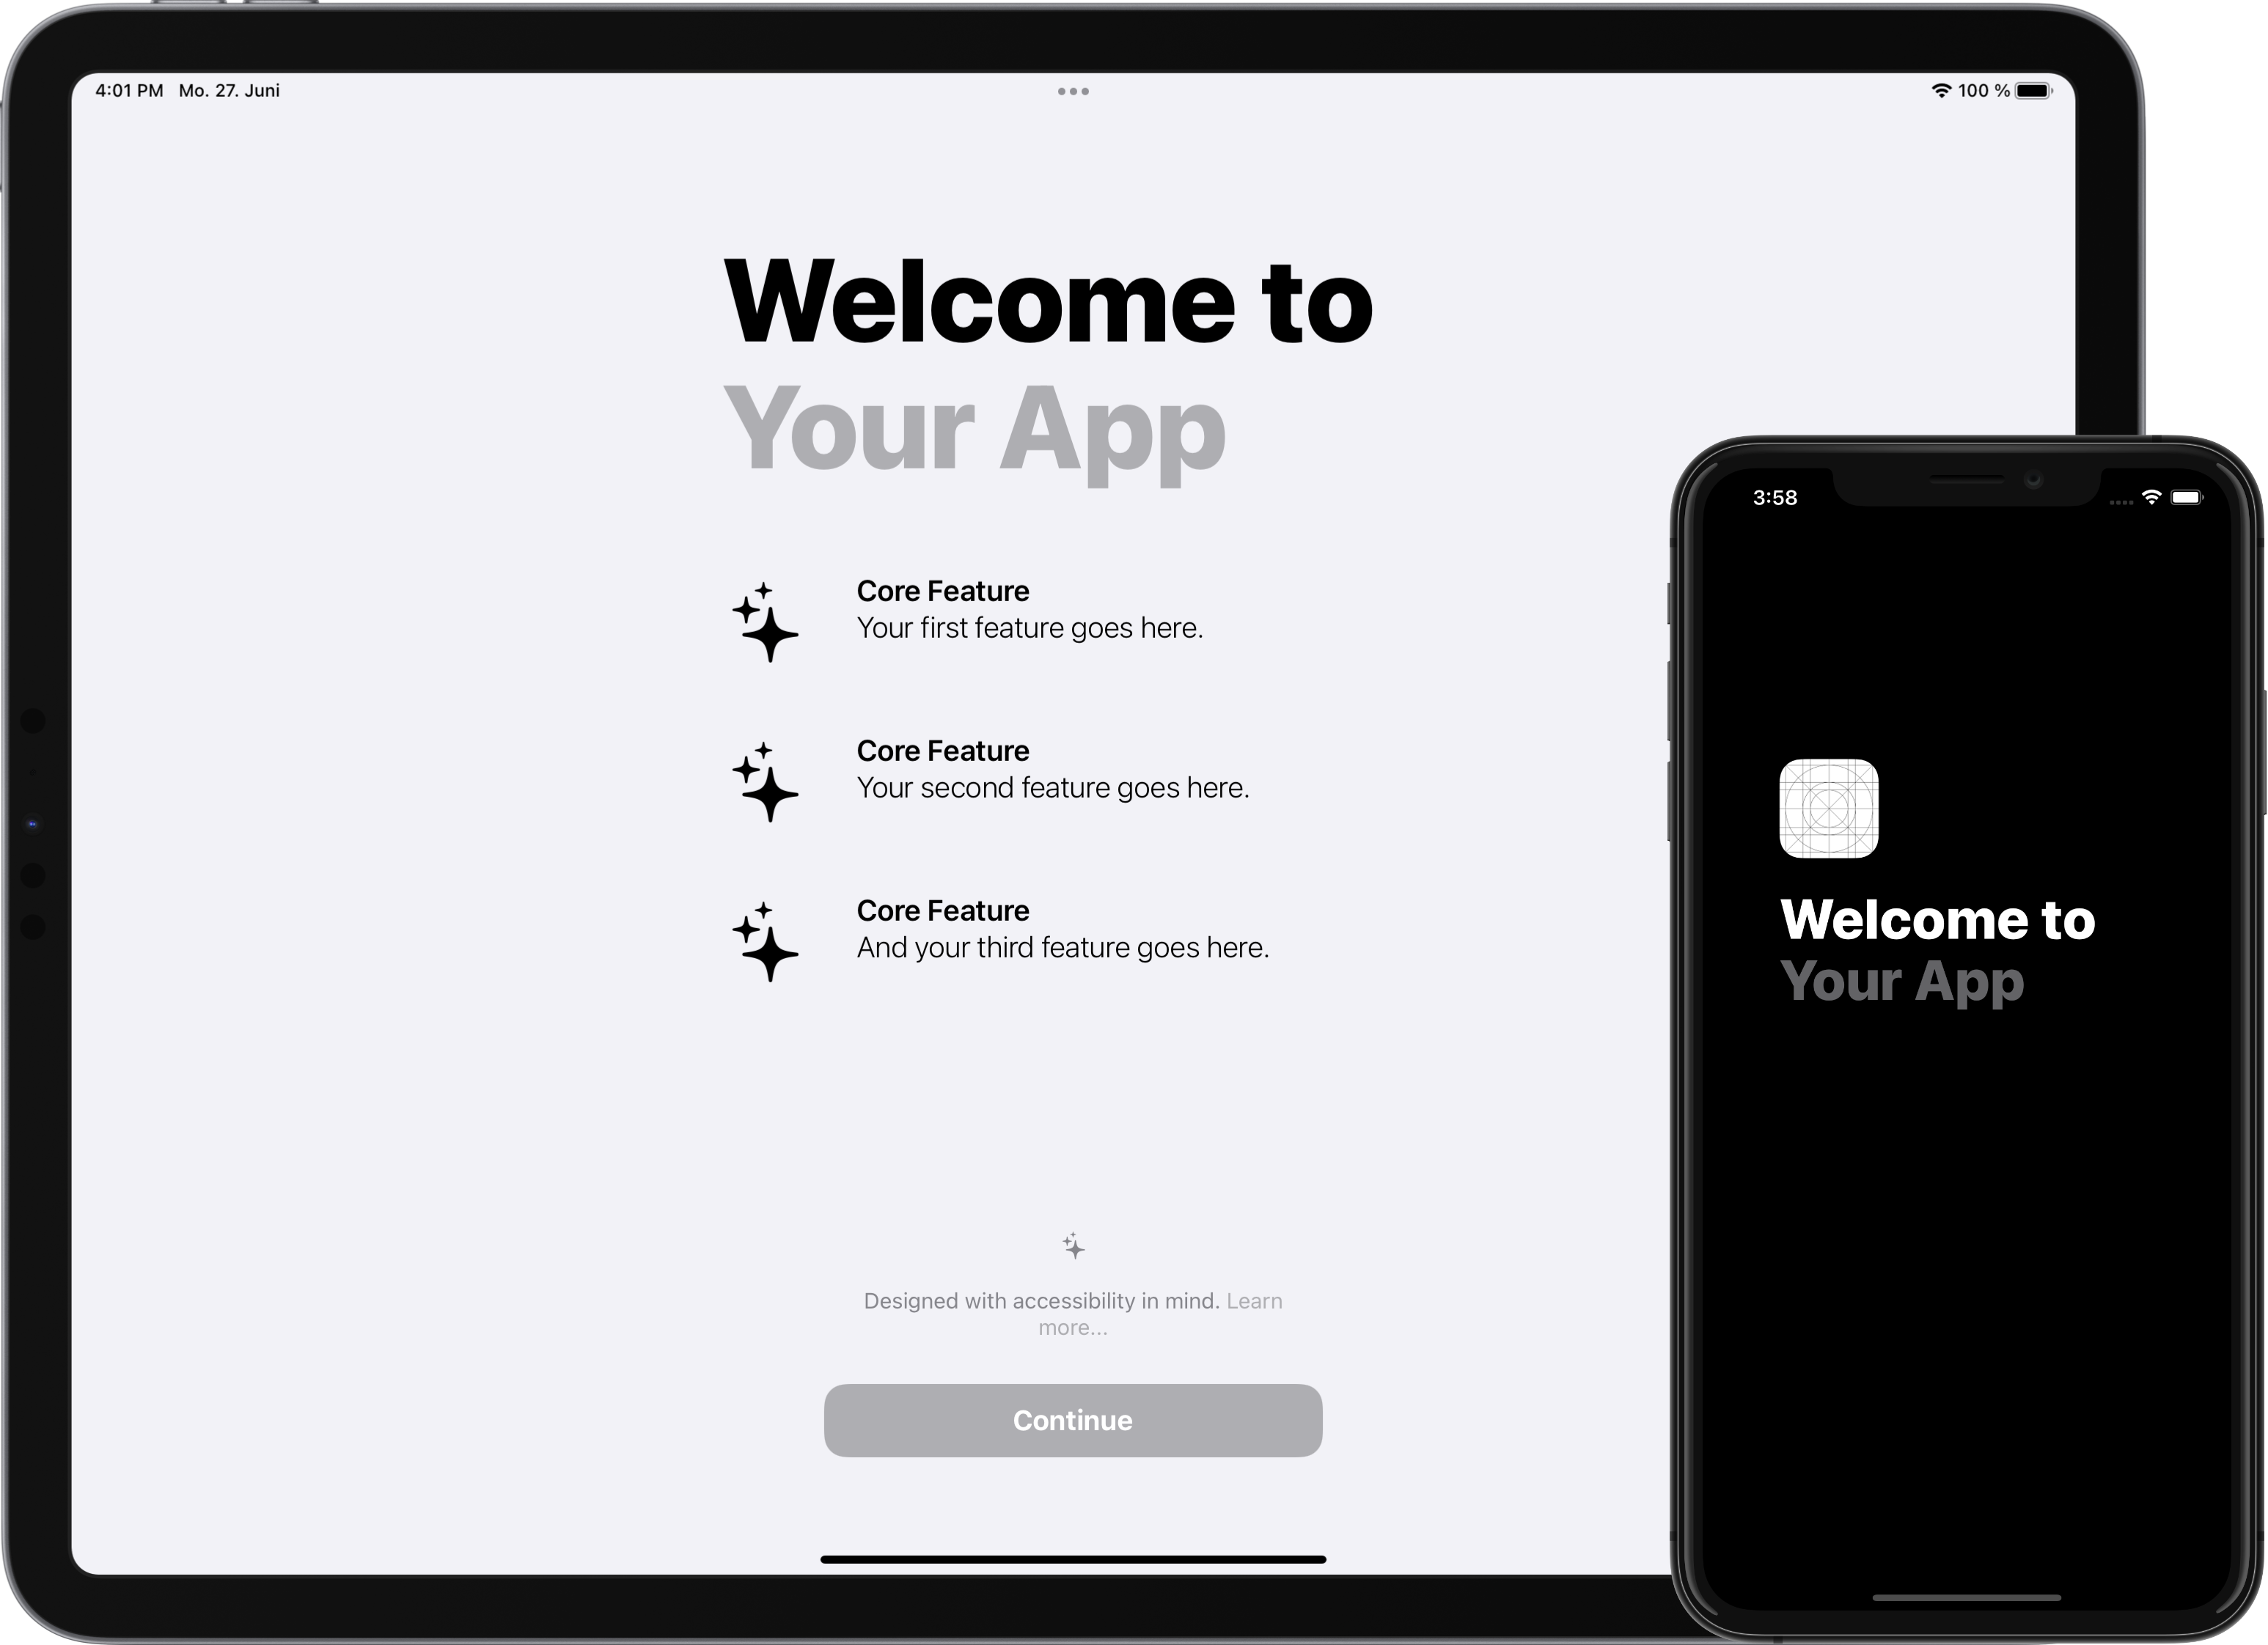
Table of Contents
-
Previews
- iPhone and iPod touch
-
iPad
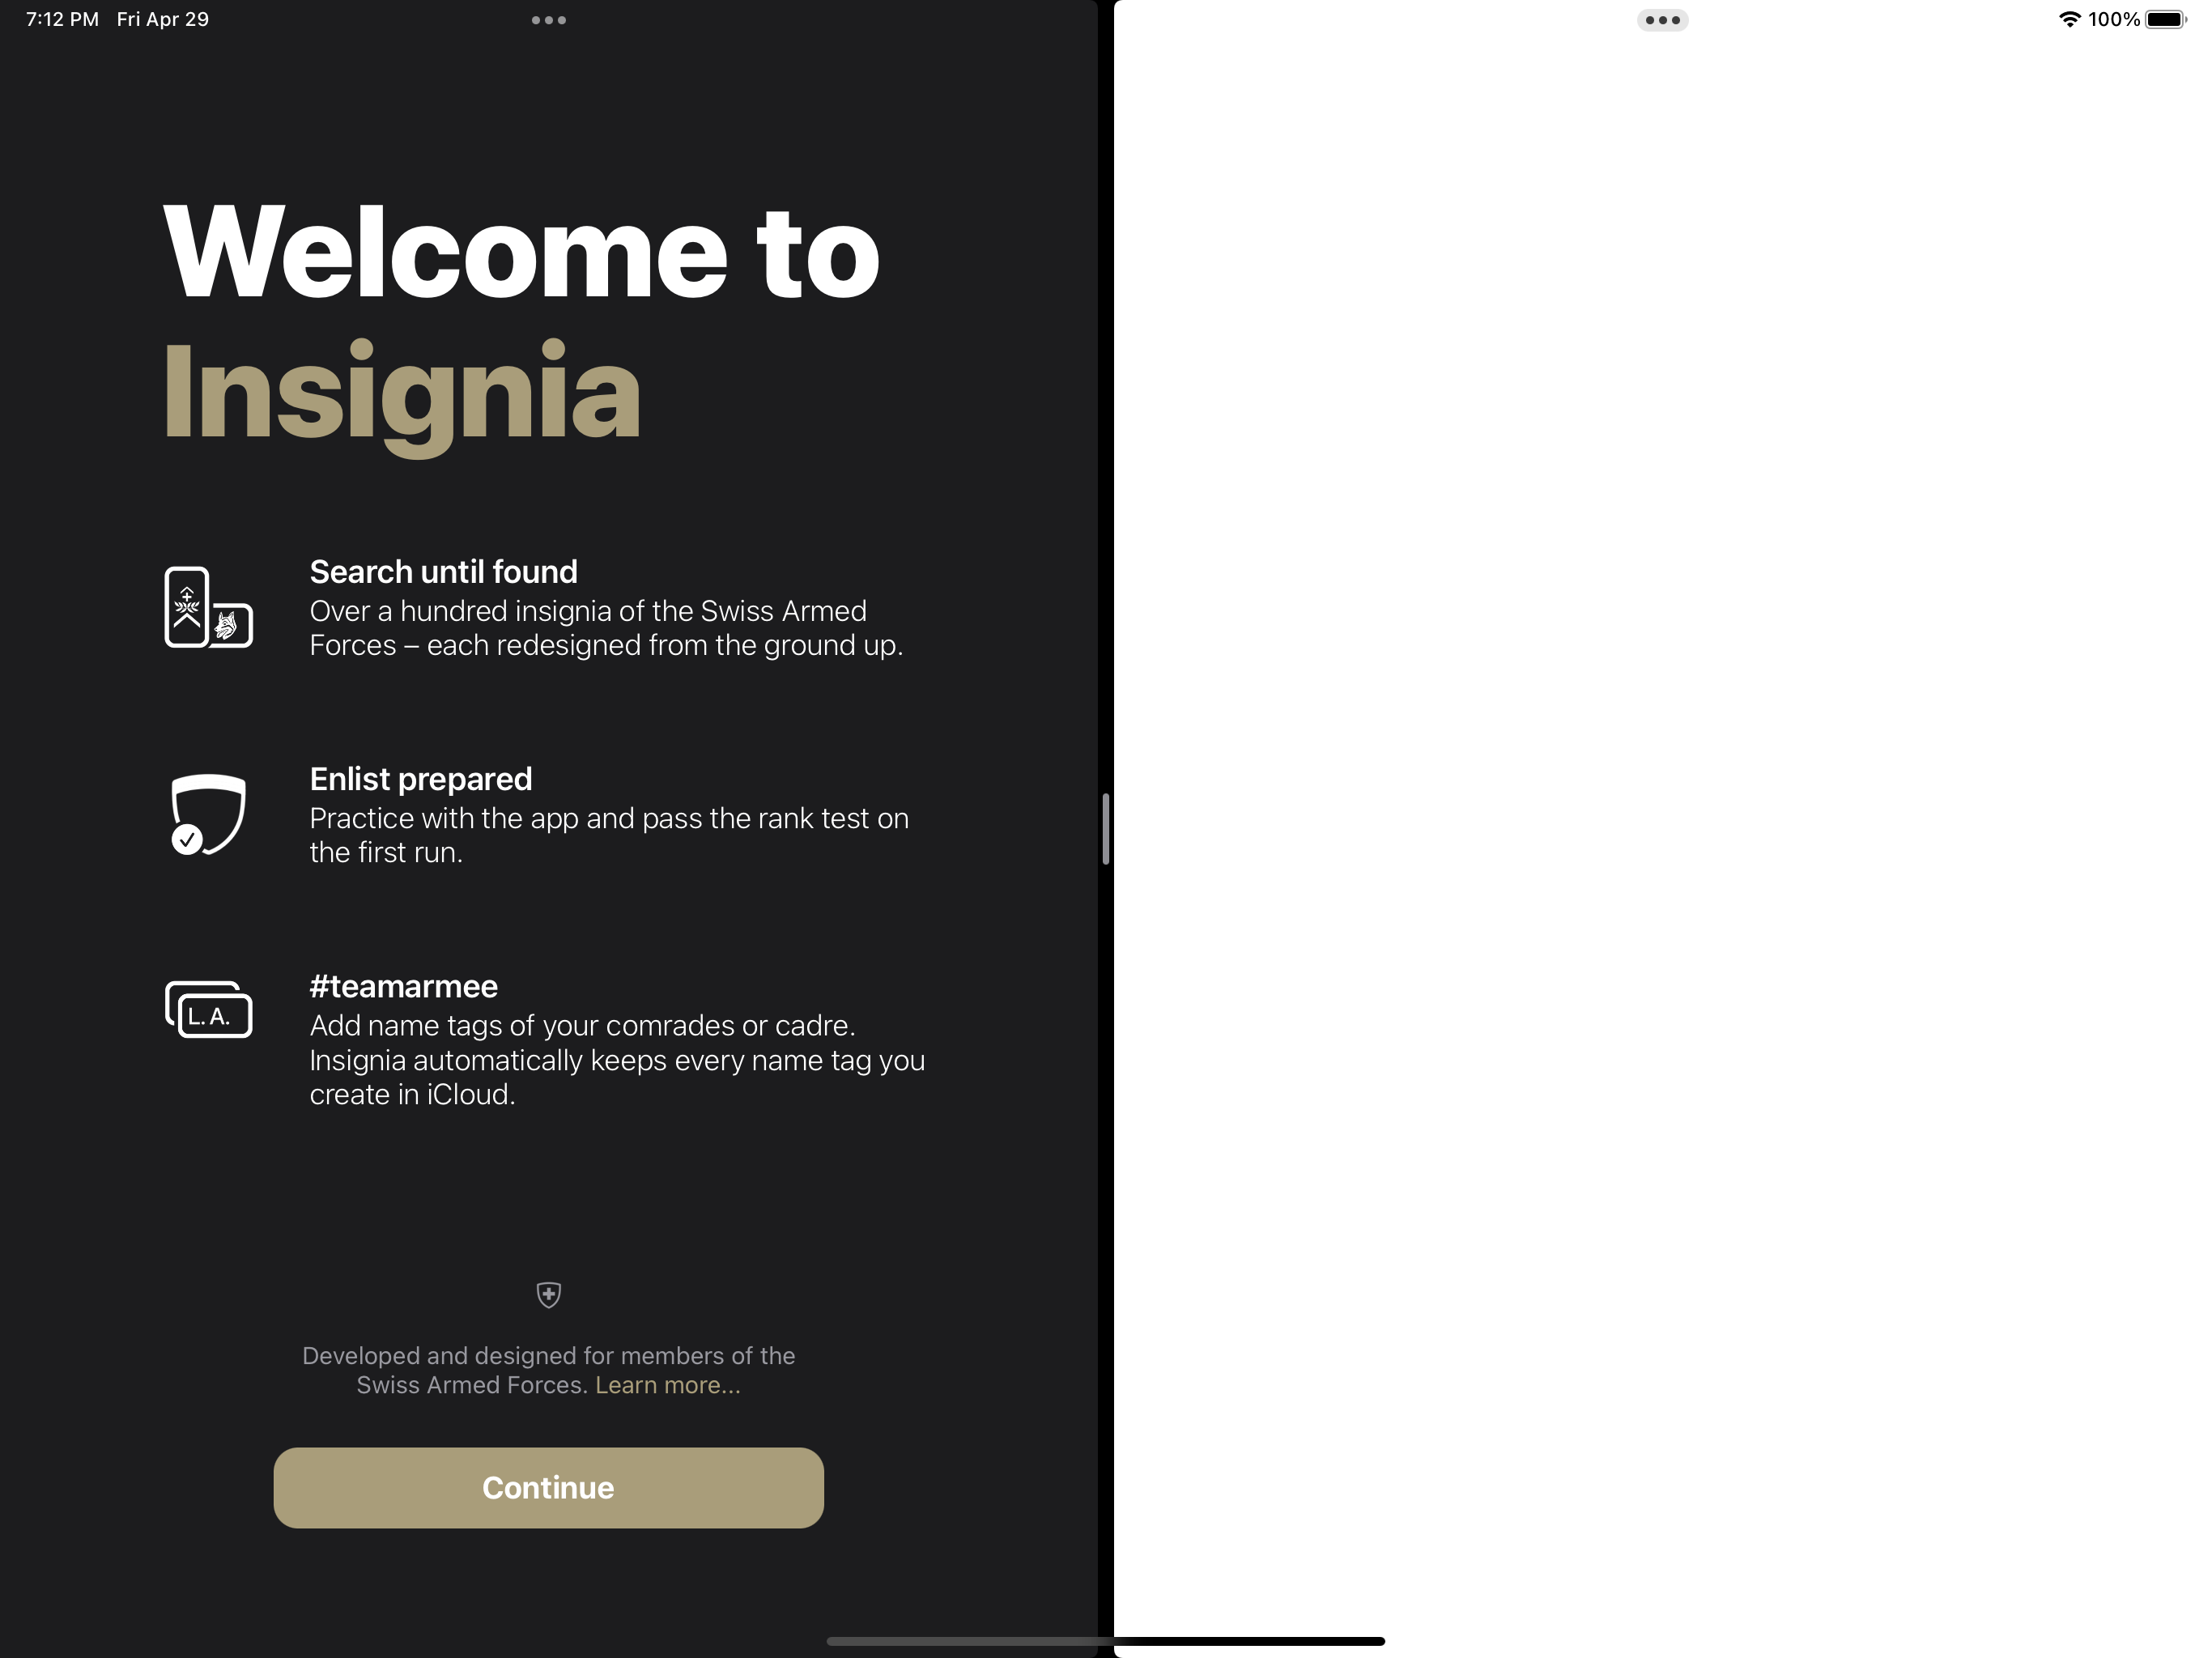
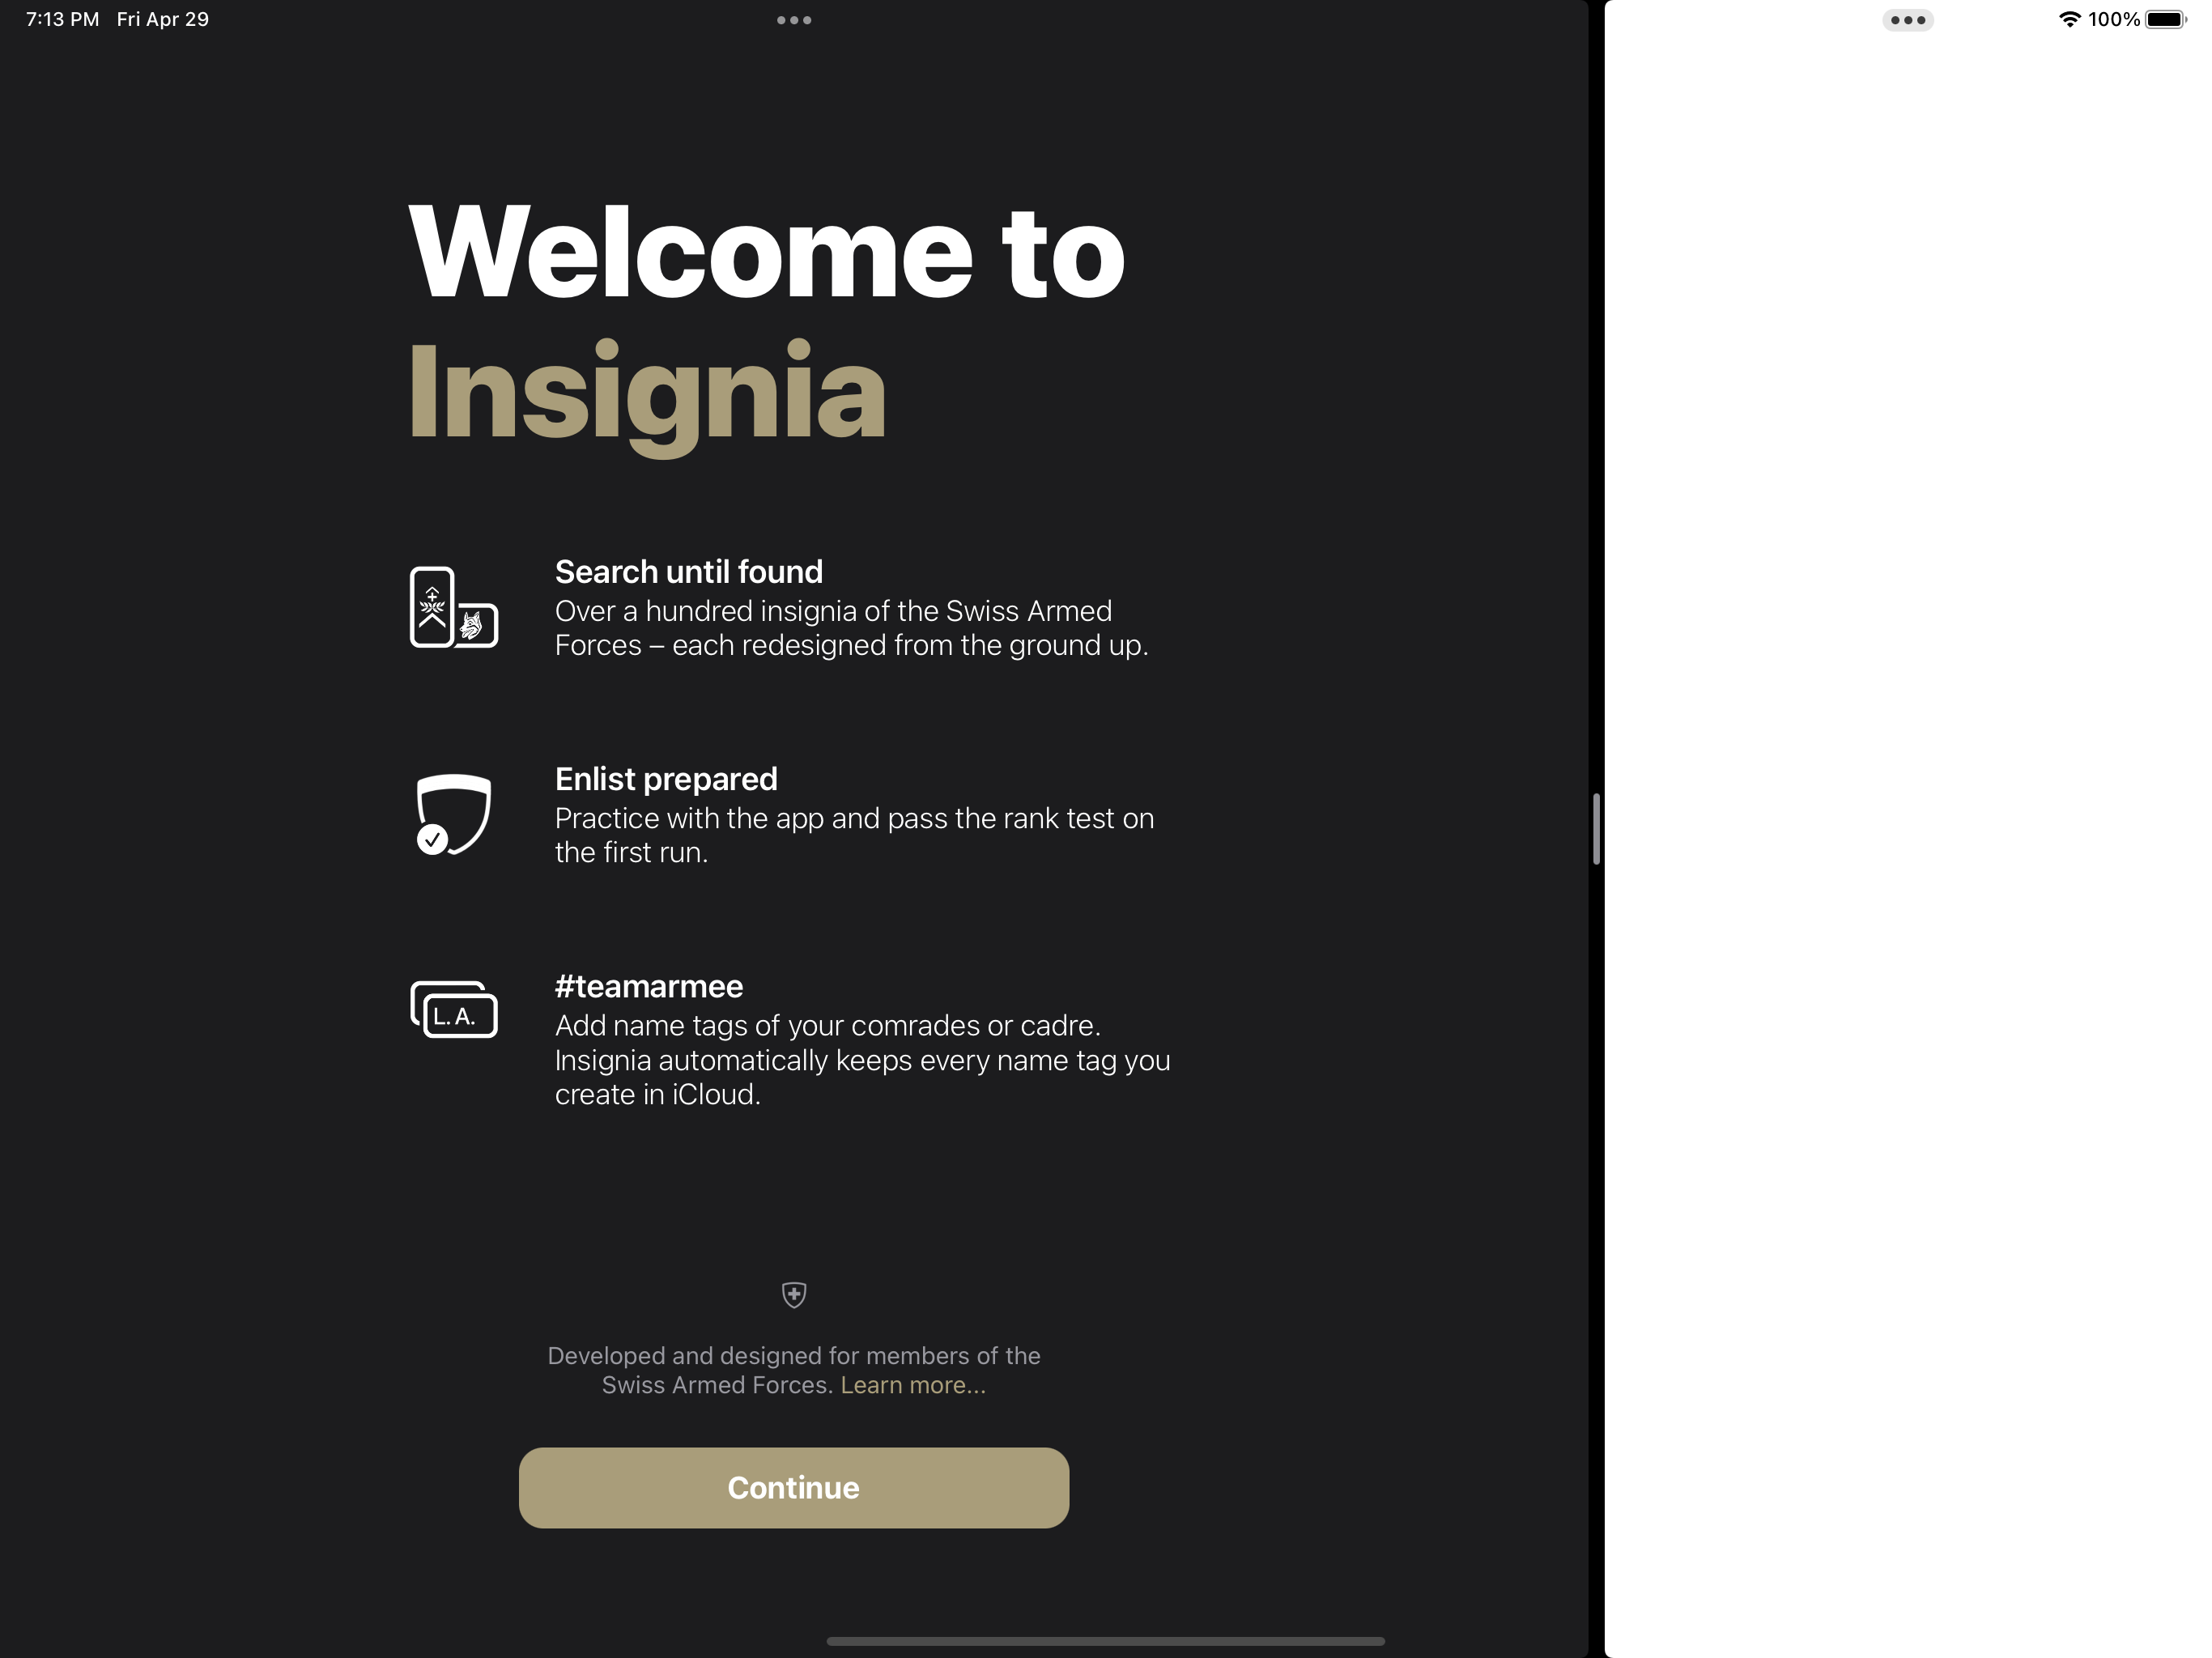
- Split View
- Slide Over
- Accessibility
-
Installation
- Swift Package Manager
- Demo Project Download
-
Usage
- UIKit
-
SwiftUI
- Setup
-
Configuration
- Localization (Welcome Title)
- Extension
- Further Setup
- Further Readings
- Copyright
Previews
iPhone and iPod touch
| Default 6.5" | Default 4" |
|---|---|
 |
 |
iPad
| 12.9" Portrait | 12.9" Landscape |
|---|---|
 |
 |
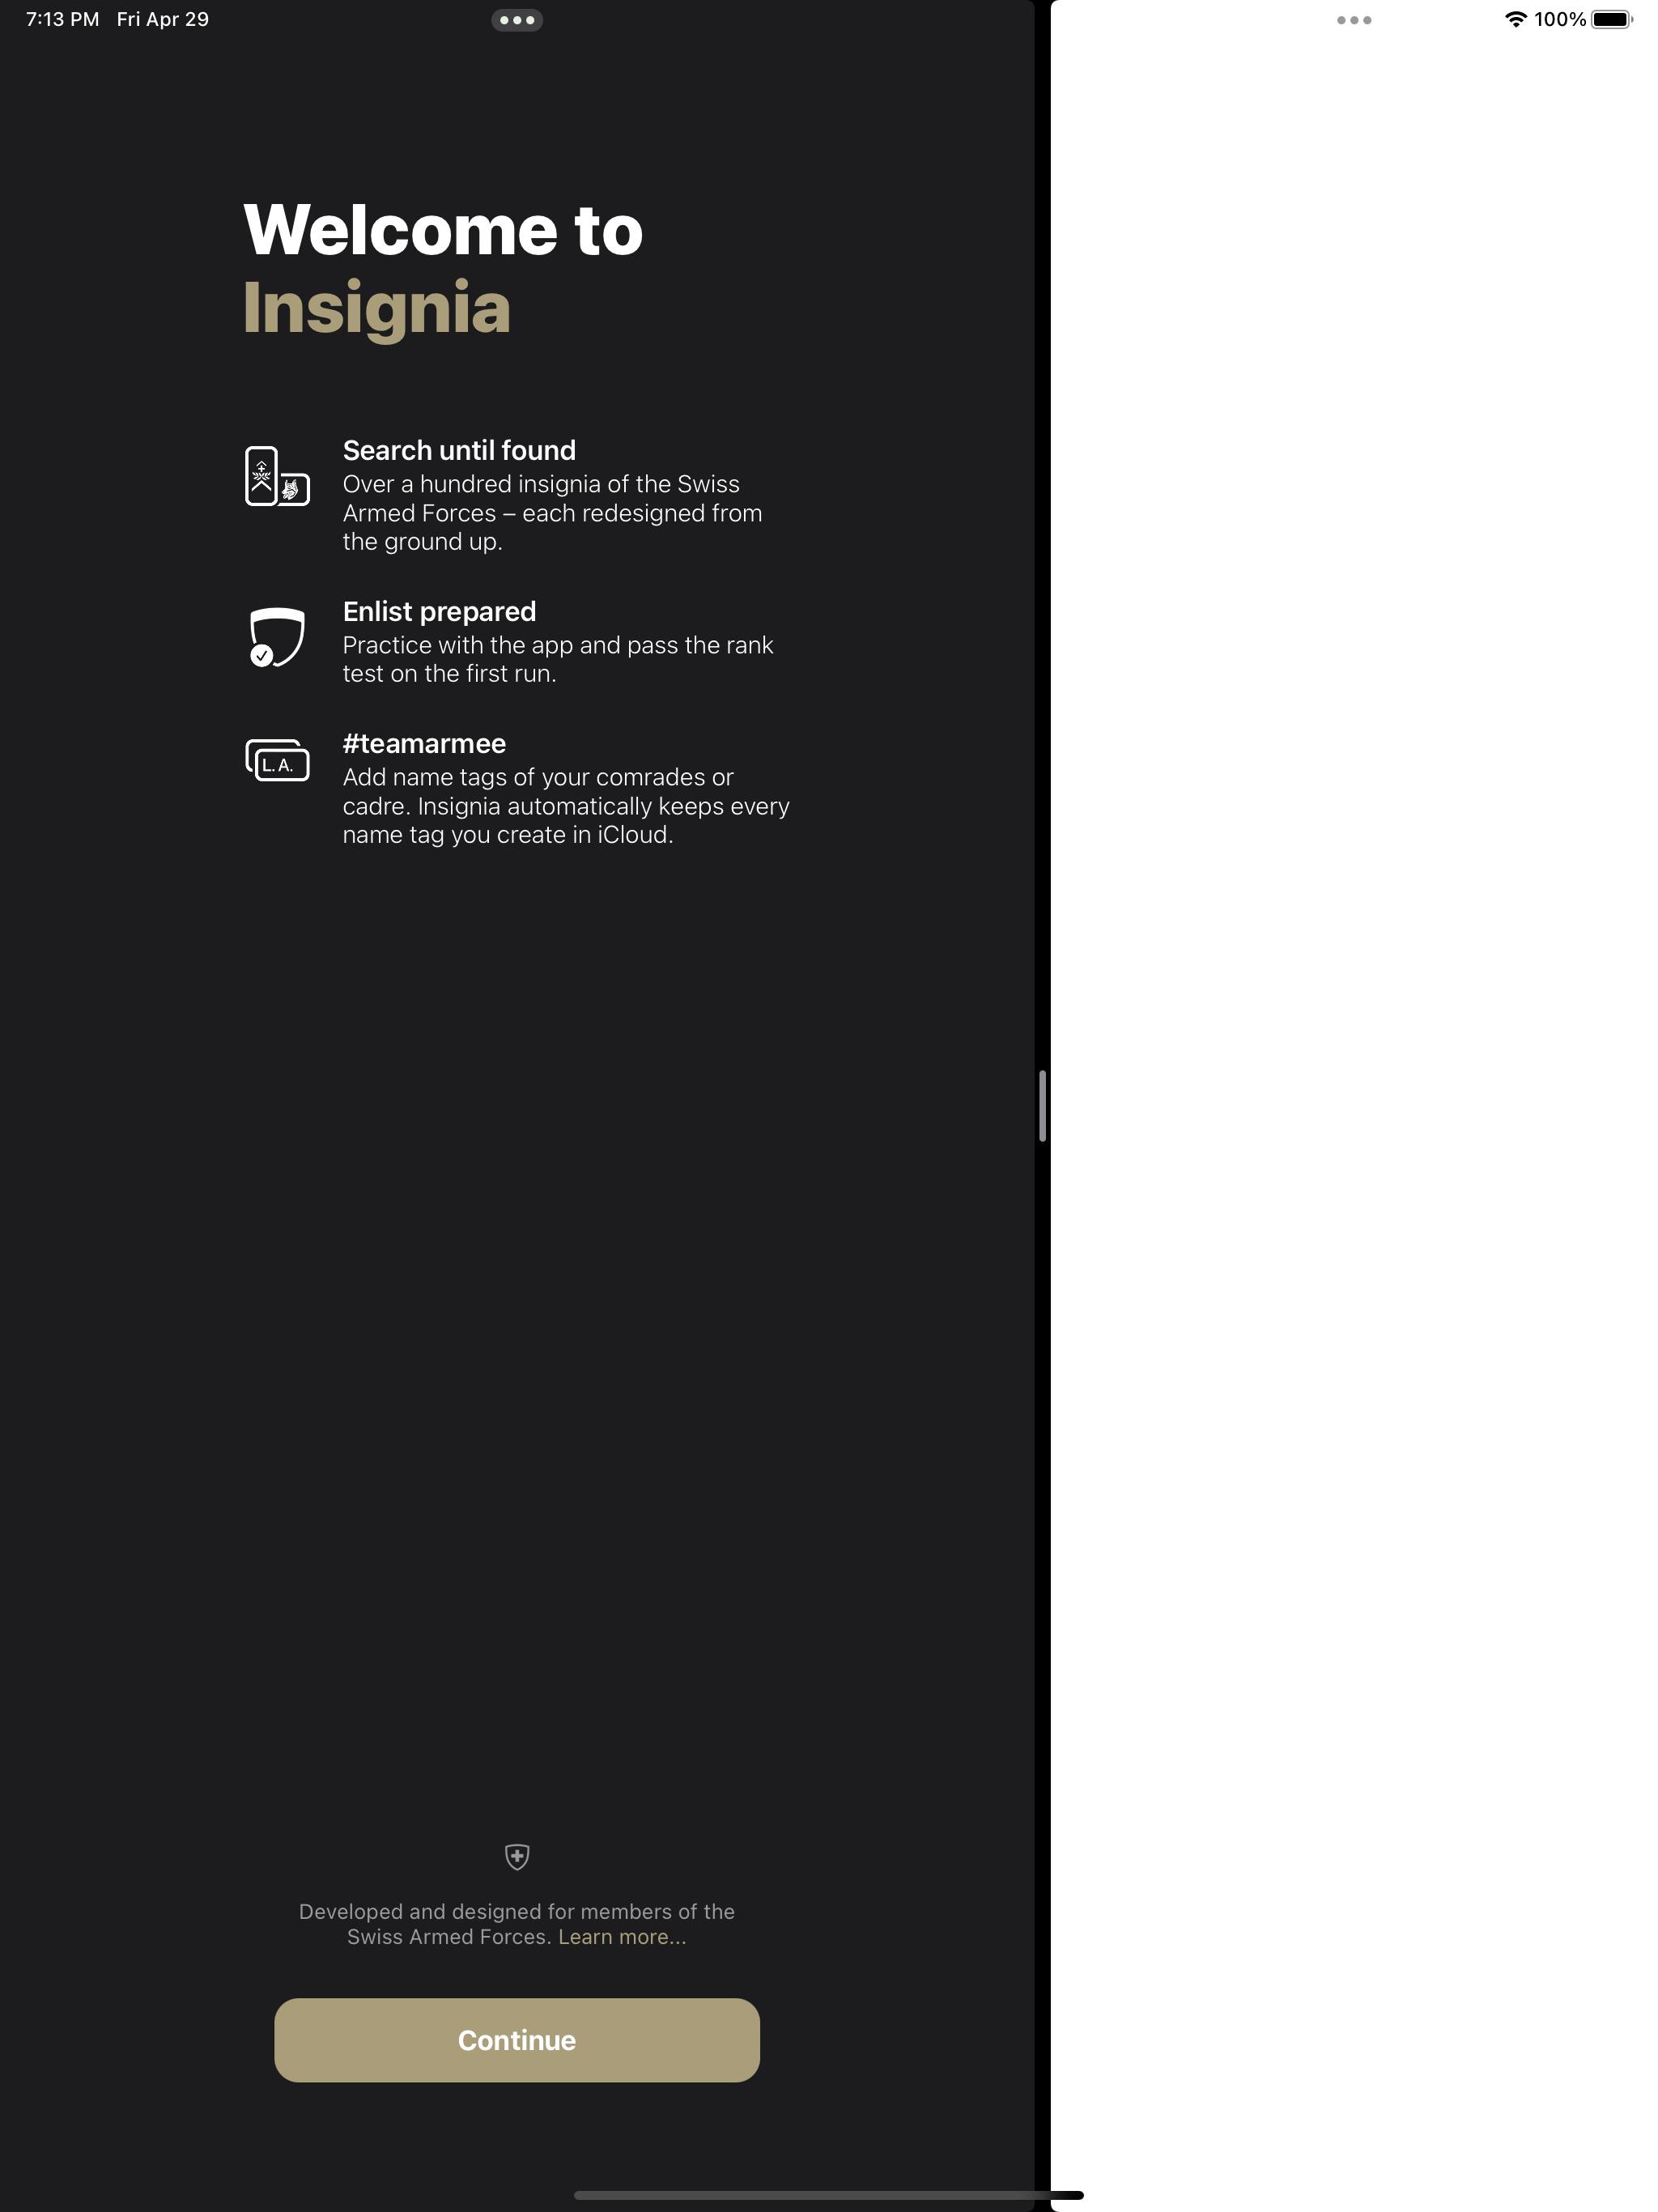
Split View
| 1/3 iPad Landscape | 1/2 iPad Landscape | 2/3 iPad Landscape |
|---|---|---|
 |
 |
 |
| 1/3 iPad Portrait | 2/3 iPad Portrait |
|---|---|
 |
 |
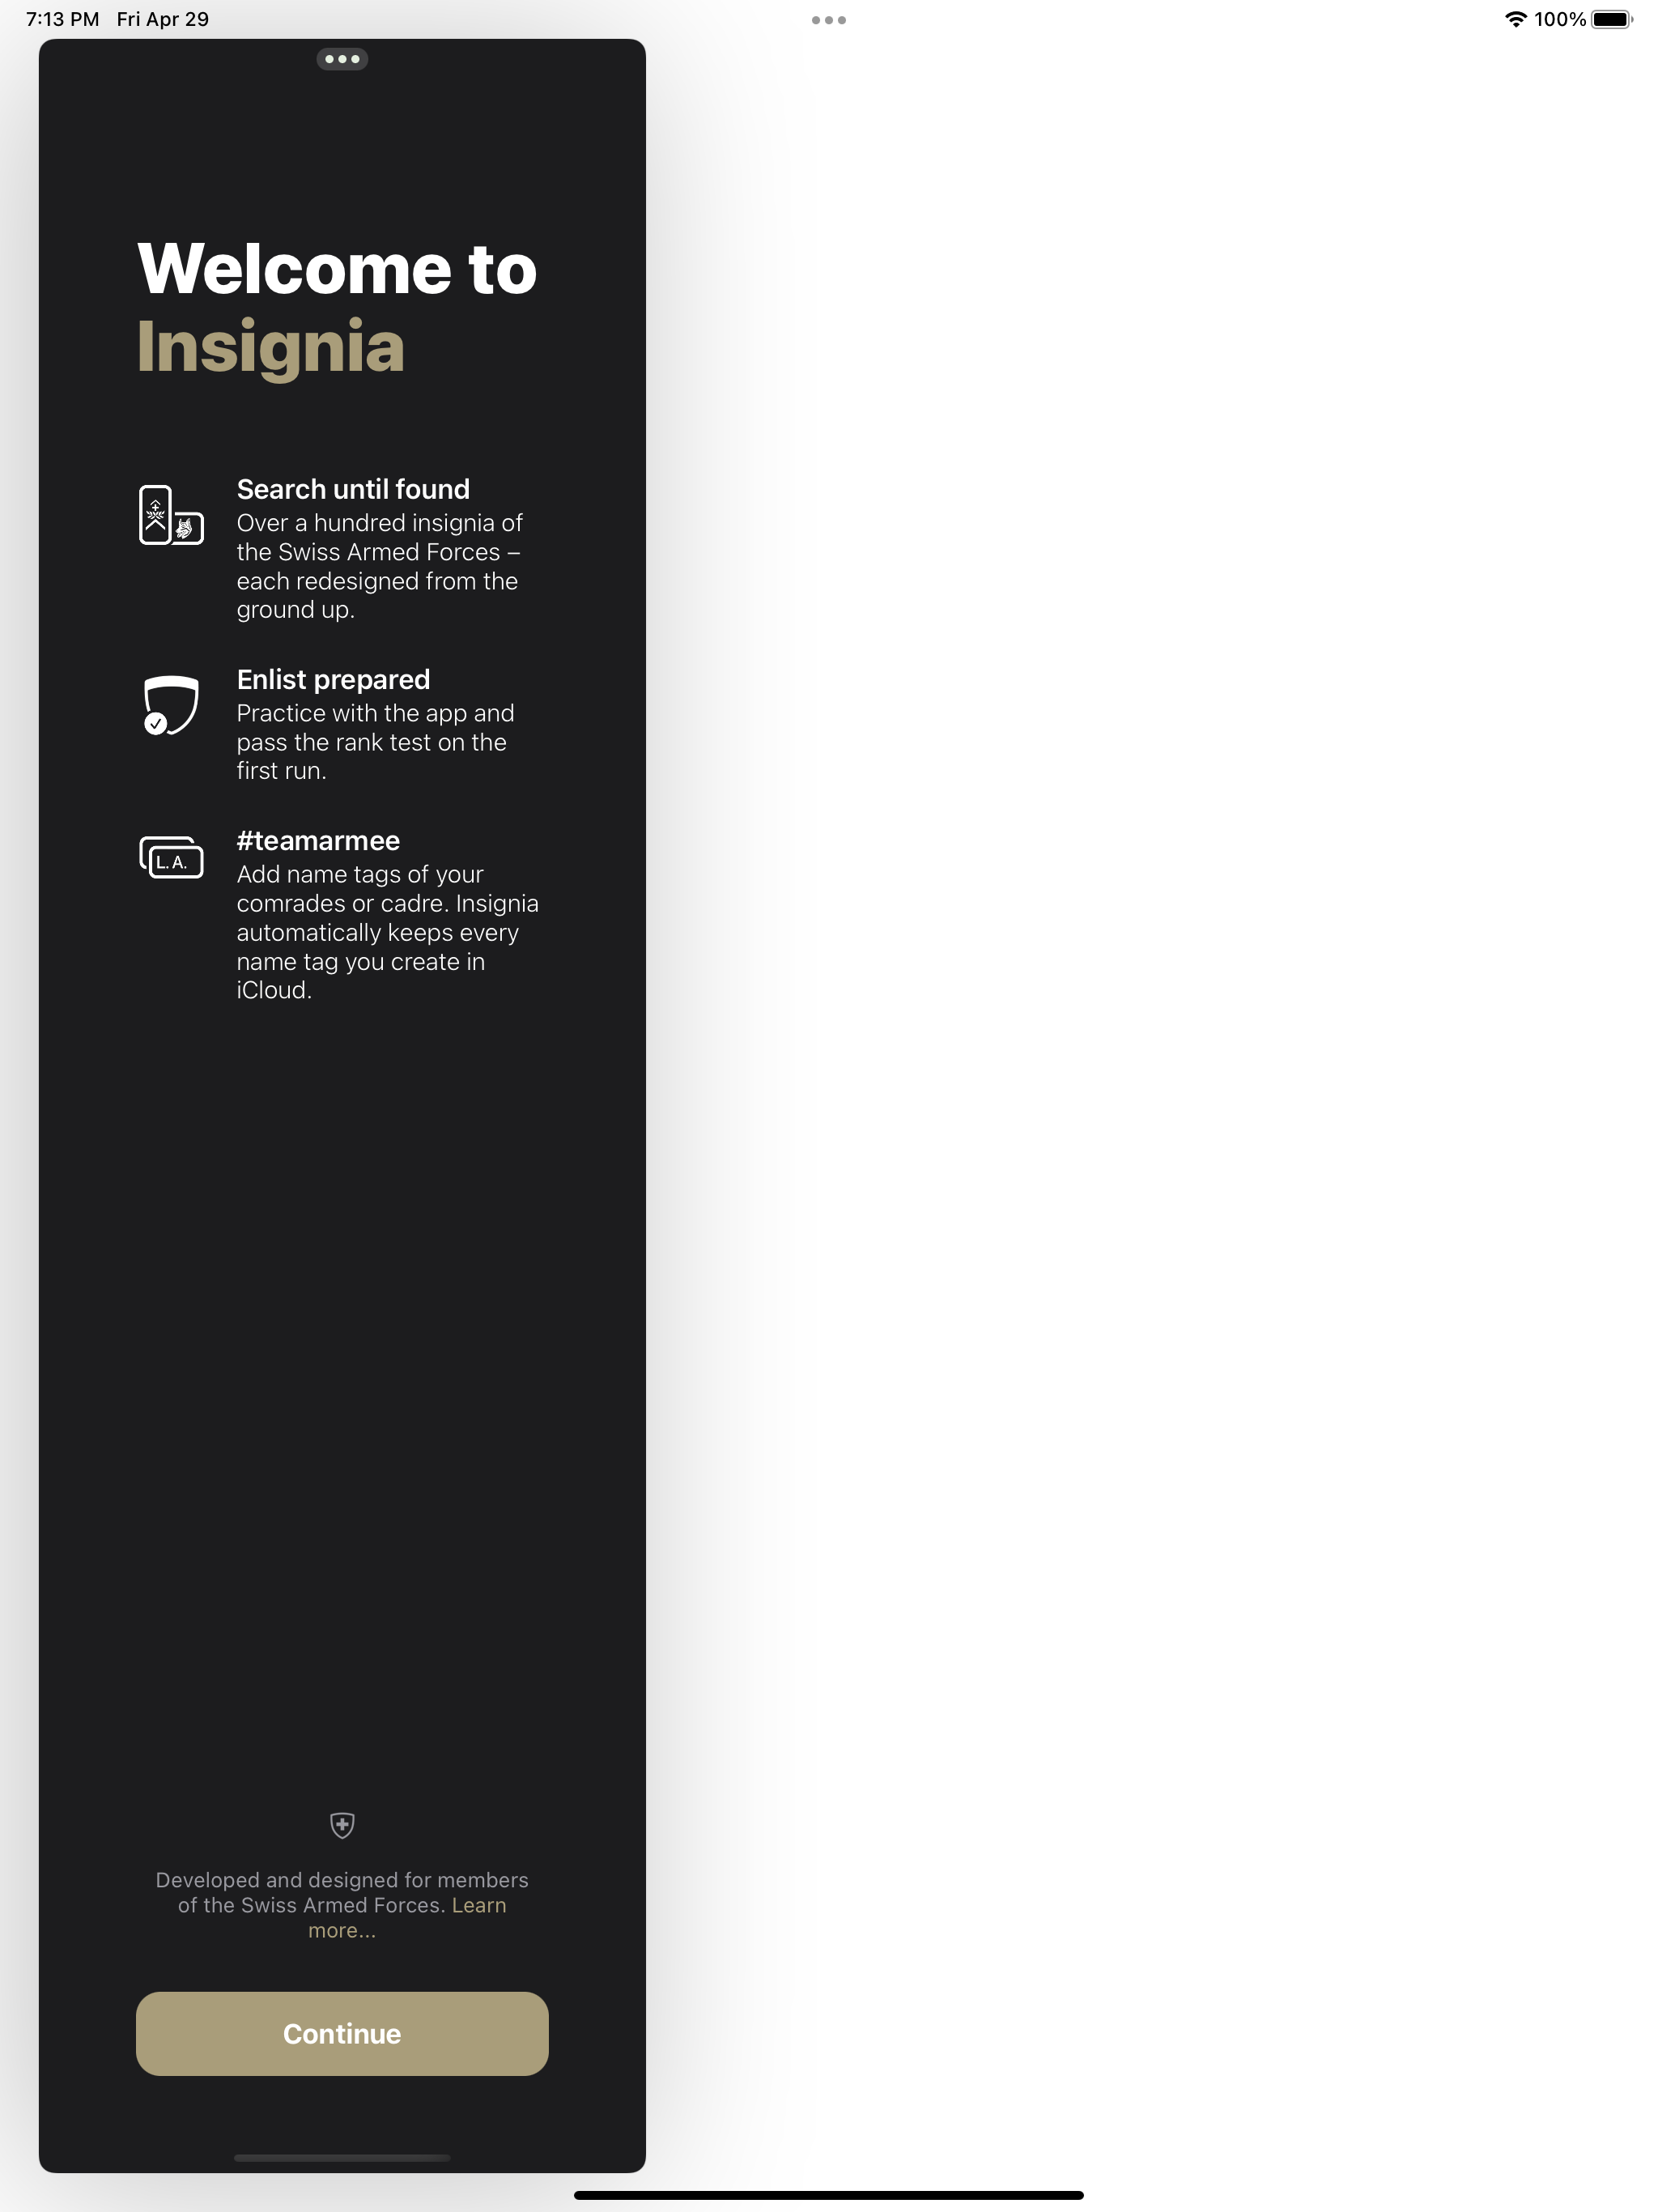
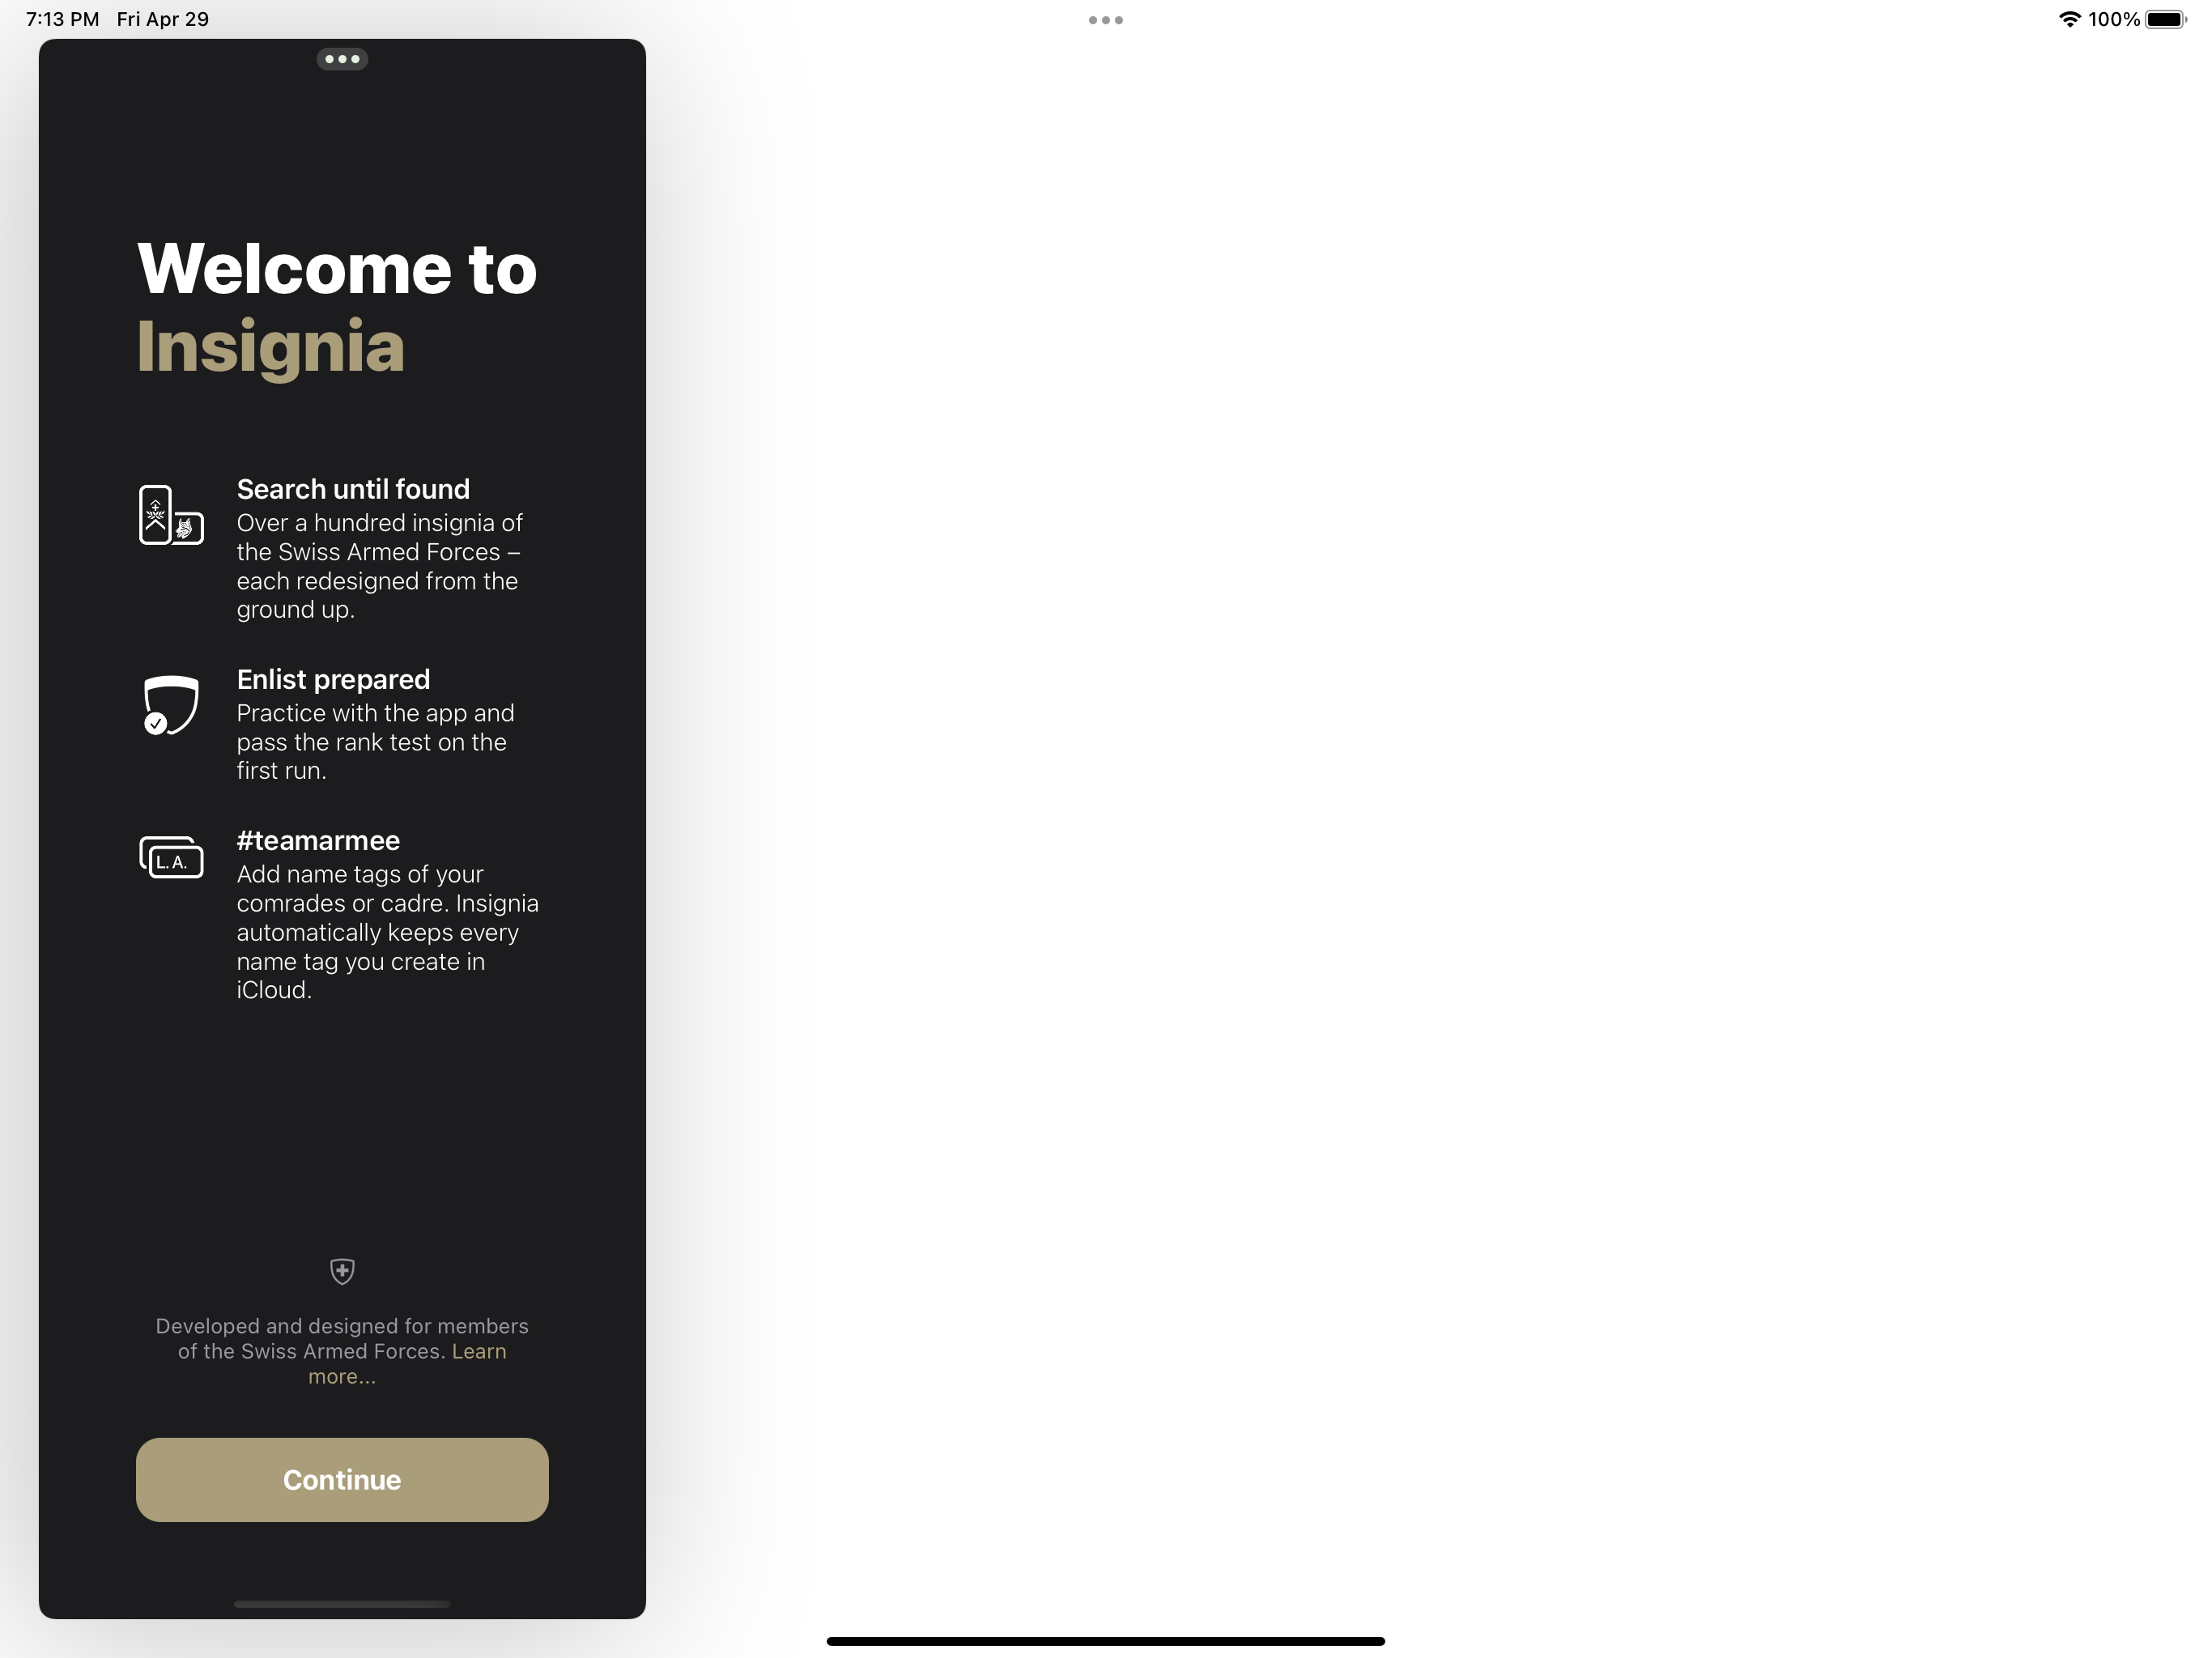
Slide Over
| iPad Portrait | iPad Landscape |
|---|---|
 |
 |
Accessibility
| Dynamic Type | VoiceOver | Reduce Motion |
|---|---|---|
 |
 |
 |
Installation
Swift Package Manager
Add https://github.com/lascic/UIOnboarding.git in the package manager in Xcode under File > Add Packages. Select the version from 2.0.0 or the main branch.
.package(url: "https://github.com/lascic/UIOnboarding.git", from: "2.0.0")
// or
.package(url: "https://github.com/lascic/UIOnboarding.git", branch: "main")
Demo Project
Three demo projects can be found in the /Demo directory, including an example for utilizing UIOnboarding in a SwiftUI app.
Clone the repo or download the demo projects as a .zip file to open and run them on a physical device or simulator in Xcode.
Before building and running the projects, make sure to set them up with your own provisioning profile.
Usage
UIOnboardingViewController
takes a UIOnboardingViewConfiguration parameter for setup.
UIKit
Make sure the view controller you're presenting from is embedded in a UINavigationController. OnboardingViewController has been set up to be presented as a full screen view.
// In the view controller you're presenting
import UIKit
import UIOnboarding

let onboardingController: UIOnboardingViewController = .init(withConfiguration: .setUp())
onboardingController.delegate = self
navigationController?.present(onboardingController, animated: false)
Dismiss the onboarding view with the provided delegate method.
extension ViewController: UIOnboardingViewControllerDelegate {
    func didFinishOnboarding(onboardingViewController: UIOnboardingViewController) {
        onboardingViewController.modalTransitionStyle = .crossDissolve
        onboardingViewController.dismiss(animated: true, completion: nil)
    }
}
SwiftUI
SwiftUI's UIViewControllerRepresentable protocol makes the UIKit UIOnboardingViewController behave as a SwfitUI View.
Create an OnboardingView struct implementing the protocol and use the .fullScreenCover() modifier introduced in iOS and iPadOS 14 to show it in the SwiftUI view you're presenting from.
.fullScreenCover(isPresented: $showingOnboarding, content: {
    OnboardingView.init()
        .edgesIgnoringSafeArea(.all)
}
Note that we assign SwiftUI's coordinator as the delegate object for our onboarding view controller.
onboardingController.delegate = context.coordinator
Full Setup
// In OnboardingView.swift
import SwiftUI
import UIOnboarding

struct OnboardingView: UIViewControllerRepresentable {
    typealias UIViewControllerType = UIOnboardingViewController

    func makeUIViewController(context: Context) -> UIOnboardingViewController {
        let onboardingController: UIOnboardingViewController = .init(withConfiguration: .setUp())
        onboardingController.delegate = context.coordinator
        return onboardingController
    }

    func updateUIViewController(_ uiViewController: UIOnboardingViewController, context: Context) {}

    class Coordinator: NSObject, UIOnboardingViewControllerDelegate {
        func didFinishOnboarding(onboardingViewController: UIOnboardingViewController) {
            onboardingViewController.dismiss(animated: true, completion: nil)
        }
    }

    func makeCoordinator() -> Coordinator {
        return .init()
    }
}
// In ContentView.swift
import SwiftUI

struct ContentView: View {
    @State private var showingOnboarding = true

    var body: some View {
        NavigationView {
            Text("Hello, UIOnboarding!")
                .toolbar {
                    Button {
                        showingOnboarding = true
                    } label: {
                        Image(systemName: "repeat")
                    }
                }
                .fullScreenCover(isPresented: $showingOnboarding, content: {
                    OnboardingView.init()
                        .edgesIgnoringSafeArea(.all)
                })
        }
    }
}

struct ContentView_Previews: PreviewProvider {
    static var previews: some View {
        ContentView.init()
    }
}
Configuration
UIOnboardingViewConfiguration consists of six, non-optional component types.
- App Icon as
UIImage - First Welcome Title Line as
NSMutableAttributedString - Second Welcome Title Line as
NSMutableAttributedString - Core Features as
Array<UIOnboardingFeature> - Notice Text as
UIOnboardingTextViewConfiguration(e.g. Privacy Policy, Terms of Service, Portfolio, Website) - Continuation Title as
UIOnboardingButtonConfiguration
Create a helper struct UIOnboardingHelper defining these components and combine them in an extension of UIOnboardingViewConfiguration.
Example
import UIKit
import UIOnboarding

struct UIOnboardingHelper {
    // App Icon
    static func setUpIcon() -> UIImage {
        return Bundle.main.appIcon ?? .init(named: "onboarding-icon")!
    }

    // First Title Line
    // Welcome Text
    static func setUpFirstTitleLine() -> NSMutableAttributedString {
        .init(string: "Welcome to", attributes: [.foregroundColor: UIColor.label])
    }

    // Second Title Line
    // App Name
    static func setUpSecondTitleLine() -> NSMutableAttributedString {
        .init(string: Bundle.main.displayName ?? "Insignia", attributes: [
            .foregroundColor: UIColor.init(named: "camou")!
        ])
    }

    // Core Features
    static func setUpFeatures() -> Array<UIOnboardingFeature> {
        return .init([
            .init(icon: .init(named: "feature-1")!,
                  title: "Search until found",
                  description: "Over a hundred insignia of the Swiss Armed Forces – each redesigned from the ground up."),
            .init(icon: .init(named: "feature-2")!,
                  title: "Enlist prepared",
                  description: "Practice with the app and pass the rank test on the first run."),
            .init(icon: .init(named: "feature-3")!,
                  title: "#teamarmee",
                  description: "Add name tags of your comrades or cadre. Insignia automatically keeps every name tag you create in iCloud.")
        ])
    }

    // Notice Text
    static func setUpNotice() -> UIOnboardingTextViewConfiguration {
        return .init(icon: .init(named: "onboarding-notice-icon")!,
                     text: "Developed and designed for members of the Swiss Armed Forces.",
                     linkTitle: "Learn more...",
                     link: "https://www.lukmanascic.ch/portfolio/insignia",
                     tint: .init(named: "camou"))
    }

    // Continuation Title
    static func setUpButton() -> UIOnboardingButtonConfiguration {
        return .init(title: "Continue",
                     titleColor: .white, // Optional, `.white` by default
                     backgroundColor: .init(named: "camou")!)
    }
}
Welcome Title Localization
If the welcome title only needs one line (in another language for example), simply provide an empty NSMutableAttributedString value for either parameter. UIOnboardingTitleLabelStack automatically resizes itself to the corresponding line count, with no additional changes needed.
Below an example in Portuguese, leaving the second title line blank.
// First Title Line
// App Name
static func setUpFirstTitleLine() -> NSMutableAttributedString {
    return .init(string: Bundle.main.displayName ?? "Distintivos", attributes: [
            .foregroundColor: UIColor.init(named: "camou")!
    ])
}

// Second Title Line
// Empty
static func setUpSecondTitleLine() -> NSMutableAttributedString {
    return .init(string: "")
}
Extension
import UIOnboarding

extension UIOnboardingViewConfiguration {
    // UIOnboardingViewController init
    static func setUp() -> UIOnboardingViewConfiguration {
        return .init(appIcon: UIOnboardingHelper.setUpIcon(),
                     firstTitleLine: UIOnboardingHelper.setUpFirstTitleLine(),
                     secondTitleLine: UIOnboardingHelper.setUpSecondTitleLine(),
                     features: UIOnboardingHelper.setUpFeatures(),
                     textViewConfiguration: UIOnboardingHelper.setUpNotice(),
                     buttonConfiguration: UIOnboardingHelper.setUpButton())
    }
}
Further Setup
You may present the weclome screen only once (on first app launch) with the help of a User Defaults flag. Note that an unspecified UserDefaults bool(forKey:) key is set to false by default.
if !UserDefaults.standard.bool(forKey: "hasCompletedOnboarding") {
    showOnboarding()
}
Toggle onboarding completion in the provided delegate method.
func didFinishOnboarding(onboardingViewController: OnboardingViewController) {
    onboardingViewController.modalTransitionStyle = .crossDissolve
    onboardingViewController.dismiss(animated: true) {
        UserDefaults.standard.set(true, forKey: "hasCompletedOnboarding")
    }
}
Further Readings
- Developing Accessible iOS Apps by Daniel Devesa Derksen-Staats
- Dynamic Type in UIKit
- Typography in Apple's Human Interface Guidelines
- Text Size and Weight in Apple's Human Interface Guidelines
- VoiceOver in UIKit
-
isReduceMotionEnabledin UIKit -
traitCollectionDidChange(_:)in UIKit -
viewWillTransition(to:with:)in UIKit -
UIViewControllerRepresentablein SwiftUI -
makeCoordinator()in SwiftUI -
UserDefaultsin Foundation
Copyright
UIOnboarding is MIT licensed.
The Insignia app icon and Insignia feature cell assets are copyright Lukman Aščić. All rights reserved. None of these materials or parts of it may be reproduced or distributed by any means without prior written permission of the copyright owner.