static-contact-validatedForm
 static-contact-validatedForm copied to clipboard
You can use this in your static websites in contact form and get notified in your email address without any spam emails. :fire:

What is its use?
You can add a contact form in your static website like site hosted on Github and able to get response from user.
Some Cool Features
Sometimes people try to span your email and you get anonymous emails. To avoid this, I have created this so that one has to authenticate their emails before sending message to you.
- Avoid Spam emails
- Check for blacklisted mail servers
- Can add as many name fields in your HTML form.
- Get IP address of the sender
- Avoid DDOS attacks
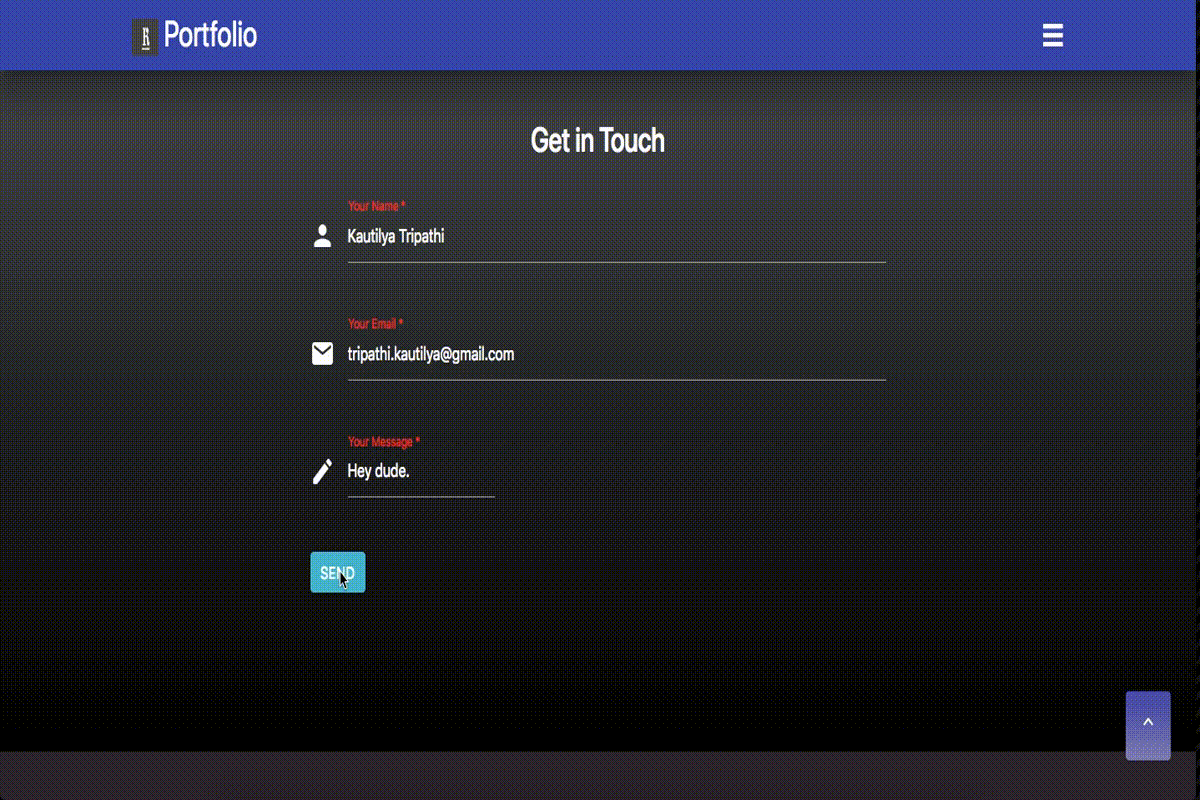
Preview
Initial Setup
git clone [email protected]:knrt10/static-contact-validatedForm.git

cd static-contact-validatedForm/

touch .env #create .env file

copy keys of .env.example in your .env file and fill all the details
How to setup your form
1.) Follow Initial Setup
2.) Host it on any domain you want, I would suggest Zeit Now
3.) Add an .env file in your root folder for reference see .env.example
4.) Add this to form in your static site
- Paste your endpoint into your form
Change your form's action attribute like this:
Important method should be GET
<form method="GET" action="your hosted URL/verify" accept-charset="UTF-8" ></form>
- Add name attribute to every field
Inputs, textareas, selects, radios should have unique name attributes
<input id="name" type="text" name="name" required placeholder="Example:- Messi | Ronaldo">
<input id="email" type="email" name="email" placeholder="Example:- [email protected]" required>
<textarea id="textarea" name="message" placeholder="Enter your message" required ></textarea>
name field in html form for email field is mandatory. Rest you can add as many as you want.
- All set, you're ready to collect submissions :fire: Enjoy.
Development
First follow Initial Setup then you can use develop using 2 methods
Docker
npm run dockerStart # To start the service

npm run dockerStop # To stop the service
You can access your app at port specified in your .env file or 3000
Local Development
#install dependencies
npm install

#start the service
npm start
license
MIT @knrt10