BlinkyTileFastLED
 BlinkyTileFastLED copied to clipboard
BlinkyTile control using the FastLED library and an Arduino or Teensy
BlinkyTile + FastLED
BlinkyTile control using the FastLED library and an Arduino or Teensy

This tutorial will guide you through connecting a BlinkyTile sculpture (I made the standard dodecahedron) to a microcontroller. The same basic instructions will apply to just about any microcontroller, but we'll be using an Arduino Uno. I've also tested with a Teensy 3.1.
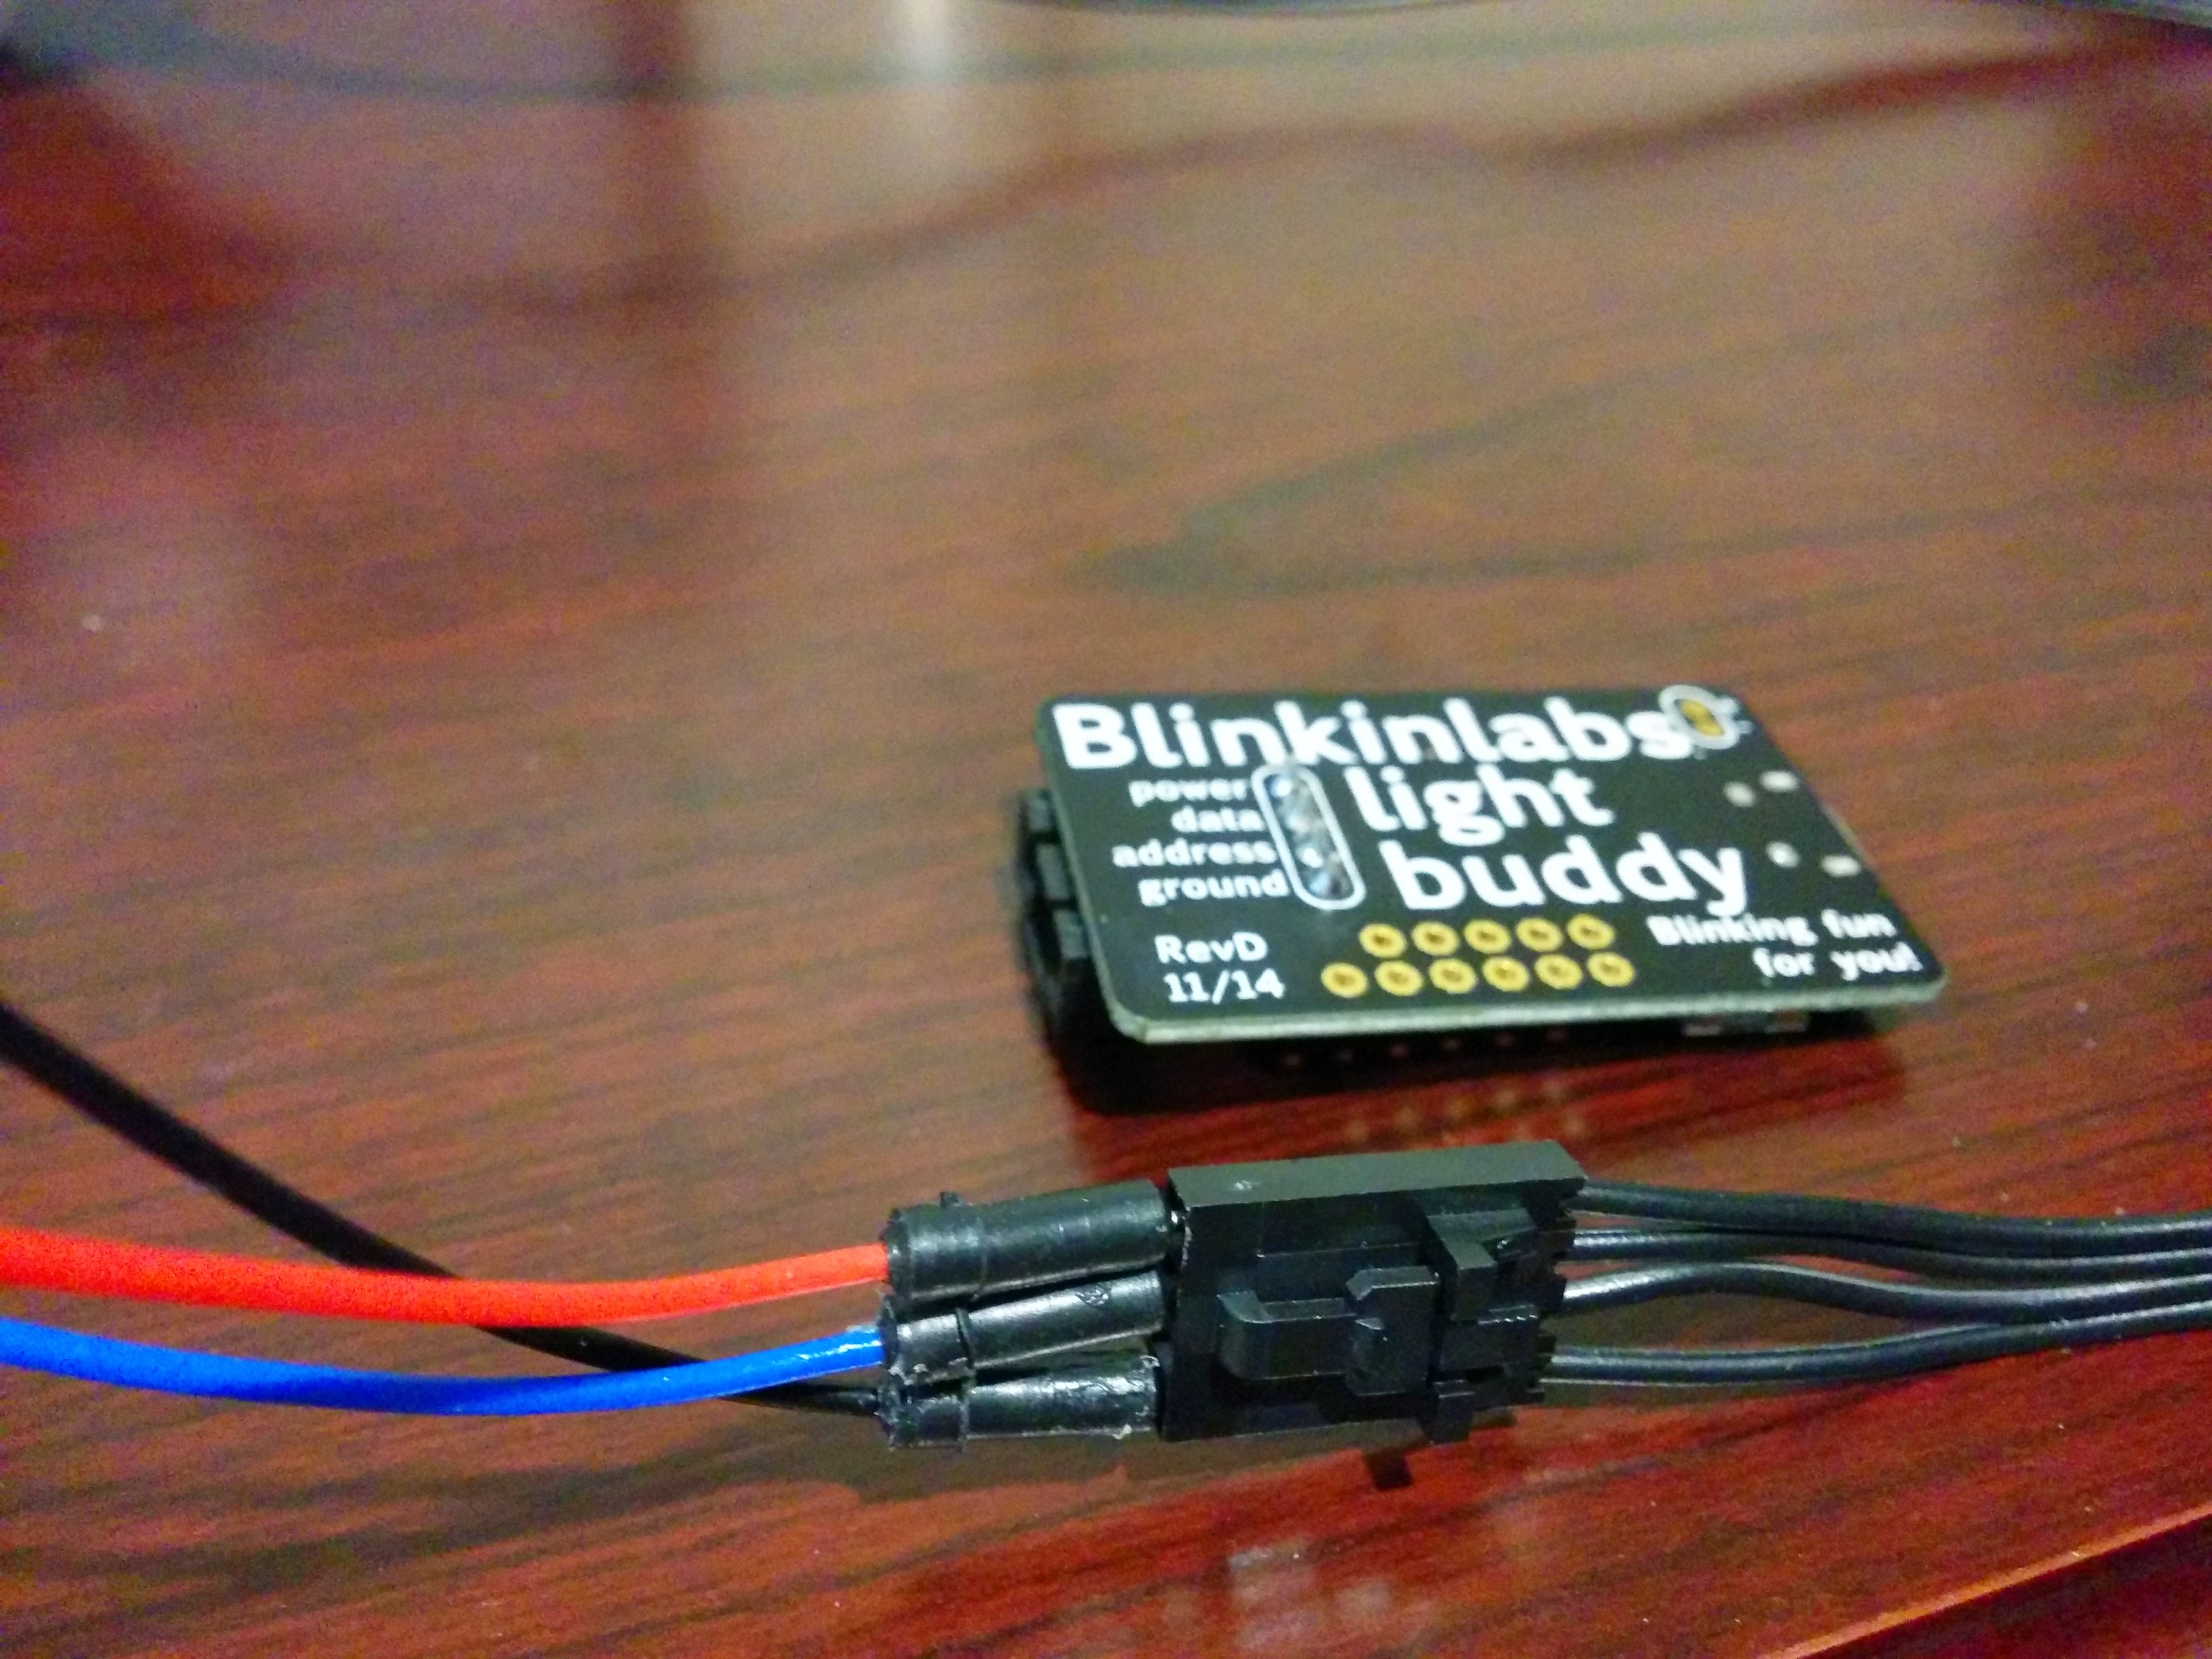
Note: You should already have your BlinkyTile sculpture assembled and tested with the light buddy board. See the BlinkyTile page for more information and assembly instructions.
Hardware
Circuit Wiring
- Make sure your Arduino is disconnected from your computer and is not powered on.
- Connect the cable to the BlinkyTile adapter board.

- Insert male-to-male jumper wires into the other end of the BlinkyTile adapter board cable. I used red for power, blue for data, skipped the address wire, and black for ground. Double-check your connections and ensure the proper order before proceeding. You can check them with the light buddy board, if you have one.
- Connect the other end of the jumper wires to your Arduino. Red connects to 5V, black to either GND, and blue connects to Digital 0 (RX, not A0!).

- Check your connections again. Seriously. :)
Software
- We'll be using the Arduino software to program the microcontroller. Download and install 1.0.6 (not 1.5.x): http://arduino.cc/en/Main/Software
- The FastLED library will be used to control the BlinkyTile LEDs. Download the latest version (3.0 or newer) from the releases page: https://github.com/FastLED/FastLED/releases
- The DmxSimple library will be used by FastLED internally. Download it here: https://github.com/PaulStoffregen/DmxSimple
- Follow these instructions to install the FastLED and DmxSimple libraries: http://arduino.cc/en/Guide/Libraries
Code
- Start the Arduino software if it's not already running (make sure you restart it after installing the libraries).
- Create a new sketch (program) by clicking the New button, or the File->New menu.
- Copy the code from here: https://raw.githubusercontent.com/pup05/BlinkyTileFastLED/master/BlinkyTileFastLED.ino
- Paste it into the Arduino editor.
- Click the Verify button. If it fails to compile with errors, ensure you followed the steps above. If you're still having problems, feel free to open an issue here: https://github.com/pup05/BlinkyTileFastLED/issues
Upload
- Connect your Arduino to your computer's USB port using the proper cable. The ON light should turn on, but your BlinkyTile will probably not light up.
- Click the Upload button. After it completes, your BlinkyTile sculpture should light up and start cycling through several different patterns. The cycle takes about a minute to complete before it restarts again.
Conclusion
That's all for now. In part two (coming soon), I'll walk you through creating your very own patterns using FastLED!