reveal.js-appearance
 reveal.js-appearance copied to clipboard
An animation plugin for Reveal.js that animates elements sequentially like in Powerpoint. Perfect for online portfolios or other presentations with images.
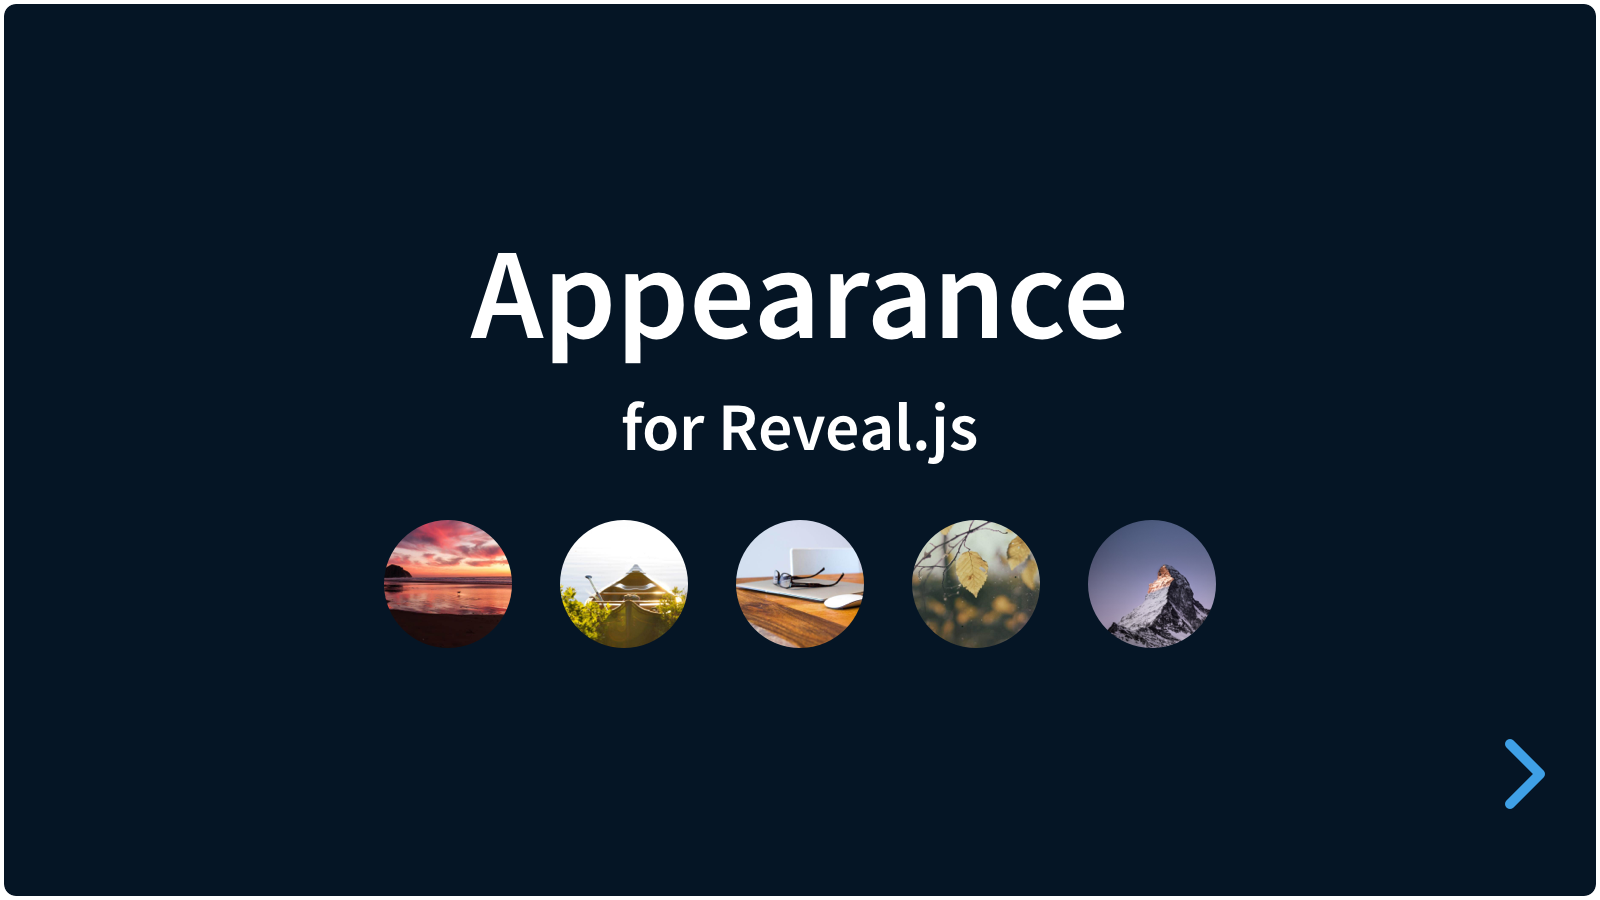
Appearance


A plugin for Reveal.js 4 that adds appearance effects to elements.
In Powerpoint you can make slides with items that appear automatically with effects. This plugin for Reveal.js tries to achieve the same result. It's easy to set up. It uses Animate.css by Daniel Eden for the animations, with some changes to allow for a non-animated state.
The animations will start automatically after or at each slide or fragment change if the HTML is set up to use Appearance.
Version 1.1.1 adds an autoappear mode for use in cases where adding animation classes is too much of a hassle, like inside Markdown.
Appearance v1.1.2 brought some breaking changes, please refer to the migration guide before updating from v1.1.1 and under. It also changed the internal delay mechanism to use CSS animation delay in combination to adding the trigger on the parent, not each animated element. This will improve the performance.
Installation
Regular installation
Copy the appearance folder to the plugins folder of the reveal.js folder, like this: plugin/appearance.
npm installation
This plugin is published to, and can be installed from, npm.
npm install reveal.js-appearance
The Appearance plugin folder can then be referenced from node_modules/reveal.js-appearance/plugin/appearance
Setup
JavaScript
There are two JavaScript files for Appearance, a regular one, appearance.js, and a module one, appearance.esm.js. You only need one of them:
Regular
If you're not using ES modules, for example, to be able to run your presentation from the filesystem, you can add it like this:
<script type="text/javascript" src="dist/reveal.js"></script>
<script src="plugin/appearance/appearance.js"></script>
<script>
	Reveal.initialize({
		// ...
		plugins: [ Appearance ]
	});
</script>
As a module
If you're using ES modules, you can add it like this:
<script type="module">
	// This will need a server
	import Reveal from './dist/reveal.esm.js';
	import Appearance from './plugin/appearance/appearance.esm.js';
	Reveal.initialize({
		// ...
		plugins: [ Appearance ]
	});
</script>
Styling
Since version 1.1.2, the styling of Appearance is automatically inserted, either loaded through NPM or from the plugin folder. Two files are inserted: The first one is Animate.css by Daniel Eden for the basic animations, we add it through a CDN. The second file adds to the first stylesheet to allow for a non-animated state.
If you want to change the Appearance style, you can simply make your own style and use that stylesheet instead. Linking to your custom styles can be managed through the csspath option of Appearance.
HTML
It is easy to set up your HTML structure for Appearance. Each element that you want to animate uses a base class and an animation class. You only have to add an animation class because the base class is automatically added to any element with an animation class. The names of these animation classes are defined by Animate.css. In the example below, you can see that the animation class is animate__bounceInLeft:
<ul>
    <li class="animate__bounceInLeft">Add it to any text element</li>
    <li class="animate__bounceInLeft">Like list items, or headers.</li>
    <li class="animate__bounceInLeft">It adds some attention.</li>
</ul>
When you are working with Markdown, this can be a chore so if you do not want to add all these classes, you can set the option autoappear to true (see Configuration below) and let Appearance do the heavy work. You do not need to add any markup and it will stay like this:
<ul>
    <li>Add it to any text element</li>
	<li>Like list items, or headers.</li>
	<li>It adds some attention.</li>
</ul>
or like this in Markdown:
* Add it to any text element
* Like list items, or headers.
* It adds some attention.
Configuration
There are a few options that you can change from the Reveal.js options. The values below are default and do not need to be set if they are not changed.
Reveal.initialize({
  // ...
  appearance: {
    hideagain: true,
    delay: 300,
    appearevent: 'slidetransitionend',
    autoappear: false,
    autoelements: false,
    csspath: '',
    animatecsspath: {
      link : 'https://cdnjs.cloudflare.com/ajax/libs/animate.css/4.1.1/animate.min.css',
      compat : 'https://cdnjs.cloudflare.com/ajax/libs/animate.css/4.0.0/animate.compat.css',
    },
    compatibility: false,
    compatibilitybaseclass: 'animated'
  },
  plugins: [ Appearance ]
});
hideagain: Change this (true/false) if you want to see the shown elements if you go back.delay: Base time in ms between appearances.appearevent: Use a specific event at which Appearance starts.autoappear: Use this when you do not want to add classes to each item that you want to appear, and just let Appearance add animation classes to (all of) the provided elements in the presentation. See "Using 'autoappear'" mode below.autoelements: These are the elements thatautoappearwill target. Each element has a selector and an animation class. Ifautoappearis off, the elements will still get animation if the section contains adata-autoappearattribute.csspath: Appearance will automatically load the styling of the plugin. If you want to customise the styling, you can link to your own CSS file here.animatecsspath: Appearance will also automatically load the styling of Animate.css via a CDN. Note that Animeta.css has two links, the first (CDN) one is for version 4, the second (old) one is the version 3 compatibility CDN link.compatibility: This setting can let you use your current markup. However, because this also uses the Animate.css compatibility CSS, and it is likely that they will not support this in the future, please update your markup as shown above.compatibilitybaseclass: This is the baseclass to use if you don't change your markup.
Changing the 'appearevent'
When you navigate from slide to slide, you can set transition effects in Reveal. These effects take some time. That's why, by default, Appearance only starts when the slide transition has ended.
There are cases however, where there is hardly any transition, for example, when going from an autoanimate slide to another. Reveal then suppresses the user-set transition to a short opacity change. Starting together with the transition might then be nicer. You can use any of the following events:
- slidetransitionend (default, Appearance will start animating elements after the transition)
- slidechanged (Appearance will start together with the transition)
- auto (Appearance will start together with the transition, but only on autoanimate slides, other slides will use slidetransitionend)
These same event triggers can be set through the data-attribute data-appearevent.
When using Appearance inside an autoanimate slide, and changing the appearevent to slidechanged or auto, keep in mind that Reveal transforms opacity for all non-autoanimate items, while Appearance does the same on most of the effects. To avoid strange behaviour, wrap these Appearance items in a parent. For example, a list of animated bullet points works well, because the animated class is on the children, not the parent. Separate headings or other elements do not have that, so should be wrapped.
Using 'autoappear' mode
Sometimes (for example with Markdown), adding classes to elements is a chore. Appearance can automatically add animation classes to specific elements, or tags, in the presentation.
With the option autoappear set to true, ALL elements in the presentation that have a certain selector (and that are not already classed with your base animation class, like 'animated') will subsequently get this class, and thus an animation. These selectors and the animations can be set in the configuration options like this:
autoelements: {
	'ul li': 'animate__fadeInLeft',
	'ol li': 'animate__fadeInRight'
}
You can add any selector and animation class to this object.
With the option autoappear set to false, the above still works, but only on a data-attribute basis. ONLY elements in the presentation that are inside sections or fragments with a data-attribute of data-autoappear will be animated automatically.
Now change it
It is easy to change the effects for Appearance. Here's how to change the delay per-element:
<img class="animate__fadeInDown" data-src="1.jpg" data-delay="200">
<img class="animate__fadeInDown" data-src="2.jpg" data-delay="160">
<img class="animate__fadeInDown" data-src="3.jpg" data-delay="120">
or the speed of each animation, using the tempo classes from Animate.css:
<img class="animate__fadeInDown slower" data-src="1.jpg">
<img class="animate__fadeInDown slow" data-src="2.jpg">
<img class="animate__fadeInDown fast" data-src="3.jpg">
<img class="animate__fadeInDown faster" data-src="4.jpg">
Migration guide
Appearance v1.1.2 is an update to stay current with the latest version of Animate.css, which itself brought breaking changes in version 4. Animate.css v4 added a prefix for all of the Animate.css classes, defaulting to animate__ . Appearance will now automatically add the Animate.css base class (animate__animated) to any element with a Animate.css animation class.
You have two options to migrate to the new version:
Adjust your markup
If in Appearance v1.1.1 you used this:
<img class="animated fadeInDown" data-src="1.jpg">
you should now use this:
<img class="animate__fadeInDown" data-src="1.jpg">
which is the only change in the markup.
Turn on compatibility mode
If you turn in compatibility mode in Appearance, you can keep using your current markup. However, because this also uses the Animate.css compatibility CSS, this might break your presentations in the future, so it is not recommended. See the options above for compatibility mode and the compatibility base class.
Like it?
If you like it, please star this repo!
And if you want to show off what you made with it, please do :-)
License
MIT licensed
Copyright (C) 2022 Martijn De Jongh (Martino)
Metadata
Owner
Metadata
An animation plugin for Reveal.js that animates elements sequentially like in Powerpoint. Perfect for online portfolios or other presentations with images.