dotfiles-and-scripts
 dotfiles-and-scripts copied to clipboard
:pill: dotfiles and scripts for my Linux and Windows
dotfiles and scripts
ArchLinux安装脚本已经迁移至此处,不再维护
创建这个repo是为了减少重复工作,内容包含:
- 系统/软件配置,如Vim、i3wm、tmux等
- 安装脚本
- 软件编译/安装脚本,Vim-YCM插件
- ArchLinux软件批量安装
- 工具脚本
- 工具脚本,如Docker、Aria2管理
TOC
- 用法简述
- 所有配置文件和工具脚本
- 使用我的Vim配置
- 安装常用软件(仅供ArchLinux)
- 配置文件目录
- 安装脚本部分
- 软件批量安装
- Vim及插件安装
- YouCompleteMe编译安装
- Vim插件涉及依赖安装
- 工具脚本部分
- Python虚拟环境快速切换
- Aria2管理&自动更新bt-tracker
- 本地Docker服务项目管理
- 效果截图
- 创建你自己的DotFile仓库
- 文件目录
用法简述
通过以下方式,可以快速使用我的配置文件
所有配置文件和工具脚本
通过以下命令来一键安装我所有的配置文件(支持交互模式选择)。配置文件结构见下文。
这里提供两种方式:
创建软连接(推荐)
git clone https://github.com/Karmenzind/dotfiles-and-scripts
cd ./dotfiles-and-scripts
python3 symlink.py
复制文件
git clone https://github.com/Karmenzind/dotfiles-and-scripts
cd ./dotfiles-and-scripts
python3 do_synch.py apply
如果你想创建一个自己的dotfile仓库,参考下文
使用我的Vim配置
如果只需要我的Vim配置,Unix环境直接运行以下命令,等待自动安装完成
wget https://raw.githubusercontent.com/Karmenzind/dotfiles-and-scripts/master/home_k/.vimrc -O ~/.vimrc && vim
也可以用脚本安装
使用root用户安装我的配置可能会出问题。我不喜欢给root用户单独配置,采用的做法是在
/root目录下创建.vimrc和.vim的软链接,与普通用户共用一套配置,供参考。如果要直接给root用户安装配置,请自行研究解决方案。
安装常用软件(仅供ArchLinux)
git clone https://github.com/Karmenzind/dotfiles-and-scripts --depth=1
bash ./install.sh
然后选择第一项。
配置文件目录
文件跳转目录,为避免杂乱,挪到底部
我使用的字体: Monaco Nerd
安装脚本部分
软件批量安装
- install_apps.sh
_fonts数组中包含了ArchWiki中推荐的所有中文环境所需字体(不含AUR)
- 自行修改脚本,根据需要添加、删除软件
- 从install.sh进入选择
install recommended apps
Vim及插件安装
Vim比较特殊,尤其是YCM经常安装失败,所以单独列出来
用脚本安装Vim和插件:
- complete installation 直接按照我的Vim配置一键安装Vim和各种插件,无需其他配置
如果你已经安装了Vim,需要直接使用我的配置&插件,除了上面的脚本安装外,更简单的方法为直接执行Usage中提到的命令
YouCompleteMe编译安装
- compile and install YouCompleteMe YouCompleteMe插件编译安装
通过install.sh选择第四项单独安装YouCompleteMe插件时,需要注意:
- 阅读ycm.sh的开头部分
- 修改ycm.sh中的ycm插件安装地址
- 如果为Arch系统,直接选择任意一种方式安装;如果非Arch系统,选择
official way可以直接安装,如果选择my way方式,需要手动安装python、cmake和clang,然后修改ycm.sh中的libclang.so地址
official way是采用ycm自带安装脚本编译安装,my way是用我写的命令编译安装。如果用my way安装时git clone速度太慢,可以手动修改ycm.sh中的git repo地址(脚本注释中提供了国内源)
Vim插件涉及依赖安装
部分插件依赖外部工具(比如fzf、ctags、ag等)。按照上述步骤安装Vim以及插件之后,打开Vim,在命令行模式运行:
# 依赖系统中的`pip`和`npm`,需自行安装
call InstallRequirements()
安装过程中注意观察窗口日志提示。
工具脚本部分
Python虚拟环境快速切换
已经停止维护,请使用virtualenvwrapper
- acpyve
方便一堆虚拟环境需要切换的场景
Usage: 在脚本或环境变量中设置虚拟环境存放目录,然后
k 16:04:00 > ~ $ . acpyve
Pick one virtual environment to activate:

1  General_Py2
2  General_Py3

Input number: 2

Activating General_Py3...
/home/k

DONE :)

(General_Py3) k 16:04:16 > ~
$
Aria2管理&自动更新bt-tracker
- myaria2
功能:
- 启动、重启、停止、查看运行状态、查看日志
- 更新bt-tracker(从ngosang/trackerslist获取)。启动、重启时,配置周期触发更新,也可以通过
myaria2 update主动更新 - 转存旧日志
- 其他一些简单功能
结合cron使用 配置项见脚本注释
本地Docker服务项目管理
- docker_manager
方便一堆用Docker容器需要管理的场景
配合cron使用
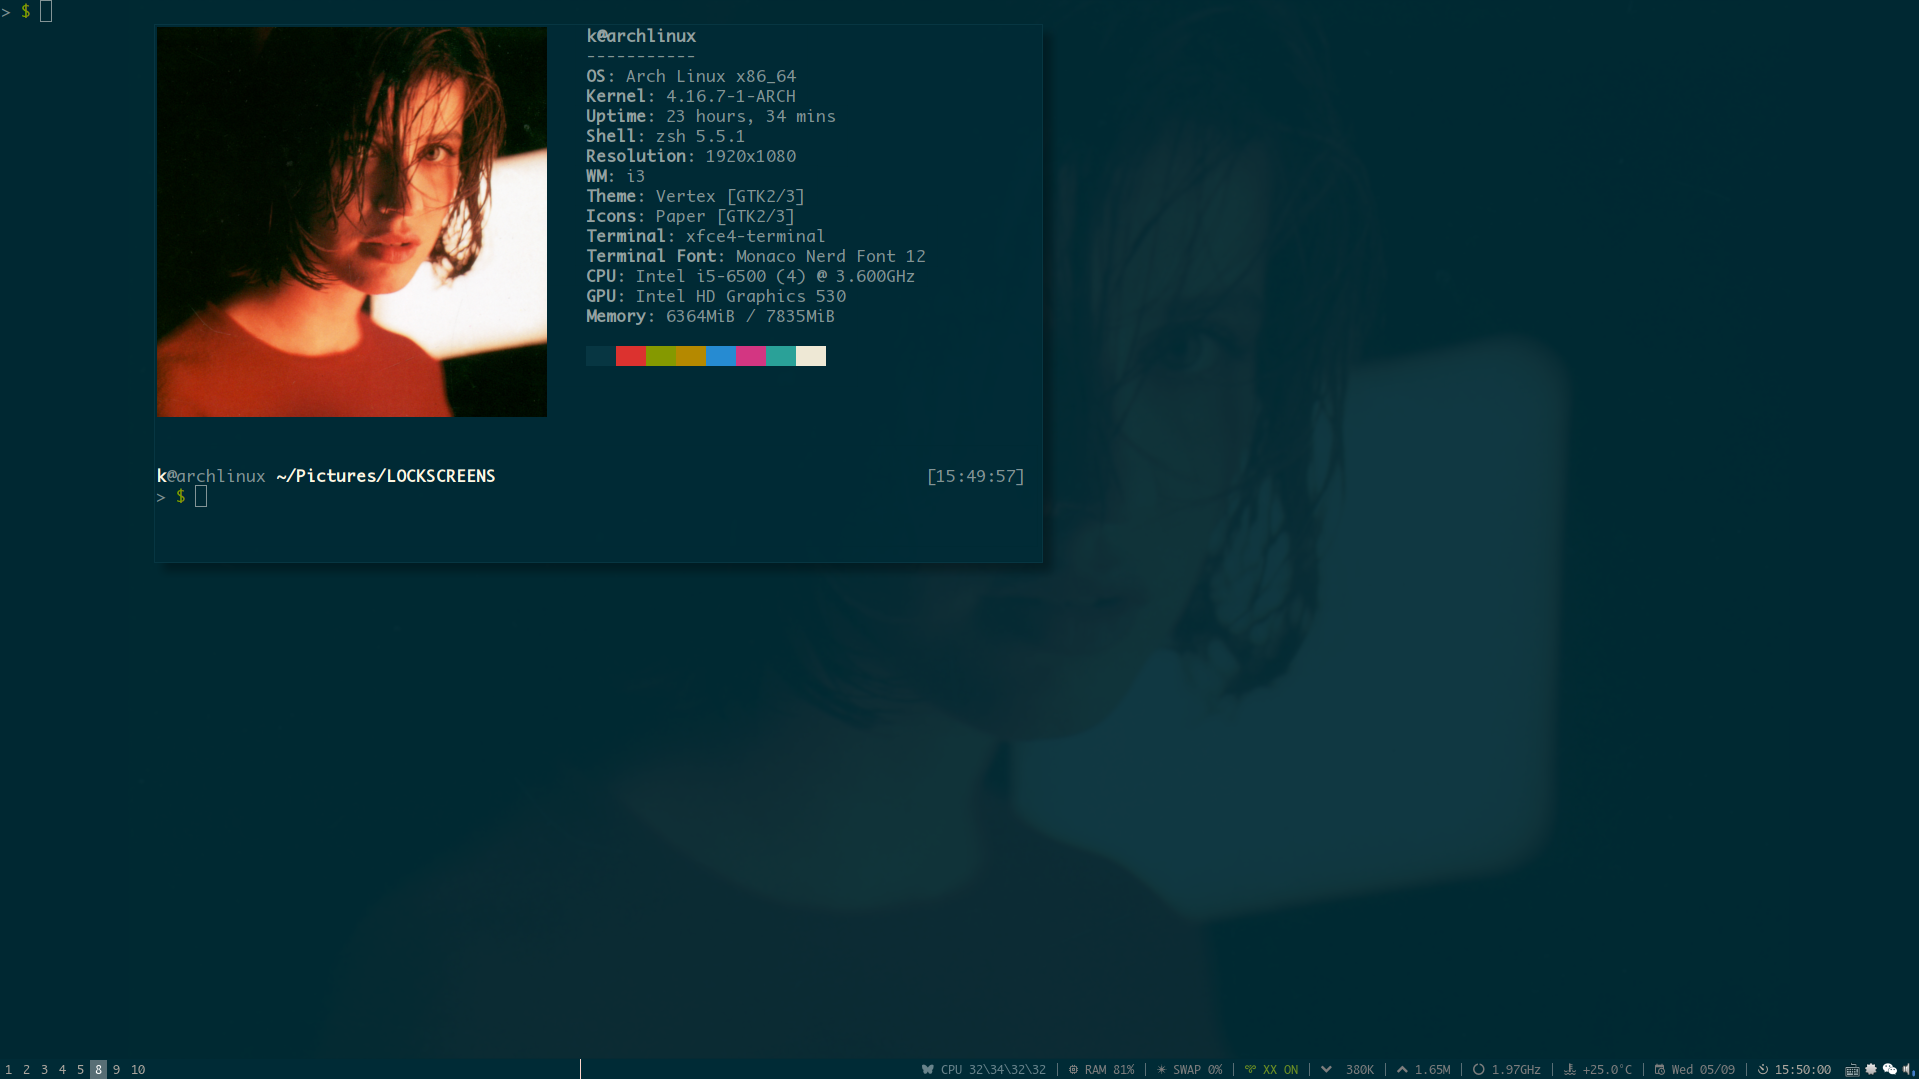
效果截图
-
i3 desktop:
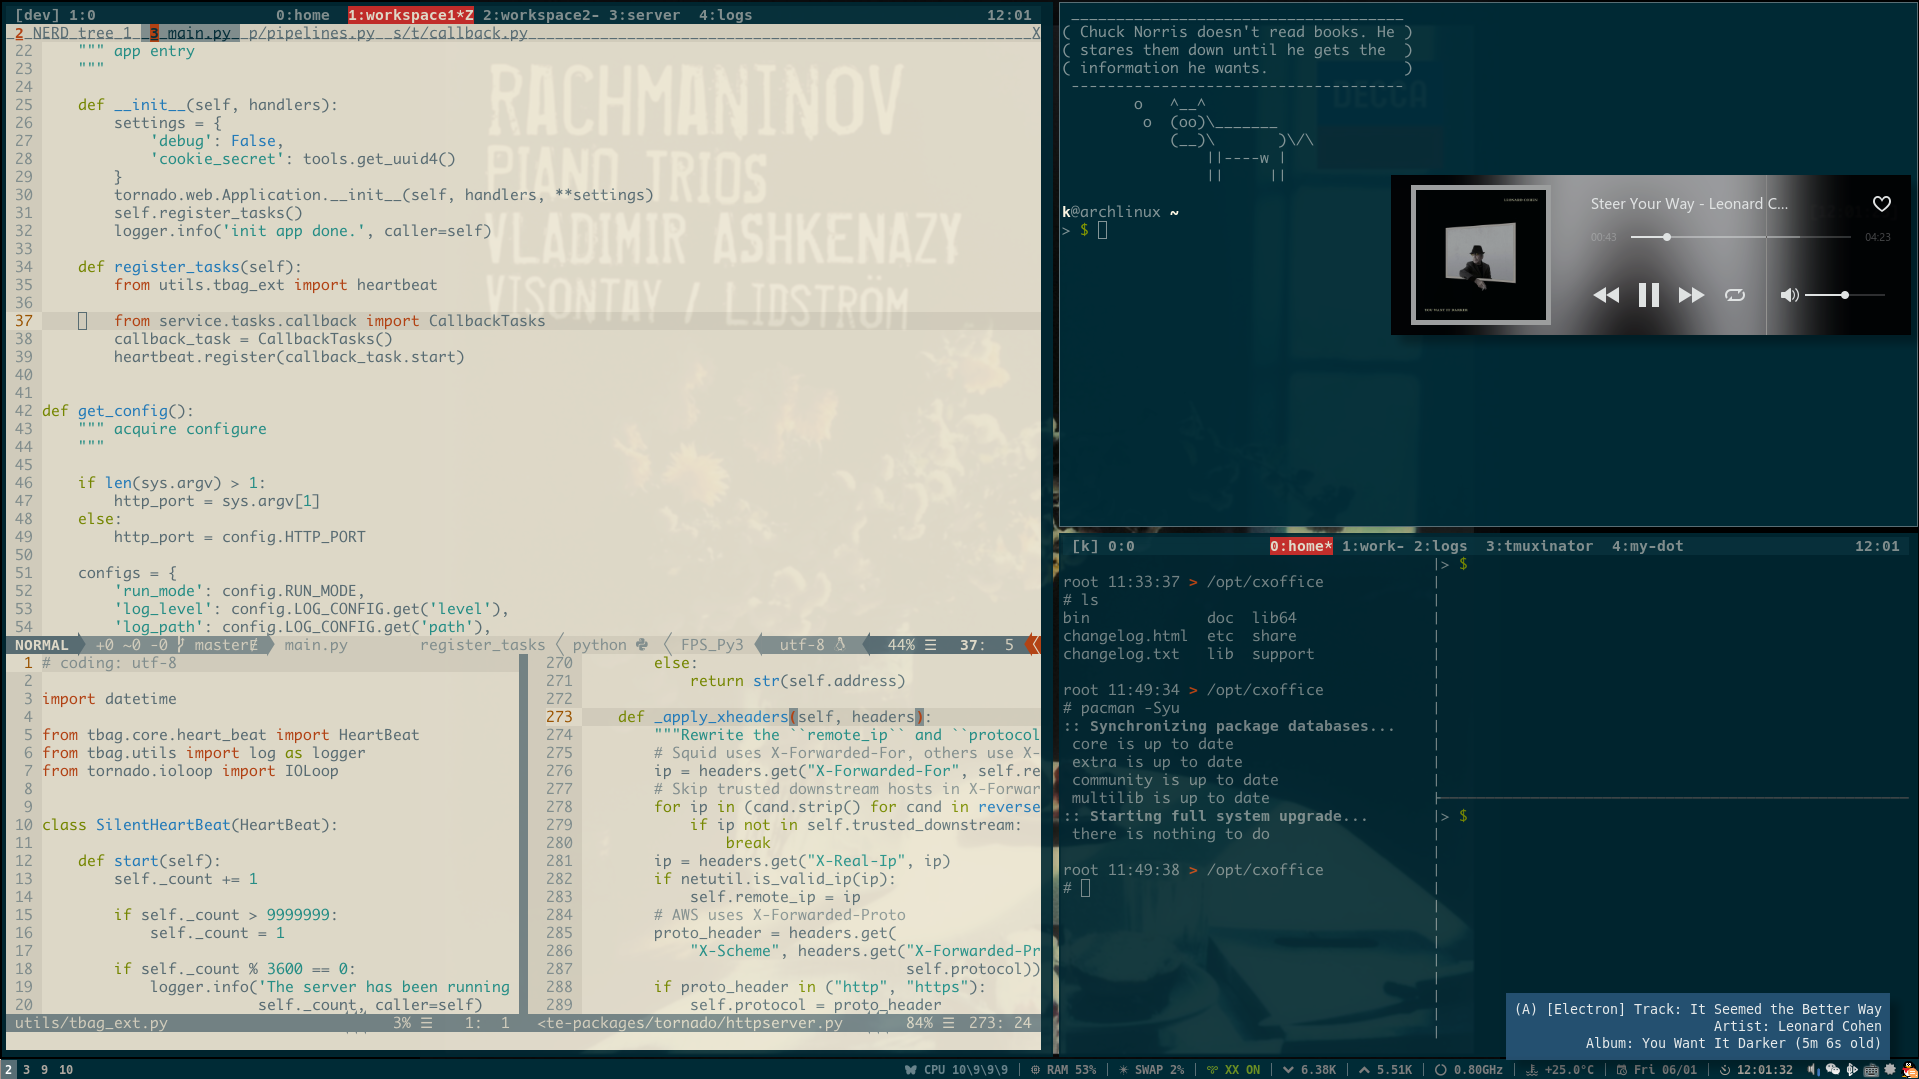
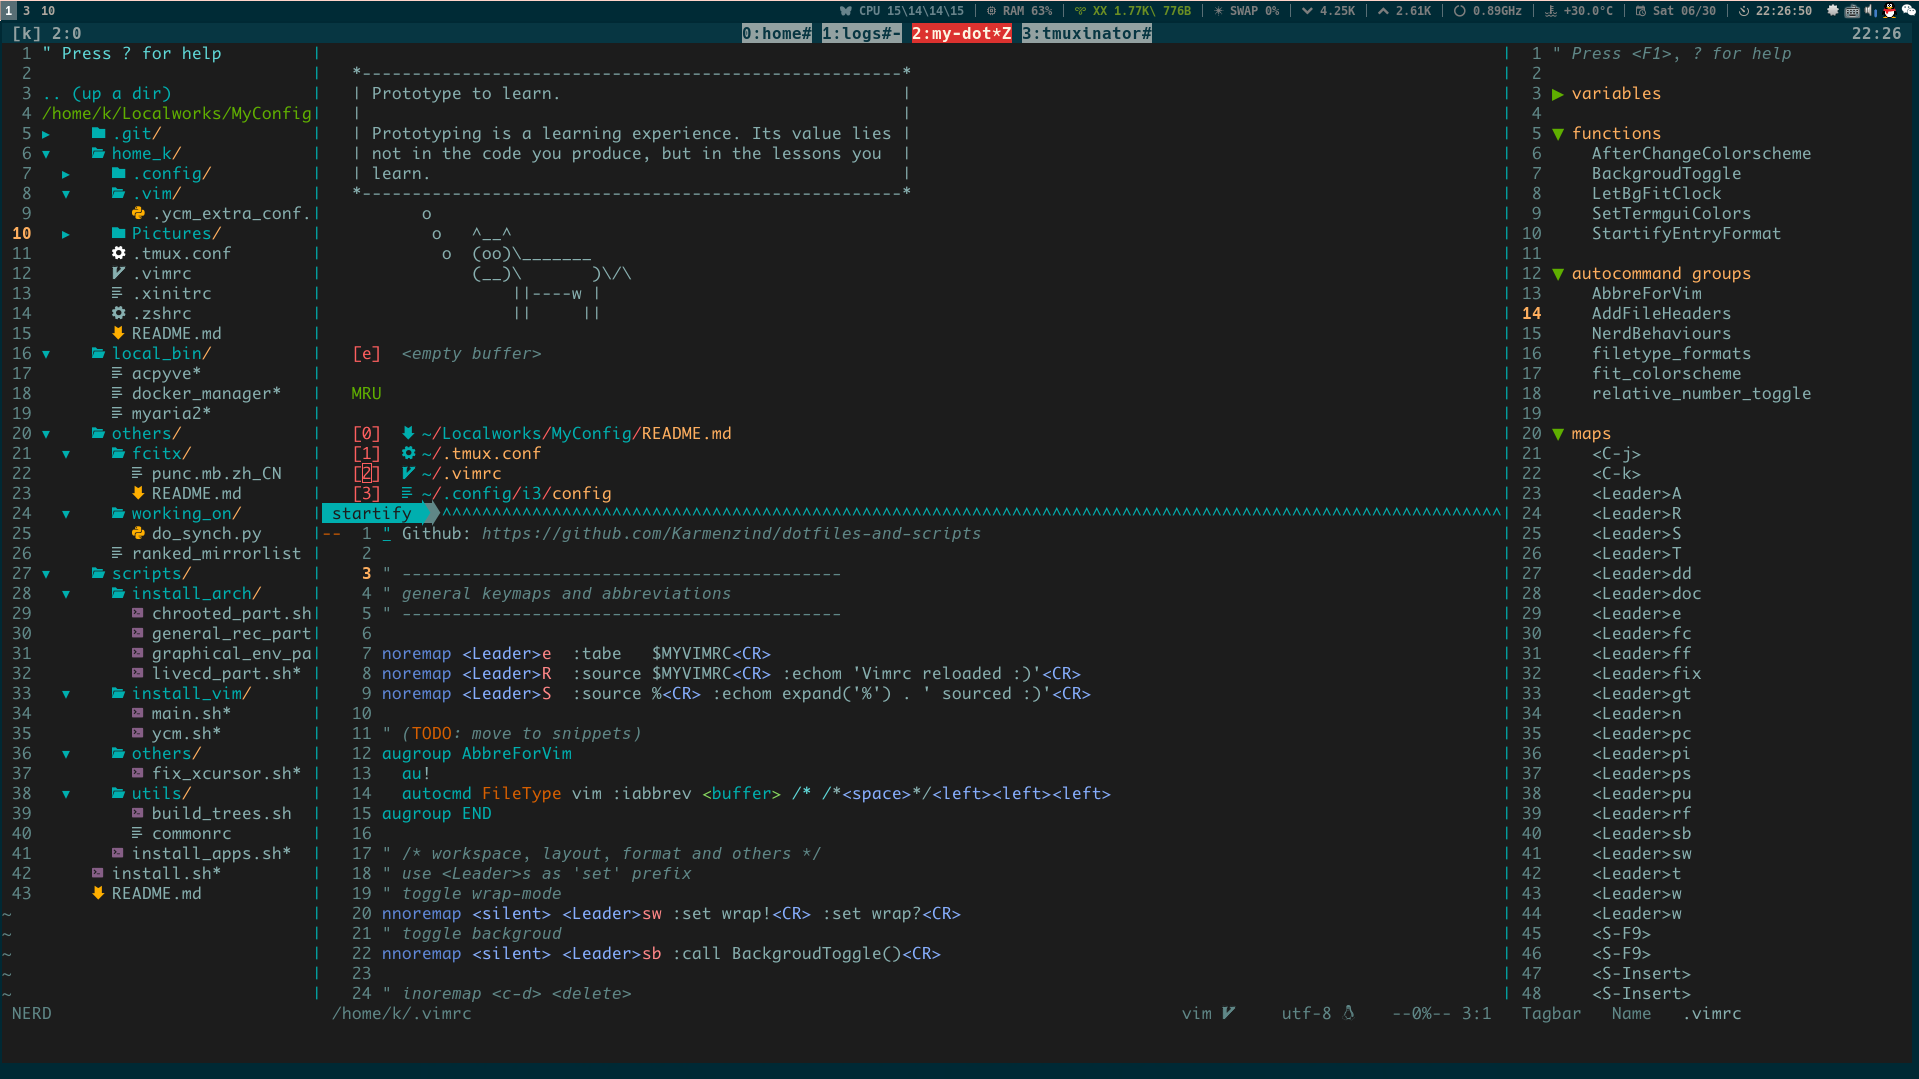
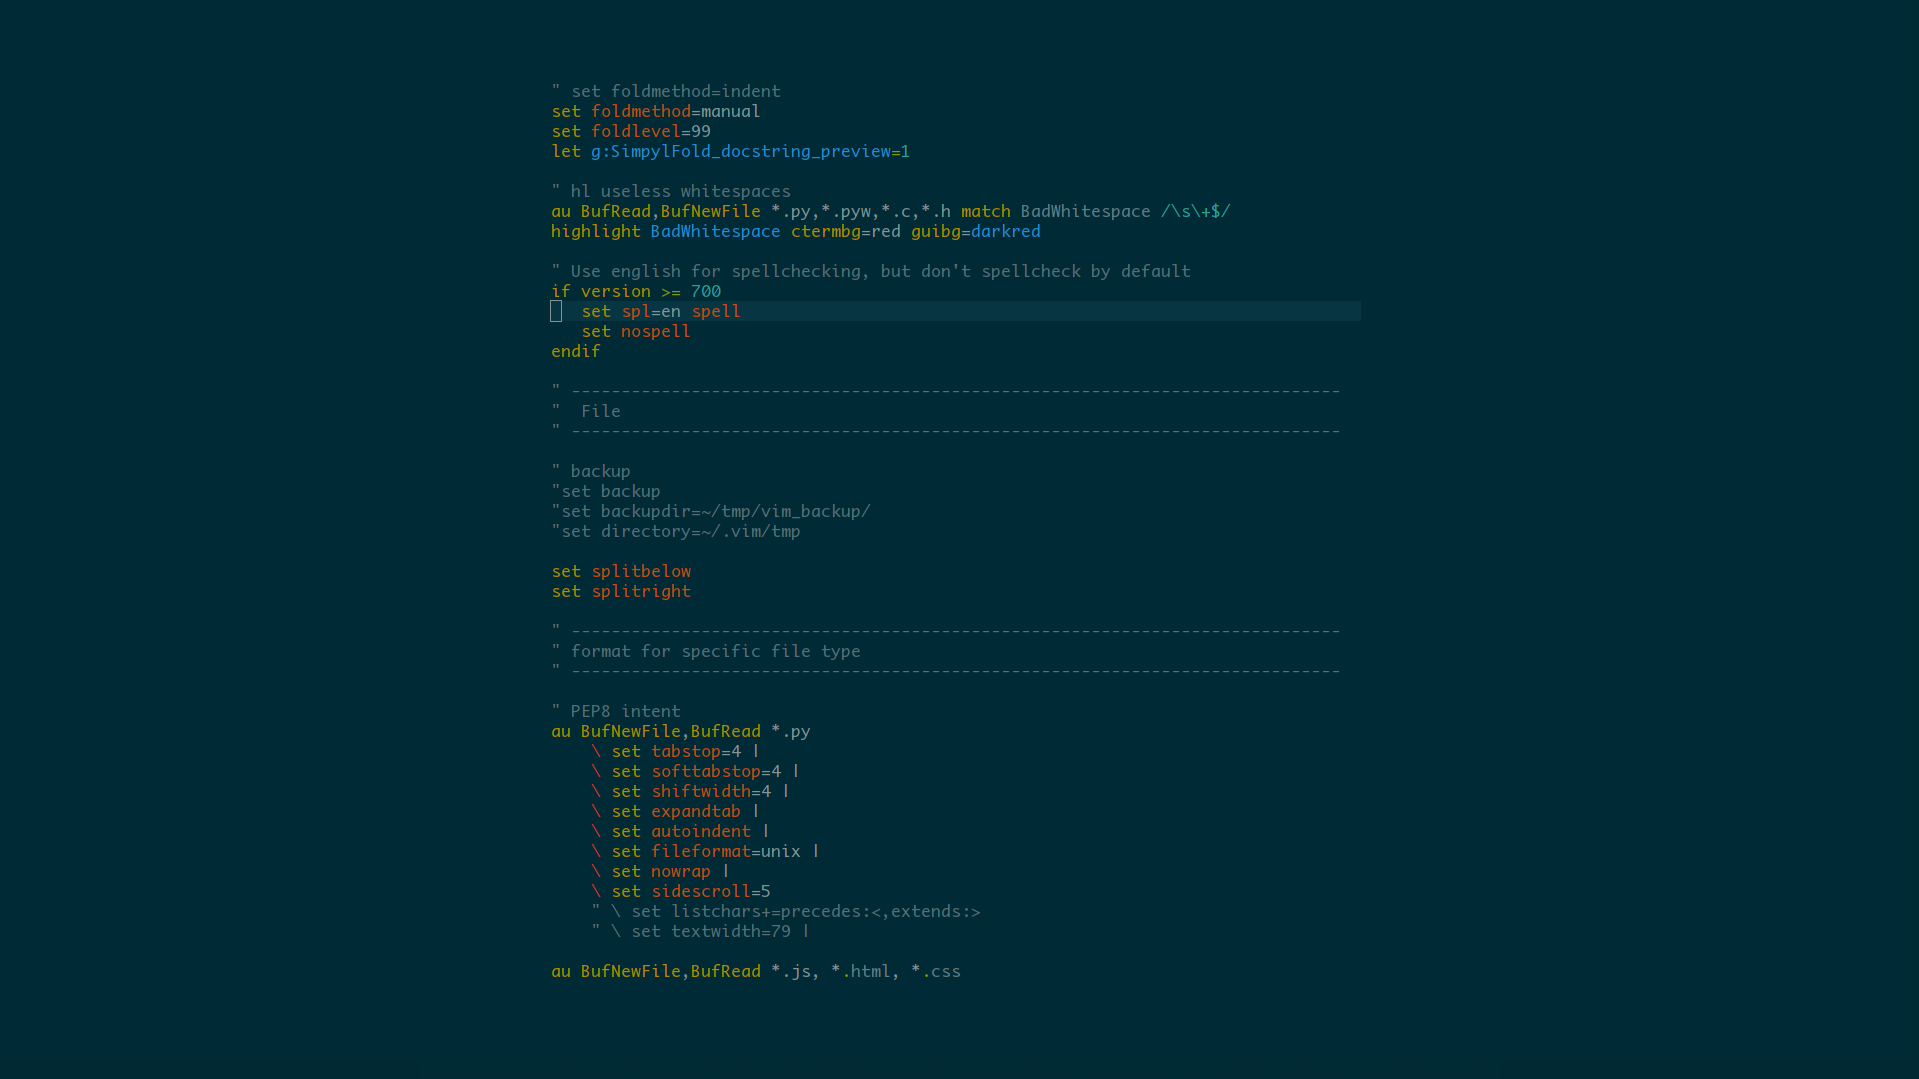
-
Vim:
创建你自己的DotFile仓库
以下两个脚本用来在系统中直接应用本repo中的配置文件
- symlink.py 以创建软连接的方式(推荐)
- do_synch.py 以复制(支持双向)的方式来更新、应用配置文件
你可以fork这个项目,然后借助上述两种方式来同步你自己的配置文件
文件目录
trees are generated by this script
- do_synch.py
- home_k
- .agignore
- .config
- alacritty
- alacritty.yml
- aria2
- aria2.conf
- hook_on_complete.sh
- README.md
- conky
- conky.conf
- deadd
- deadd.conf
- dunst
- dunstrc
- fcitx
- data
- punc.mb.zh_CN
- README.md
- data
- fontconfig
- git
- i3
- config
- config.manjaro
- conky_status.sh
- post_start.sh
- run_oneko.sh
- screenshot.sh
- i3status
- config
- isort.cfg
- mypy
- config
- nvim
- init.vim
- picom.conf
- polybar
- config
- launch.sh
- scripts
- netease_status.py
- updates-pacman-aurhelper.sh
- pycodestyle
- pylintrc
- rofi
- config
- shrc.ext
- volumeicon
- volumeicon
- xfce4
- terminal
- terminalrc
- terminal
- alacritty
- .eslintrc.js
- .golangci.yml
- README.md
- .stylelintrc
- .tmux.conf
- .tmuxinator
- k.yml
- .vim
- mysnippets
- all.snippets
- django.snippets
- go.snippets
- markdown.snippets
- python.snippets
- sh.snippets
- mysnippets
- .vimrc
- .ycm_extra_conf.py
- .xinitrc
- .Xresources
- .zshrc
- install.sh
- local_bin
- acpyve
- docker_manager
- myaria2
- update_hosts
- others
- chromium
- OmegaOptions.bak
- chromium
- README.md
- scripts
- install_apps.sh
- install_vim
- main.sh
- ycm.sh
- others
- fix_xcursor.sh
- utils
- build_trees.sh
- commonrc
- symlink.py
Metadata
Owner
Metadata
:pill: dotfiles and scripts for my Linux and Windows