nextjs-bootstrap-boilerplate
 nextjs-bootstrap-boilerplate copied to clipboard
Boilerplate for a Next.js Project using Bootstrap Styling. Configured for TypeScript and Terraform.
![]() Generated with Goldstack
Generated with Goldstack

Next.js + Bootstrap Boilerplate
Boilerplate for a Next.js + Bootstrap project with support for TypeScript using Yarn ready for deployment to AWS using low-cost, highly scaleable serverless infrastructure.
This boilerplate has been automatically generated using the template:
|
|
Feel free to fork this repository and modify it for your needs, or use the Goldstack project builder to generate a boilerplate specifically generated for your project.
Getting Started
Thank you for using this boilerplate. For any questions or feedback, please be welcome to raise an issue on GitHub 🤗 .
1. Fork and clone the repository
Fork this repository and then clone the fork into your local machine.
For more information, see GitHub documentation - Fork a repo
2. Install required local dependencies
A few dependencies need to be available in your development system. Please verify they are present or install them.
- Node v18+
- Yarn v1.22.5+
- Docker v24+
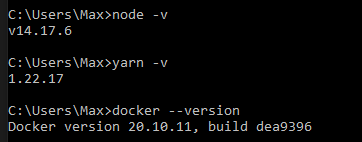
Open a terminal and run the following commands:
node -v
yarn -v
docker --version
This should produce the following output:
If you need to install or update any of the dependencies, please see the following guides:
- Downloading and installing Node.js and npm
- Yarn Installation
- Install Docker for Windows / Install Docker for Mac
3. Initialise project and install NPM Dependencies
Run yarn in your project directory to install and download all dependencies.
The installation process should take around 3-10 minutes depending on the dependencies that need to be downloaded.
You can confirm everything was installed correctly by running yarn -v. This should show a yarn version of 3.0.0+.

4. Build modules
Make sure that the project compiles correctly by running yarn build your project directory:
Note that this command also ensures that all TypeScript project references are configured correctly.
5. Configure VSCode
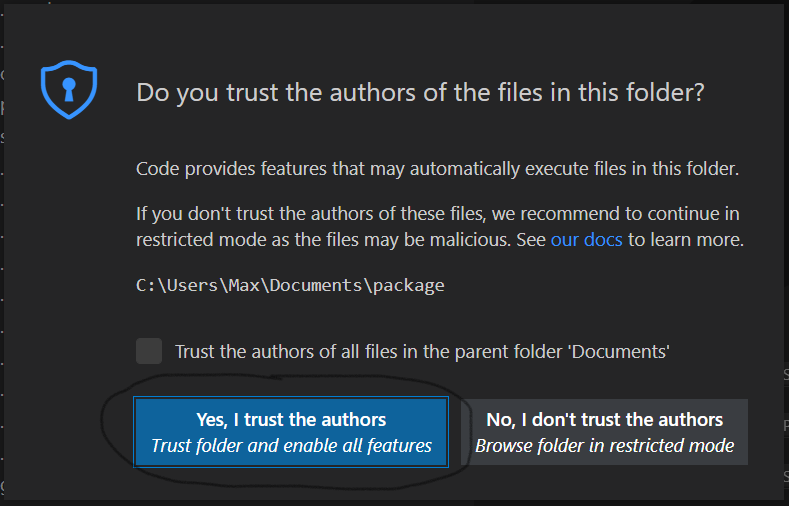
In order to setup VSCode, open the project in VSCode.
VSCode may prompt you to ask if you trust the authors of the workspace. Respond with Yes.
You may also be asked if you want to install recommended extensions for this workspace. We recommend to do so since the template will be optimised to work with the suggested extensions.
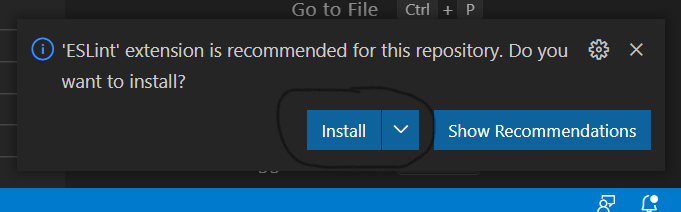
If you want to install the necessary extensions manually, here are links to the extensions required:
6. Initialise TypeScript
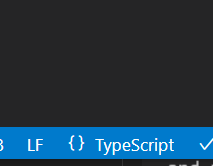
Locate a .ts or .tsx file in the workspace and open it. When asked whether to use the workspace TypeScript version, click Allow.
In the status bar on the bottom right-hand corner of the VSCode editor you should now see TypeScript.
7. Local Development
Go to the folder packages/app-nextjs-bootstrap and run yarn watch. This will start a local development server.
8. Deploy to AWS
If you want to deploy your project to AWS, you will need to make some changes to the configuration files included in this project.
Specifically, the goldstack.json in the packages/app-nextjs-bootstrap folder.
{
  "$schema": "./schemas/package.schema.json",
  "name": "app-nextjs-bootstrap-1",
  "template": "app-nextjs-bootstrap",
  "templateVersion": "0.1.0",
  "configuration": {},
  "deployments": [
    {
      "name": "prod",
      "awsUser": "goldstack-dev",
      "awsRegion": "us-west-2",
      "configuration": {
        "hostedZoneDomain": "dev.goldstack.party",
        "websiteDomain": "nextjsbootstrap-1646424912086.tests.dev.goldstack.party",
        "defaultCacheDuration": 10
      },
      "tfStateKey": "app-nextjs-bootstrap-1-prod-cd7f1f0a63ccb93ef36d.tfstate"
    }
  ]
}
The key properties you will need to update are:
-
deployments[0].configuration.hostedZoneDomain -
deployments[0].configuration.websiteDomain
Also you need to delete deployments[0].tfStateKey.
For more information on these configuration options, see Goldstack Documentation / Next.js + Bootstrap Template / Configure.
You will also need to ensure that you have a valid AWS user configure to deploy to AWS. For this, create a file in /config/infra/config.json (relative to project root).
{
  "users": [
    {
      "name": "goldstack-dev",
      "type": "apiKey",
      "config": {
        "awsAccessKeyId": "...",
        "awsSecretAccessKey": "...",
        "awsDefaultRegion": "us-west-2"
      }
    },
    {
      "name": "goldstack-prod",
      "type": "apiKey",
      "config": {
        "awsAccessKeyId": "...",
        "awsSecretAccessKey": "",
        "awsDefaultRegion": "us-west-2"
      }
    }
  ]
}
For more information on configuring your local AWS users, please see Goldstack Documentation / AWS Configuration.
Once your AWS user is configured you can run yarn infra up prod in the /packages/app-nextjs-bootstrap folder. For more information on the infrastructure commands for this project, see Goldstack Documentation / Next.js + Bootstrap Template / Infrastructure.
9. Contribute to Goldstack
Have questions or ideas or want to contribute to the project? Please head over to github.com/goldstack/goldstack.