How to segment with color like in the demo?
Hi! I've set up all the requirements and then gone through the "getting started" section. I'm running the 'everything' segment tool from command line as stipulated in the readme:
python scripts/amg.py --checkpoint <path/to/checkpoint> --model-type <model_type> --input <image_or_folder> --output <path/to/output>
- Model: vit_h
- Script: amg.py unmodified
- NVIDIA 4070.
It's giving me some black and white outputs: I've only included these two but it provides about 50 separate masks (which I guess is everything it could detect in the image.
Is this normal?
Additionally, my aim is to segment the whole image with some color masks as in the online demo:
How can I get something like this? Thanks!
The black and white outputs are normal, the amg.py script only saves the raw masking data itself, and leaves the visualization up to the end user.
How you handle the visualization depends on how you want to use it I guess. The original demo uses the browser (and therefore html/css/javascript) to handle the visualization, which is quite an involved thing to build. If you're ok with just directly saving images from the amg.py script, then it would be possible to modify it to draw outlines on the original image and save that instead. There was a recent post about doing this with one of the notebook files that might be relevant, in case you want to do it that way.
If you want to do it from the amg.py script, you'd need to modify the write_masks_to_folder(...) function to draw & save images with an outline, instead of just the raw mask. There are 4 steps to this:
-
Modify the original call to the function so that it is given a copy of the original image (in bgr format, which is what opencv/cv2 uses by default). This is needed so that you can draw the original pixel colors when saving the images. So change the original line 228 to something like:
write_masks_to_folder(cv2.cvtColor(image, cv2.COLOR_RGB2BGR), masks, save_base) -
Update the original function definition itself to take in the image data, so that it can be used in the function. So change line 152 to something like:
def write_masks_to_folder(image_bgr, masks: List[Dict[str, Any]], path: str) -> None: -
Modify the function itself to first generate the outline data, then draw it on to a copy of the original image before saving the result. This is a bit more involved, but it's just a matter of replacing the original image saving step (line 158) with a few more steps:
# Generate outline data from the masks
uint8_mask = 255 * np.uint8(mask)
mask_contours, _ = cv2.findContours(uint8_mask, cv2.RETR_EXTERNAL, cv2.CHAIN_APPROX_SIMPLE)
if len(mask_contours) == 0:
    continue

# Draw outlines onto a copy of the original image
outline_thickness = 16
outline_color = [175, 127, 33]
out_image = image_bgr.copy()
cv2.polylines(out_image, mask_contours, True, outline_color, outline_thickness, cv2.LINE_AA)

cv2.imwrite(os.path.join(path, filename), out_image)
- Lastly, make sure to import the numpy library ('as np'), since it's used to make the mask outlines. So near the top of the script, around line 7 or 8, add (on a new line):
import numpy as np
After those changes, if you run the amg.py script again, it should generate a bunch of (color) pictures with the outlines drawn, instead of the raw masks. It doesn't include the blurring and/or cropping effects like the web demo, though those can be added with more code.
@heyoeyo Thanks for going to that effort! This works really well.
You mentioned:
"If you're ok with just directly saving images from the amg.py script, then it would be possible to modify it to draw outlines on the original image and save that instead."
Is there a superior way of passing the SAM segmented image through openCV to some other ML tool where I could perform more complex analysis of the image? (counting dots, distances between objects, finding angles, etc.). The script is pretty fast and does a great job with your modifications. I can grab about 30 masks in around 3 seconds. It works for me to call this script from my other scripts when needed.
I have an object detector producing labelled images. I would like SAM to take these in as input, and using these labelled images, segment the main object of interest within the label. Obviously this would be faster as the labelled sections would be less busy than a full image and segment quicker. I posted something related to this in another thread though it may be closed.. Using the amg script, I can give the SAM model an input photo file that is labelled. I presume I could map the exact labelled box corner coordinates to the SAM "box/square prompt" as is possible in the visual demo (is there a quick way to do this in a script or command line?). SAM should then quickly produce less masks (but still multiple) than if I gave it the whole image as there should be less clutter inside these label bounding boxes from my object detector.
At this point, I would like to still grab what I'm hoping is the highest confidence / most obvious mask (instead of a whole car, maybe just the hub cap (excluding the tire) if my box prompt was around the entire wheel for example. Is there a way to prompt this specifically? (maybe just give it a mask point in the dead center of the image and hope it correctly segments what I desire based on a predicted confidence score?).
Further, are there any identifying coordinates generated by the model for these masks that I could use to draw inferences from in openCV for example. If the segmented mask had some coordinates, I could draw lines between points of interest on the mask, or between separate masks, etc. But this might prove difficult if I can't pinpoint the segmented mask somehow.
Thanks!
Is there a superior way of passing the SAM segmented image through openCV to some other ML tool where I could perform more complex analysis of the image?
The best way is probably just whatever you find easiest/most convenient. From a technical perspective, it might be 'simplest' (not necessarily 'best') to do everything in a single script, instead of using one script/model to generate a set of images, then processing those images with another script/model etc. Since that way you avoid a lot of saving/loading of images and can keep access to non-image results (like confidence values or bounding boxes) for use in later processing/analysis. But again, if you have a way that is comfortable and works, then that's probably good enough.
... map the exact labelled box corner coordinates to the SAM "box/square prompt" as is possible in the visual demo...
There are 2 ways you might want to approach this, depending on how you want it to work. One way would be to crop the image that is used by the amg.py script, using the bounding box from the object detector. You could crop the image manually using a photo editor or something, but assuming the detector gives a bounding box in the form of a top-left xy coordinate and a bottom-right xy coordinate, you can crop directly inside the amg.py script by adding a line just after the image loading step:
image = image[y1:y2, x1:x2, :]
(where x1 & y1 are the top-left coordinates and x2 & y2 are the bottom-right coordinates coming from the object detector)
That will cause the masks to all be generated from the inside of the box from the detector, which might give better results. It's not necessarily going to be much faster, since the amg.py script always generates the same number of mask prompts independent of the input image, though you can reduce this (especially for smaller cropped images) by adding another argument when running the amg.py script, like: --points-per-side 15 (the default is 32, so anything lower should run faster).
The other approach (more like the box select in the demo) is to use the SamPredictor which let's you set targeted points/boxes as a prompt. There isn't a script like amg.py for using this, but there is a notebook with a bunch of examples. You can always make a script from the notebook code as well, something like:
Code for box prompt script
import cv2
import numpy as np
from segment_anything import SamPredictor, sam_model_registry

# Settings
model_type = "vit_b" # or "vit_l" or "vit_h"
model_file_path = "path/to/model/file.pth"
image_path = "path/to/image.jpg"
box_xyxy_prompt = [100, 200, 300, 400] # (x-min, y-min, x-max, y-max)

# Set up model
sam = sam_model_registry[model_type](checkpoint=model_file_path)
sam.to(device="cuda") # or use "cpu" if not using a gpu
predictor = SamPredictor(sam)

# Perform segmentation
image_bgr = cv2.imread(image_path)
predictor.set_image(image_bgr, image_format = "BGR")
masks, iou_scores, _ = predictor.predict(box=np.array(box_xyxy_prompt))
print("Mask scores:", iou_scores)

# For convenience, set up some helper functions to generate visualizations
uint8_masks = 255 * np.uint8(masks)
make_mask_3ch = lambda idx: cv2.cvtColor(uint8_masks[idx], cv2.COLOR_GRAY2BGR)
make_masked_bgr = lambda idx: cv2.bitwise_and(make_mask_3ch(idx), image_bgr)
make_darkened_mask = lambda idx: cv2.addWeighted(image_bgr, 0.3, make_masked_bgr(idx), 0.7, 0.0)

# Display results
cv2.imshow("Mask0", make_darkened_mask(0))
cv2.imshow("Mask1", make_darkened_mask(1))
cv2.imshow("Mask2", make_darkened_mask(2))
cv2.imshow("Original", cv2.rectangle(image_bgr, box_xyxy_prompt[0:2], box_xyxy_prompt[2:], (0,255,255), 2))
cv2.waitKey(0)
cv2.destroyAllWindows()
You can change the settings (including the bounding box coordinates) near the top of the code. This doesn't save anything, it just displays the 3 masks that are generated by the model (and prints the confidence scores to the terminal), you can close the windows by pressing any key. Also, the images end up stacked on top of each other, so you may need to move them around to see. If you do want to save the results, you can copy the saving (and outline/visualization) code from the amg.py script to do that (specifically, it's the cv2.imwrite(...) function that does the saving).
...grab what I'm hoping is the highest confidence ...
The amg.py script (as well as the SamPredictor) do output confidence values for each mask. In the amg.py script, you can sort the outputs by confidence, using something like:
masks_sorted_by_iou = sorted(masks, key=(lambda x: x["predicted_iou"]), reverse=True)
or
masks_sorted_by_stability = sorted(masks, key=(lambda x: x["stability_score"]), reverse=True)
Then you could take the top 3, with something like: top_3_masks = masks_sorted_by_iou[:3], if you pass that to the write_masks_to_folder(...) function then it should end up saving only the top 3 'best' masks. However, it's worth noting that the iou score is more a measure of the quality of the mask, not it's relevance (i.e. it may not be the 'most obvious' thing to be masked). I'm guessing the 'stability_score' is similar (though I don't much about it to be fair). Getting the most relevant mask is tricky, since it's really subjective. The simplest thing would be to find an object detector that detects the thing that's most relevant to you (e.g. detects hub caps specifically, as opposed to wheels, if that's what you wanted to segment), which is easier said than done! You could try something like Grounding DINO which let's you detect things using text descriptions (and there's also a combined GDINO + SAM implementation), though it's not always perfect.
... are there any identifying coordinates generated by the model for these masks ...
The amg.py script includes coordinates within the mask info, for example there is a bounding box given for each segmentation mask. You can use that info to draw the midpoint of the bounding box with something like:
# Calculate mid point of mask bounding box
x1, y1, box_w, box_h = mask_data["bbox"]
xy_mid = (int(x1 + box_w / 2), int(y1 + box_h / 2))

# Draw the mid point onto the image as a circle
circle_color = [0, 255, 0]
circle_radius = 6
cv2.circle(out_image, xy_mid, circle_radius, circle_color, -1, cv2.LINE_AA)
If you use the outline code from before, you'd want to add this after the cv2.polylines(...) part, but before the cv2.imwrite(...) part. Obviously, you can leave out the circle drawing part if you wanted to draw something else. Beyond that, there isn't really any identifying info about the segmentation (at least nothing 'semantic', like where the front/back is or points of interest etc.), that seems like a more complicated task, so I'd guess it would need to be handled by an entirely separate model/analysis tool.
Hi! I've set up all the requirements and then gone through the "getting started" section. I'm running the 'everything' segment tool from command line as stipulated in the readme:
python scripts/amg.py --checkpoint <path/to/checkpoint> --model-type <model_type> --input <image_or_folder> --output <path/to/output>
- Model: vit_h
- Script: amg.py unmodified
- NVIDIA 4070.
It's giving me some black and white outputs: I've only included these two but it provides about 50 separate masks (which I guess is everything it could detect in the image.
Is this normal?
Additionally, my aim is to segment the whole image with some color masks as in the online demo:
How can I get something like this? Thanks!

You can reference this project: https://github.com/Nomination-NRB/SAM-webui
@heyoeyo Hey I appreciate all your help in this post. How do I extract only the mask output in its original color without any of the original image pixels outside the mask. For example in the above dog image I want only the dog mask in its original color and nothing else. I've tried various methods from first principles to AI coding agents but nothing seems to be working. This is open to all, any help would be greatly appreciated.
How do I extract only the mask output in its original color without any of the original image pixels outside the mask
This depends a bit on what you mean by not having any of the original pixels. If you mean not being able to see the original pixels, then you can do this by using the SAM mask as an alpha channel for the original image. This would set all of non-mask pixels to be transparent. This can be done with something like:
import cv2
import numpy as np

# Load image & mask (or get these from SAM script)
img_bgr = cv2.imread("/path/to/image.jpg")
mask = cv2.imread("/path/to/mask.png")

# Make sure mask is 1 channel/grayscale
if mask.ndim == 3:
  mask = cv2.cvtColor(mask, cv2.COLOR_BGR2GRAY)

# Make sure the mask is binary, with values 0 & 255
mask = np.uint8(mask > (mask.max() // 2)) * 255

# Make sure mask is the same size as the image
img_h, img_w = img_bgr.shape[0:2]
same_height = mask.shape[0] == img_h
same_width = mask.shape[1] == img_w
if not (same_height and same_width):
  mask = cv2.resize(mask, dsize=(img_w, img_h), interpolation=cv2.INTER_NEAREST)

# (Optional) Zero out the masked BGR values for smaller file size
for ch in range(3):
  img_bgr[:,:,ch] = cv2.bitwise_and(img_bgr[:,:,ch], mask)

# Use mask as alpha channel and save result
img_bgra = cv2.cvtColor(img_bgr, cv2.COLOR_BGR2BGRA)
img_bgra[:,:,3] = mask
cv2.imwrite("result.png", img_bgra)
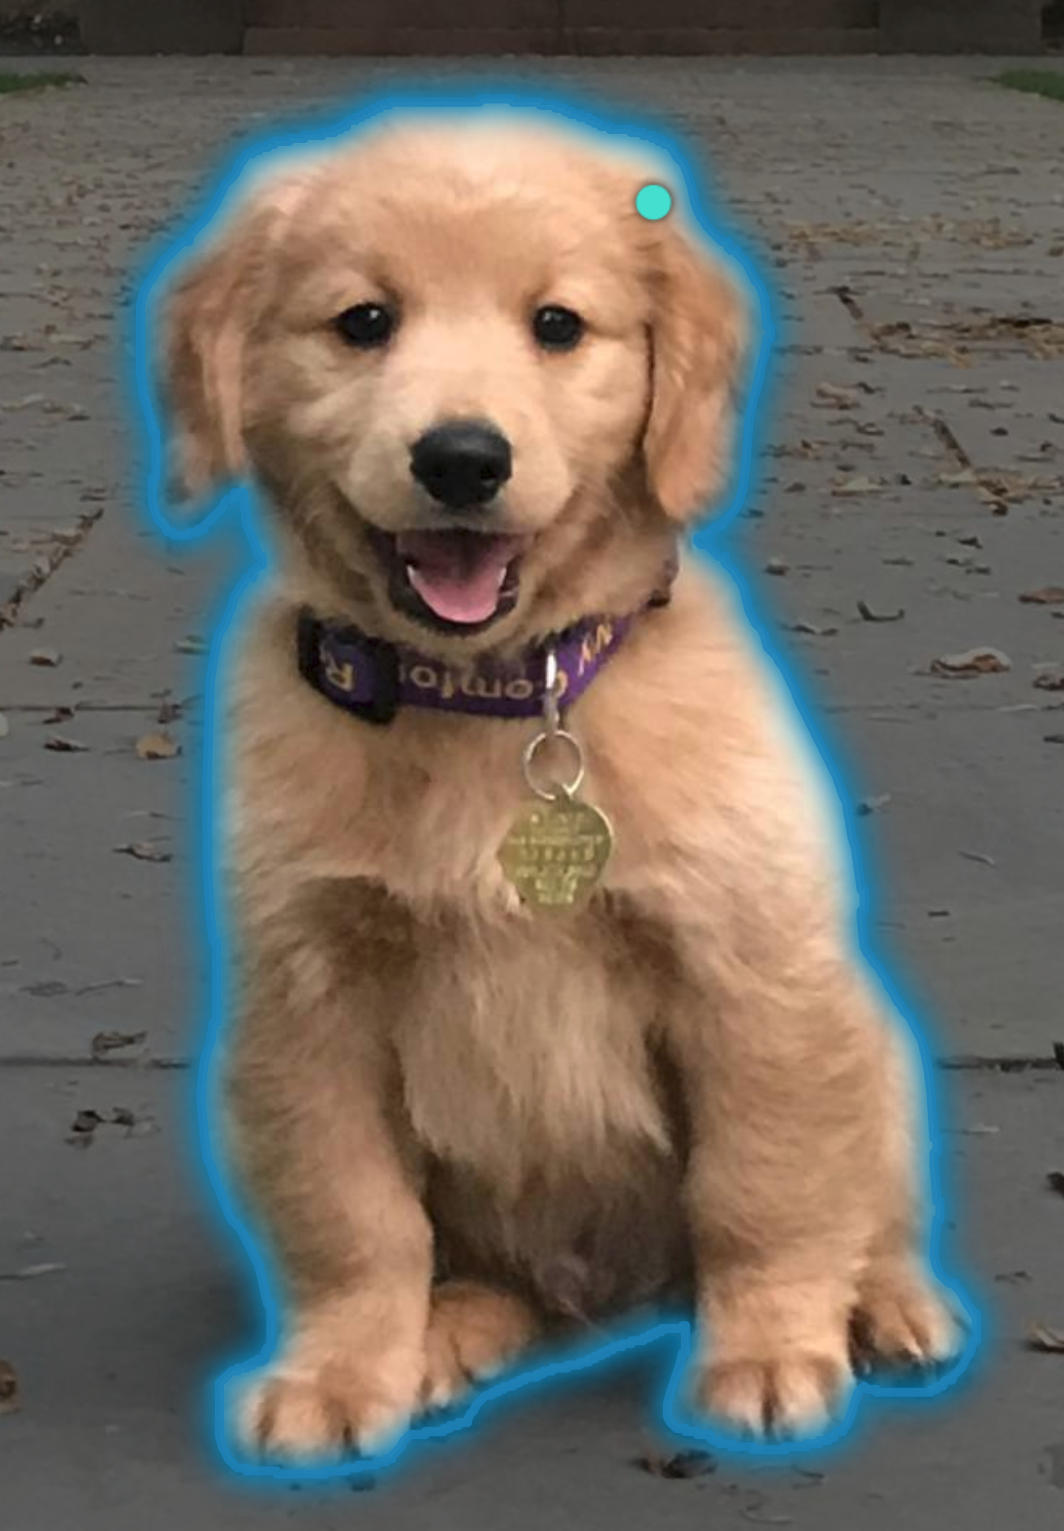
As an example, here's the dog image included in the SAM repo:
Here's a mask from SAM:
And here's the result from the code above:
This result is still the same size as the original image, so you may want to crop it to more tightly fit to the object. There's another similar post (see issue #530) about doing all of this that may be useful (or alternatively, I have a script for doing this interactively). However even with cropping, there will still be transparent pixels that aren't part of the object, which may be a problem depending on what you mean by not including the any out-of-mask pixels. If you did actually need to not have any transparent pixels either, then the solution would depend on what format you would want to use.
Thank you @heyoeyo, this was very useful. Suppose i wanted the final output just to be the pixels of the dog, meaning the height and width of the image would correspond to the dog pixels only. In essence i want the output to be just the contour of the dog and nothing else.
You can crop around the mask using something like:
contours_list, _ = cv2.findContours(mask, cv2.RETR_EXTERNAL, cv2.CHAIN_APPROX_SIMPLE)
biggest_contour = max(contours_list, key=cv2.contourArea)
x, y, w, h = cv2.boundingRect(biggest_contour)
x1, x2, y1, y2 = x, x+w, y, y+h
cropped_img = img_bgra[y1:y2, x1:x2, :]
This gives a rectangular result, so it will still contain transparent pixels that aren't part of the masked object. As far as I know, there aren't any standard image formats that support non-rectangular shapes, so if you wanted just the (non-rectangular) contour only, it would require a custom format.
Thank you once again @heyoeyo. I understand now that opencv supports only rectangular shape formats as inputs, so it was foolish of me to think otherwise. So within this framework I have to do post processing. Thanks a ton 💯