qbittorrent-to-rclone-heroku
 qbittorrent-to-rclone-heroku copied to clipboard
trafficstars
added anti-ban
- rclone uploads replaced with a new download page.
- for more runtime use website-pinger or any external pingers
- VueTorrent web ui added
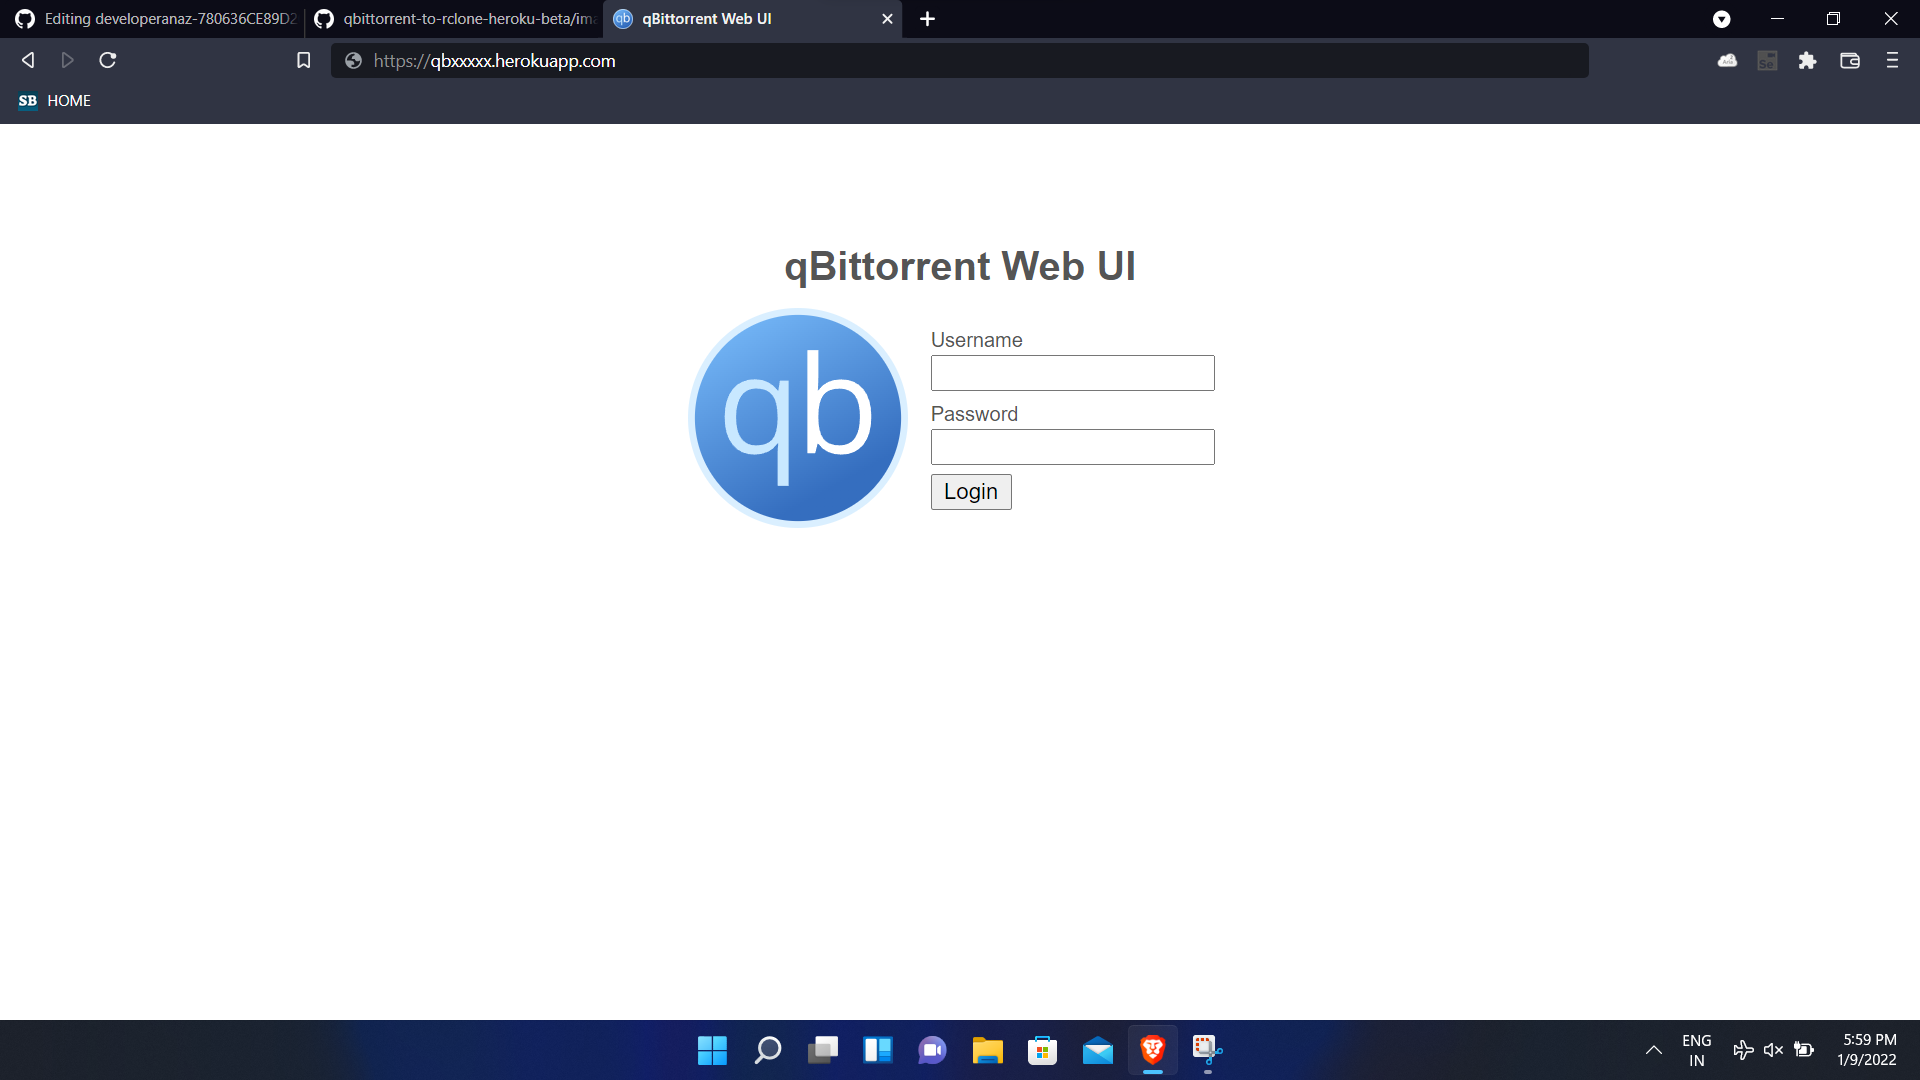
qBittorrent
Heroku has set torrent reuploaders or URL reuploaders as a policy violating source code.Please use it at your own risk, your heroku account has a higher chance of being banned.
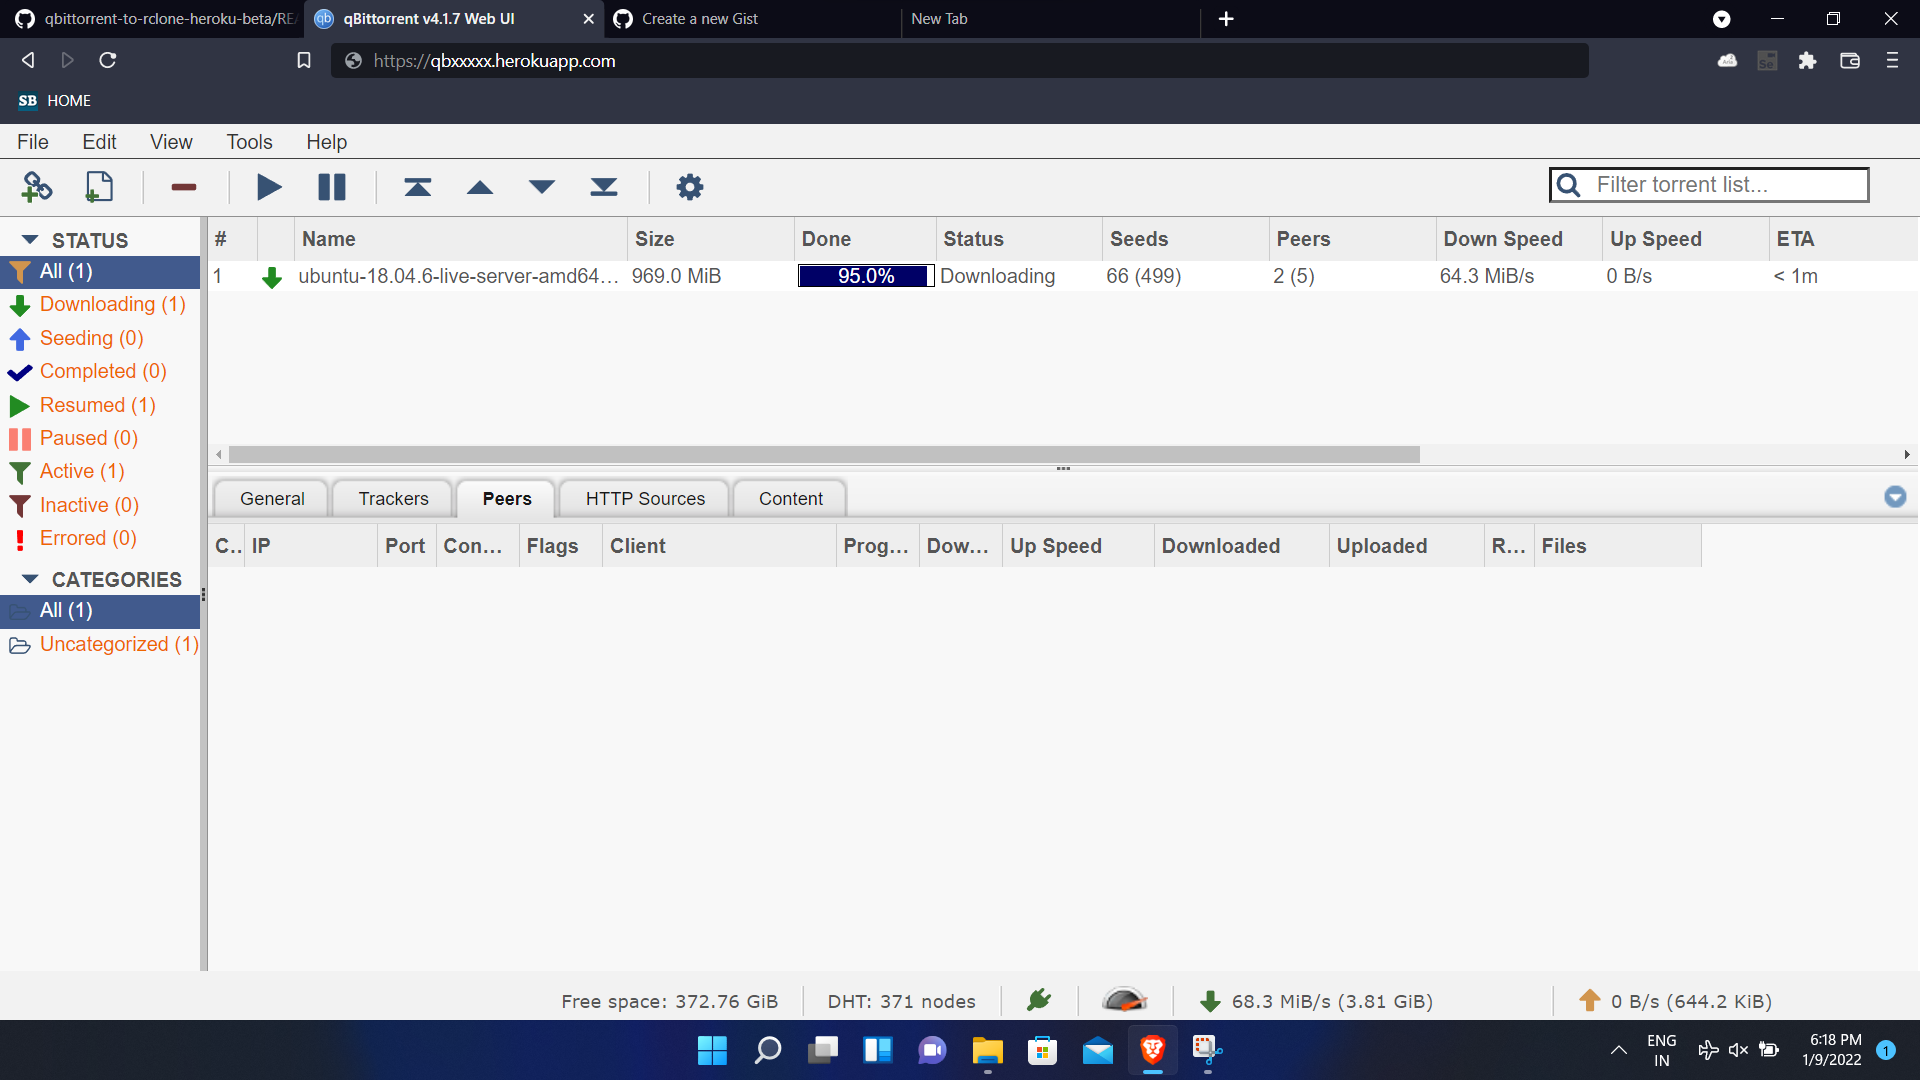
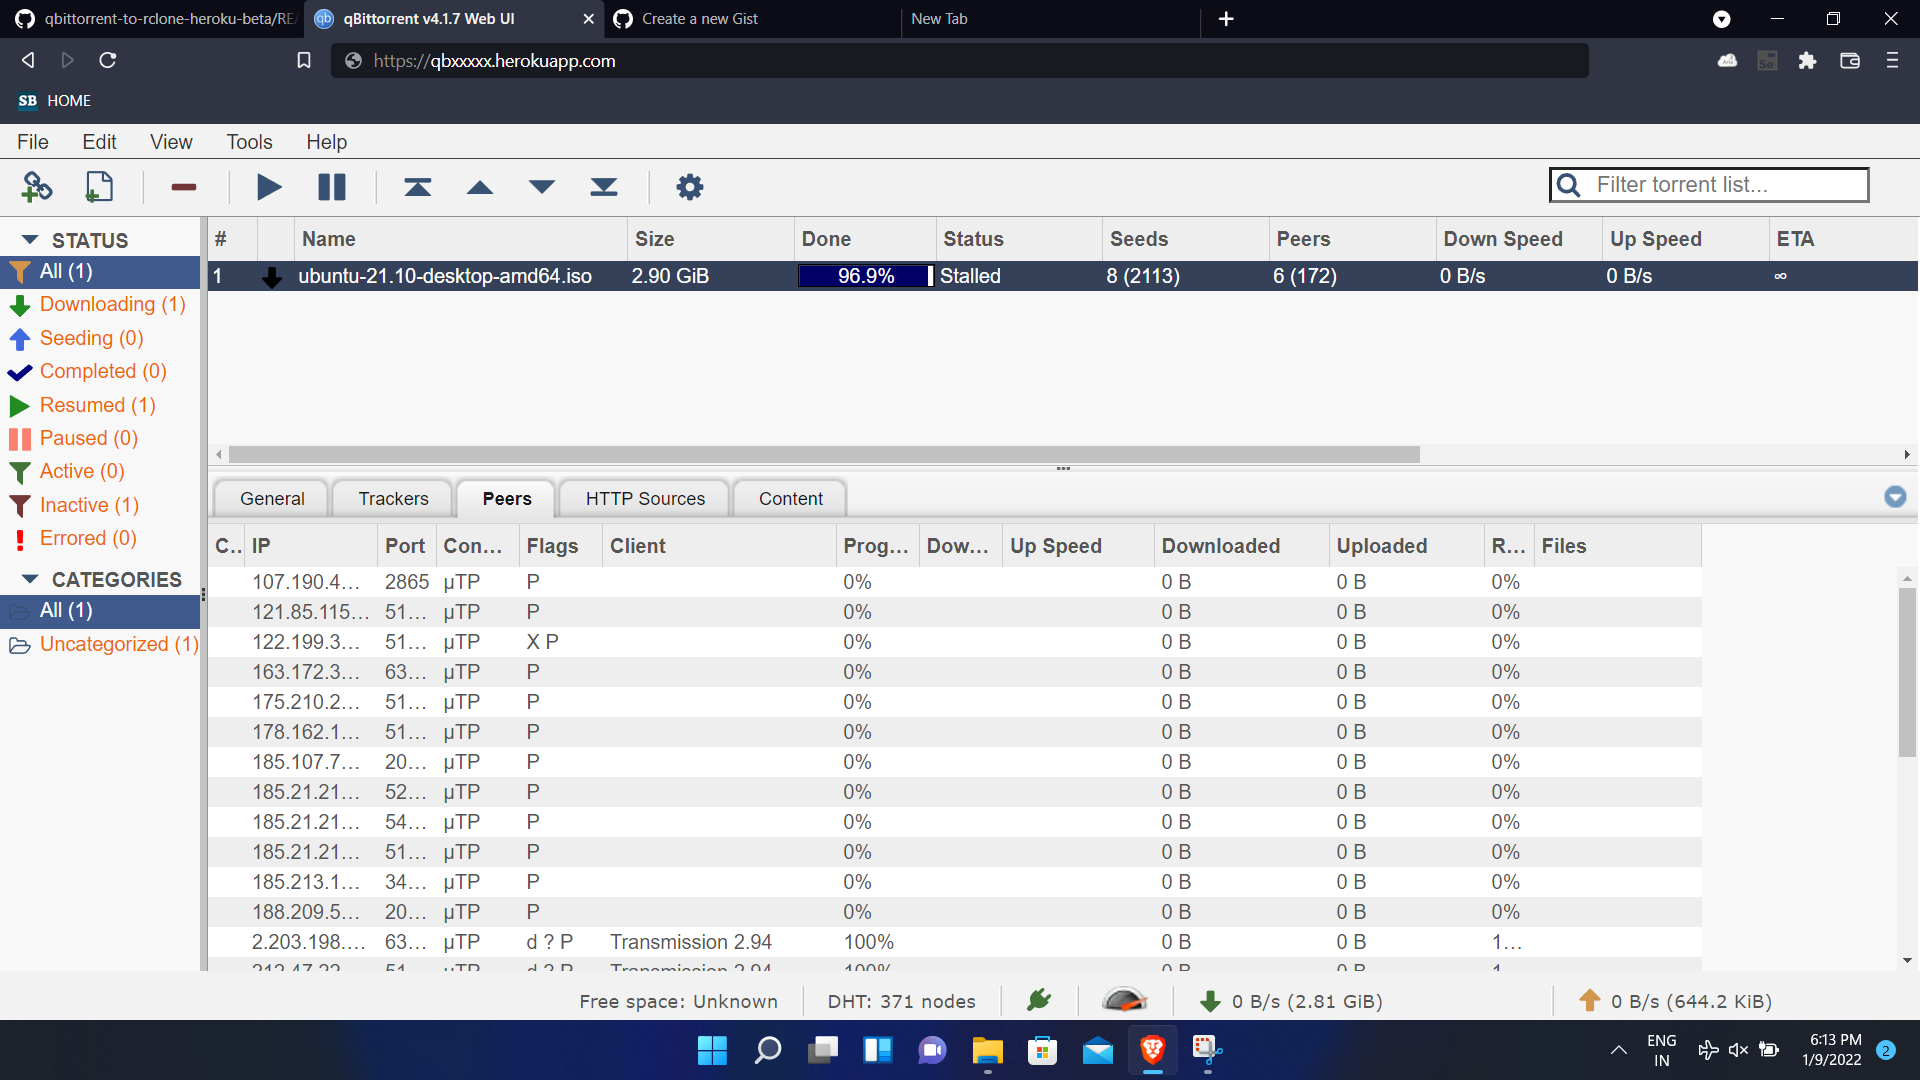
This web application downloads your torrent-files or magnet links or torrent http links and uploads directly to your any rclone drive instantly. Here qBittorrent-nox (Linux) is used as web UI And Rclone is used as Uploader with the help of Docker.
Special thanks to rclone and qbittorrent-nox
How To Deploy ?
Step 1
- Star my repository
- Create a Heroku Free account
- Log in to Heroku in any browser
- Click on the Rapid deployment button
 and deploy app
Step 2 (setting Config Vars)
- Go to deployed application in heroku
- Switch to application settings.
- Scroll down to see
config vars> clickReveal Config Vars.
ii) WEBUSER
- Type Your new Username in
WEBUSERsection
iii) WEBPASSWORD
- Type Your New Password in
WEBPASSWORDsection
iv) SELFPING (Optional hidden config var)
This config var is hidden and can be activated by
- Go to deployed application in heroku
- Switch to application settings.
- Scroll down to see
config vars> clickReveal Config Vars. - use key as
selfpingand corresponding value asyour-deployed-app-name - example image here
whats new
Added VueTorrent (Optional hidden config var)
This config var is hidden and can be activated by
- Go to deployed application in heroku
- Switch to application settings.
- Scroll down to see
config vars> clickReveal Config Vars. - Use
alternative_webuias key & correspondingtrueas value to activate vuetorrent
alternative_webui

Common Errors
- If
This page isn’t workingIf the problem continues, contact the site owner. HTTP ERROR 401is shown in browser change your browser url fromhttps://myapp.herokuapp.comtohttp://myapp.herokuapp.com/. ie., change https to http
SCREENSHOTS
For VPS users (via Docker)
REQUIREMENTS:
Dockerandcurlmust be installed in your VPS- A little knowledge about docker containers and their ports
- https://docs.docker.com/reference/
- Run below command for installer file
curl -L 'https://raw.githubusercontent.com/developeranaz/qbittorrent-to-rclone-heroku/main/docker_build_and_run_for_VPS.sh' >install.sh; chmod +x ./install.sh
- Run below command by replacing your own port username and password
./install.sh -c 8081 -u newusername -p newpassword
Tested using Google free cloudshell