How-to-use-Readline-in-NodeJS
 How-to-use-Readline-in-NodeJS copied to clipboard
⌨️ How to manipulate the terminal window using NodeJS
How to manipulate the terminal window in NodeJS - Readline
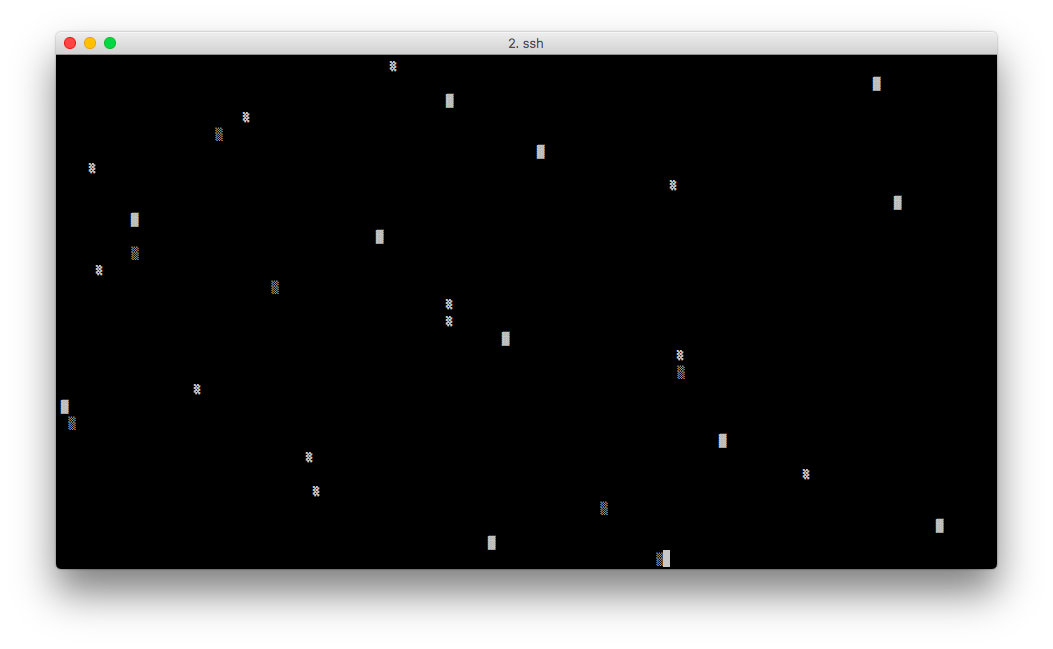
Drawing on the terminal window using ASCII characters has always fascinated me. In this article, I'll explore the process of learning how to do that. Also, I'll share what I'm learning, so we can learn together as we go. I also hope to help you gain an appreciation for all of the wonderful libraries out there. They were made by some amazing people, and they empower developers to do some wild things.
Yes, I'm very excited about the terminal window! 😀
And these are the terminal libraries make me blush: ☺️
High-level concept
Before we get into coding, we need to understand the idea of drawing on a terminal window. This will give us a frame of reference to understand how to go about it, and then better understand the example code in the repo.
For starters, "Readline" is the NodeJS module that allows you to manipulate the screen. As you can see, the API is very basic. You might think that it’s because someone doesn’t care about this module, but the reality is that there isn’t much to do in a terminal window.
Basically, you can only move the cursor on the X or Y axis, and you can only print a character (or set of characters) from the position of the cursor. That's it. You can’t even read what's on the screen. You only have access to what comes from the user input. But if there's stuff on the screen that you would like to get to, you can’t.
And this is an important piece of information that nobody talks about or cares to explain (maybe it is obvious, but it wasn't for me in the beginning) . It took me a while to understand how the terminal window works and change my assumptions about it. Those assumptions were causing me to think about this topic in the wrong way.
One char at a time
Here's another important concept to understand: Drawing on the screen happens one character at a time. Meaning that you move the cursor to a position, print out that char, move the cursor to the next position, draw a char, etc.
Side Note: This is also how regular screens work, but not limited to camera sensors, LED Matrix, etc. There is no way to instantly show a full image on the screen or take everything in one go (camera sensor). You could with a FPGA, but that's a topic for a different time.
How do I know what's on the screen?
This works in the same way a computer screen does: it works from what’s in memory, and not how the pixel is set. This means that to display an image on the screen, you need to first draw it in memory. From there, you send the image to the screen. You can’t physically ask the LCD driver to tell you what color pixel 1337x1337 is. An LCD driver is only capable of setting a pixel; it can't read from it. The same goes for the terminal window. You can set a char on the screen, but you can’t ask the terminal about it. The only way to see what's set where is to create an array where you store all the characters that you want to draw on the screen.
With all of this said, I hope you now have a nice frame of reference. If so, let’s do some coding.
Time to code
Efficiency
As you can imagine, redrawing the whole screen just to change a bunch of “pixels” isn't the most efficient way to go about doing this. Simply updating the section of the screen that changed is a much better solution. And now we're getting into the realm of the complicated. The people who made the framework and modules mentioned above have my gratitude, because those modules have implemented all the tricks needed to draw in the terminal screen the right way. You don’t have to think about it, and that allows you to just focus on your project.
Readline is not a perfect module
It's worth remembering that bugginess is a downside of working with Readline. Sadly, the module has code that doesn't do what it's supposed to do. This link will take you to an explanation of one issue that I've run into: Readline in NodeJS is drawing unwanted lines. This is why the _insertString function is replaced in each example at the beginning of the file.
This is definitely something to keep in mind if you plan to do something more ambitious with Readline.
To sum it up
I hope that you've learned something fun as you've read this article, and that you’ll have fun playing with Readline in NodeJS. You can apply what you've learned here to electronics, and turning LED on or off on a LED matrix. The same rules apply, so you can test ideas in the terminal before you start working on your hardware project for example. But remember: In the same way that NodeJS offers cool frameworks, there are equivalent frameworks for Arduino and other similar platforms. Epic developers put lot of time into making those frameworks flexible and easy to use. But at least know we understand the basic idea behind drawing on the screen.
The End
If you enjoyed this project, please consider giving it a 🌟. And check out my GitHub account, where you'll find additional resources you might find useful or interesting.
Sponsor 🎊
This project is brought to you by 0x4447 LLC, a software company specializing in building custom solutions on top of AWS. Follow this link to learn more: https://0x4447.com. Alternatively, send an email to [email protected].
Metadata
Owner
Metadata
⌨️ How to manipulate the terminal window using NodeJS