DjangoTailwindTemplate
 DjangoTailwindTemplate copied to clipboard
Django Starter Project, including TailWindCSS and all other useful modules
![]()

This project is still in its early stages of development. Any contributions to the repo is very welcomed. :white_heart:
Django Starter Project, Including TailWindCSS and all other useful modules used in my projects.
:toolbox: Features
- Django 4.0 & Python 3.10
- Styling with TailWindCSS
- Complete user authentication (Log-in/Log-out, ...) via Django Allauth
- Static file combine with Django Compressor
- Strict separation of settings from code by using Python Decouple
- TailWind-styled crispy forms via Django Crispy Forms
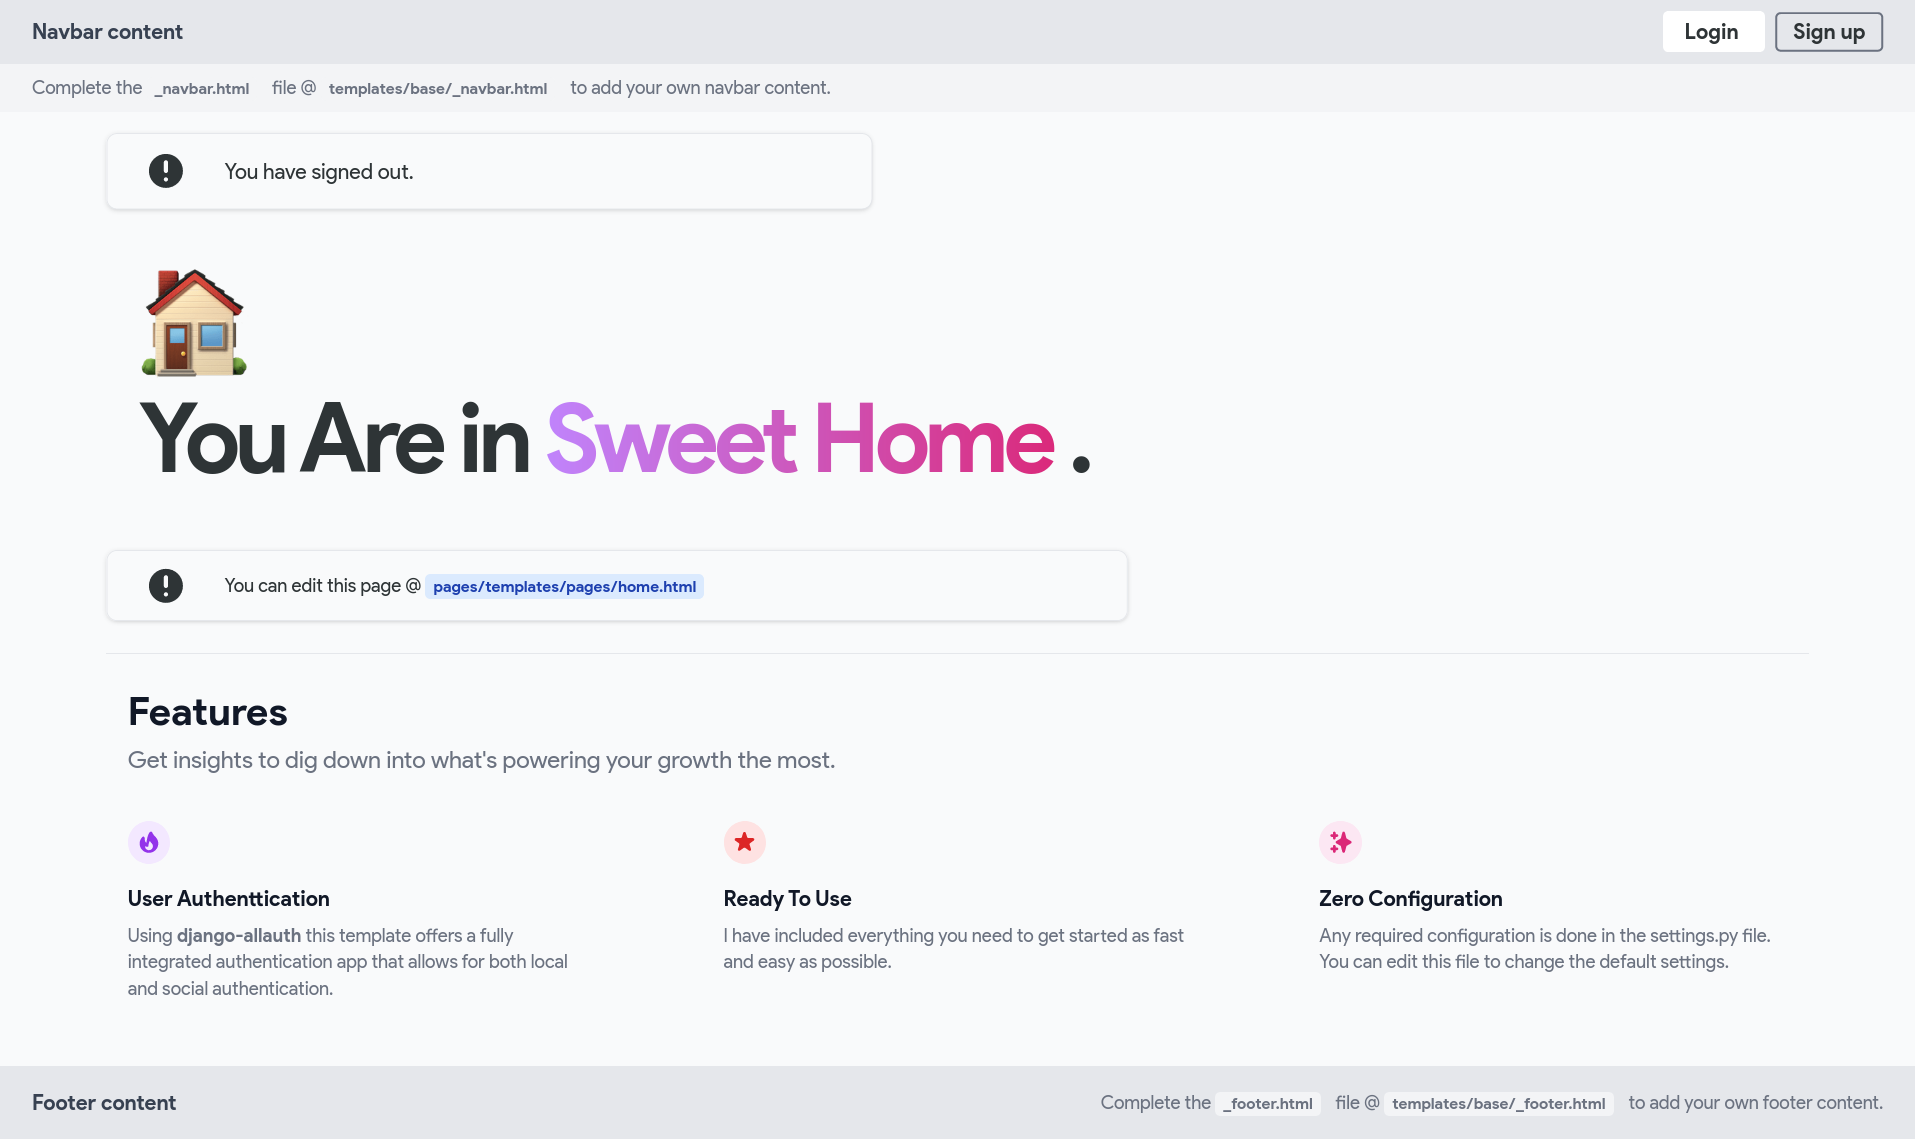
:film_projector: Demo
:scroll: How to Run
Clone the repository and follow the steps bellow:
1. Create a new virtual environment .venv for your project
virtualenv .venv && source .venv/bin/activate
2. Install the requirements
python3 -m pip install -r requirements.txt
python3 manage.py tailwind install
3. Create both ./config/local_settings.py and .env files and write the following contents in them
touch ./config/local_settings.py && touch .env
# local_settings.py
DEBUG = True
ALLOWED_HOSTS = []
Generate a new Django SECRET_KEY using Djecrety and paste it in the .env file in the root path of the project as follows
SECRET_KEY=<COPIED SECRET_KEY HERE>
4. Create an application
Create a new Django app in your project
python3 manage.py startapp myapp
Append your local application to
INSTALLED_APPSinsidesettings.py
Create your URL, Template and views
You can extend your templates from base/_base.html
5. Migrate :butterfly:
You need to create migration files (if you have any changes in your
models) and run migrate command to apply them.
python3 manage.py makemigrations
python3 manage.py migrate
6. Run your local server
Start TailWindCSS by running the following command in your terminal:
python3 manage.py tailwind start
Then you simply need to run Django's local server:
python3 manage.py runserver
7. Start Exploring :rocket:
That's all you need to do for having a ready-to-develop Django project with some :battery: included.
:question: How to use Crispy Forms
Current version (crispy-tailwind/0.5) allows the |crispy filter to be used to style your
form. In your template:
- Load the filter:
{% load tailwind_filters %} - Apply the crispy filter:
{{ form|crispy }}
You can also use the {% crispy %} tag to allow usage of crispy-forms'
FormHelper and Layout. In your template:
- Load the crispy tag:
{% load crispy_forms_tags %} - Add
FormHelperto your form and use crispy-forms to set-up your form - Use the crispy tag
{% crispy form %}in your template
Visit Crispy Forms Documentation and crispy-tailwind repository for more information.
:rainbow: Next Steps
- Add gunicorn as the production web server.
- Update the EMAIL_BACKEND and connect with a mail provider.
- Make the admin more secure.
django-allauthsupports social authentication if you need that.
:tickets: Contributing
Contributions, issues and feature requests are welcome! See CONTRIBUTING.
:star2: Support
Give the repository a :star: if you found it helpful please.
:shield: License
This project is being licensed under the MIT License.
:paperclip: Links
- I recommend you to have a :eyes: at DjangoX, one of the best starter project repos for Django. This repository uses Bootstrap and inspired me to create what you are looking at now.