webflow-nft-components
 webflow-nft-components copied to clipboard
Connect web3 to Webflow without coding skills
Webflow NFT widgets
Connect web3 to Webflow without coding skills required.
Donate on Gitcoin if you like this mint button widget ❤️🔥
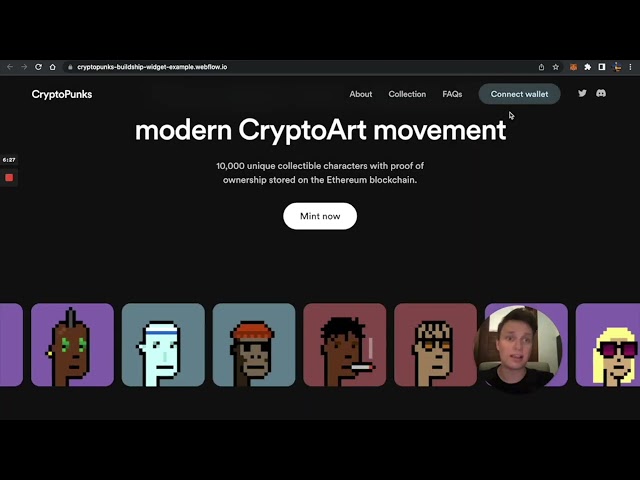
Lazy mint on Webflow

Video guide
Starting out
This widget allows minting NFTs on your website.
To start, you need an Ethereum NFT contract. Create it via Buildship app, or test with an example contract.
MetaverseNFT contract by buildship.xyz is used by 40+ collections with 1000ETH+ in total volume. It features 40% lower mint gas fees, costs ~100$ in gas to deploy, bullet-proof security and extensions like presale lists, mint passes, etc.
How to use?
- Open Webflow website editor
- Create a new Embedded HTML code block (at least Basic site plan required)
- Copy & paste this code in Webflow Embed block
<script>
   CONTRACT_ADDRESS = "YOUR CONTRACT ADDRESS HERE"
   IS_TESTNET = false
   MAX_PER_MINT = 20
   // if your contract is NOT VERIFIED on Etherscan
   // put here: CONTRACT_ABI = [{...}]
   // don't do anything if unsure
</script>
<script src="https://nftcomponents.vercel.app/static/js/main.js"></script>
<link href="https://nftcomponents.vercel.app/static/css/main.css" rel="stylesheet">
-
If you have your Ethereum NFT contract
✅ insert your contract address in
CONTRACT_ADDRESSfield✅ set
IS_TESTNETtofalseortruedepending on which network is the contract on:Ethereum MainnetorRinkeby Testnet.✅ make sure it fits requirements from Custom smart contract requirements
If you don't have a contract, create it via Buildship app
Your contract should be verified on Etherscan. Otherwise you have to add
CONTRACT_ABI = [{...}]line in the above code, with your full contract ABI inserted. If you have an error saying your ABI is too long, click here.
- Create a button with ID
mint-buttonon your Webflow site
On the left side, press Add and find Button

Select your button, then on the right side, set Button id to mint-button

If you can't set an ID, you can set a button URL as mint-button or https://<your-website-url>/#mint-button
- You're done 🎉
Custom smart contract requirements
If you are using Webflow widget with a contract not deployed via https://app.buildship.xyz, it has to be:
- verified on Etherscan
- public
pricemethod outputting price in wei. It could be namedprice,costorgetPrice - public
mintmethod acceptingnTokensas parameter. Alternative names:mint,mintNFTorpublicMint
If your contract doesn't fit the requirements, you can fork this repo and open a PR. Vercel will automatically deploy and build your PR and you'll be able to use the changed version.
Here's the file that handles price and mint: src/mint/web3.js
Example for testing
<script>
   CONTRACT_ADDRESS = "0x8Fac2e25DFF0B248A19A66Ae8D530613c8Ff670B"
   IS_TESTNET = true
   MAX_PER_MINT = 20
</script>
<script src="https://nftcomponents.vercel.app/static/js/main.js"></script>
<link href="https://nftcomponents.vercel.app/static/css/main.css" rel="stylesheet">
FAQ
I'm confused / it's not working, can you help me?
Yes, absolutely! You can contact us in Discord, or open a GitHub issue
How to add "Connect wallet" button?
Mint button will ask to connect wallet, so it's not necessary to add a "Connect wallet" button.
If you still want to do it, create a Webflow button with ID connect.
How to add a custom minted counter?
Just create two text elements and assign them:
minted-counterID to display minted numbertotal-counterID to display collection size
How to use this with Polygon, Binance, or other Ethereum-based networks?
It's easy! Set NETWORK_ID instead of IS_TESTNET in the code snippet
<script>
   CONTRACT_ADDRESS = "YOUR CONTRACT ADDRESS HERE"
   NETWORK_ID = 1
   // remove IS_TESTNET line
   ...
</script>
<script ...>
<link ...>
Some of the network IDs you might use:
- Ethereum Mainnet:
NETWORK_ID = 1 - Ethereum Rinkeby Testnet:
NETWORK_ID = 4 - Polygon:
NETWORK_ID = 137 - Binance:
NETWORK_ID = 56 - For other IDs visit Chainlist
How to style minting dialog?
How to hide minted counter from the dialog?
You need to set DEFAULTS.hideCounter to true
<script>
   CONTRACT_ADDRESS = "YOUR CONTRACT ADDRESS HERE"
   NETWORK_ID = 1
   DEFAULTS = {
       hideCounter: true
   }
   ...
</script>
<script ...>
<link ...>
What's all available customization?
Here's a list of all available parameters for customization. If you need help with this, message us in Discord
<script>
   CONTRACT_ADDRESS = "YOUR CONTRACT ADDRESS HERE"
   CONTRACT_ABI = []                   // needed for non-verified contracts only
   NETWORK_ID = 4                      // defaults to 1: Ethereum network
   IS_TESTNET = true                   // true defaults to 4: Rinkeby network
   MAX_PER_MINT = 5                    // max value of NFT quantity slider in the modal, default is 20
   DEFAULTS = {
      labels: {
          walletConnected: "Wallet connected", // label for wallet connected button
      },
      hideCounter: false,              // hide minted counter from the dialog. Default: true
      contractMethods: {
         mint: "myCustomMintMethod"    // defaults to "mint" or "publicMint"
      },
      publicMint: {
          price: 0.1                    // defaults to none, fetched automatically from smart-contract
      }
   }
   STYLES = {
      theme: "light",
      backgroundColor: "#ffffff",
      primaryColor: "#2986CC",
      primaryTextColor: "#1f1f1f",
      secondaryTextColor: "#9e9e9e",
      buttonTextColor: "#ffffff",
      corners: "rounded"
   }
</script>
Do you collect any data?
Anonymous data collected using Amplitude, so we can know how many users the widget has. The only thing we collect is website URL. If you want to opt out, set
<script>
...
DEFAULTS = {
   analyticsOptOut: true
}
...
</script>
Can I add my own custom analytics?
Check out this guide: https://github.com/buildship-dev/webflow-nft-components/wiki/Custom-Analytics
Free Template
If that instruction was too complicated, check out our free clonable NFT website templates for Webflow
Roadmap
- [x] Fix issues with WalletConnect on mobile
- [x] Support for Coinbase Wallet
- [ ] Native support for Ledger
- [ ] Support for Magic Wallet
- [ ] Support for gasless mints
- [ ] Support for buying with credit card: MoonPay / CrossMint
- [ ] Support for Via Cross-Chain widget
- [ ] Support for token-gating
- [x] Better guide for Wix
- [ ] "Disconnect wallet"
- [ ] View wallet's NFTs via rainbow.me
- [ ] Migrate to ethers.js
Contributing
Fork the repo and clone it
git clone https://github.com/buildship-dev/webflow-nft-components.git
Install dependencies with yarn (node v14+ required)
yarn install
Start server on localhost:3000
yarn start
Push changes, open a PR in our repo, and you'll be able to test your changes immediately on nftcomponents-git-your-branch-name.vercel.app.
Leave a message in our Discord to discuss & review your PR faster!
Metadata
Owner
Metadata
Connect web3 to Webflow without coding skills