fernfolio-11ty-template
 fernfolio-11ty-template copied to clipboard
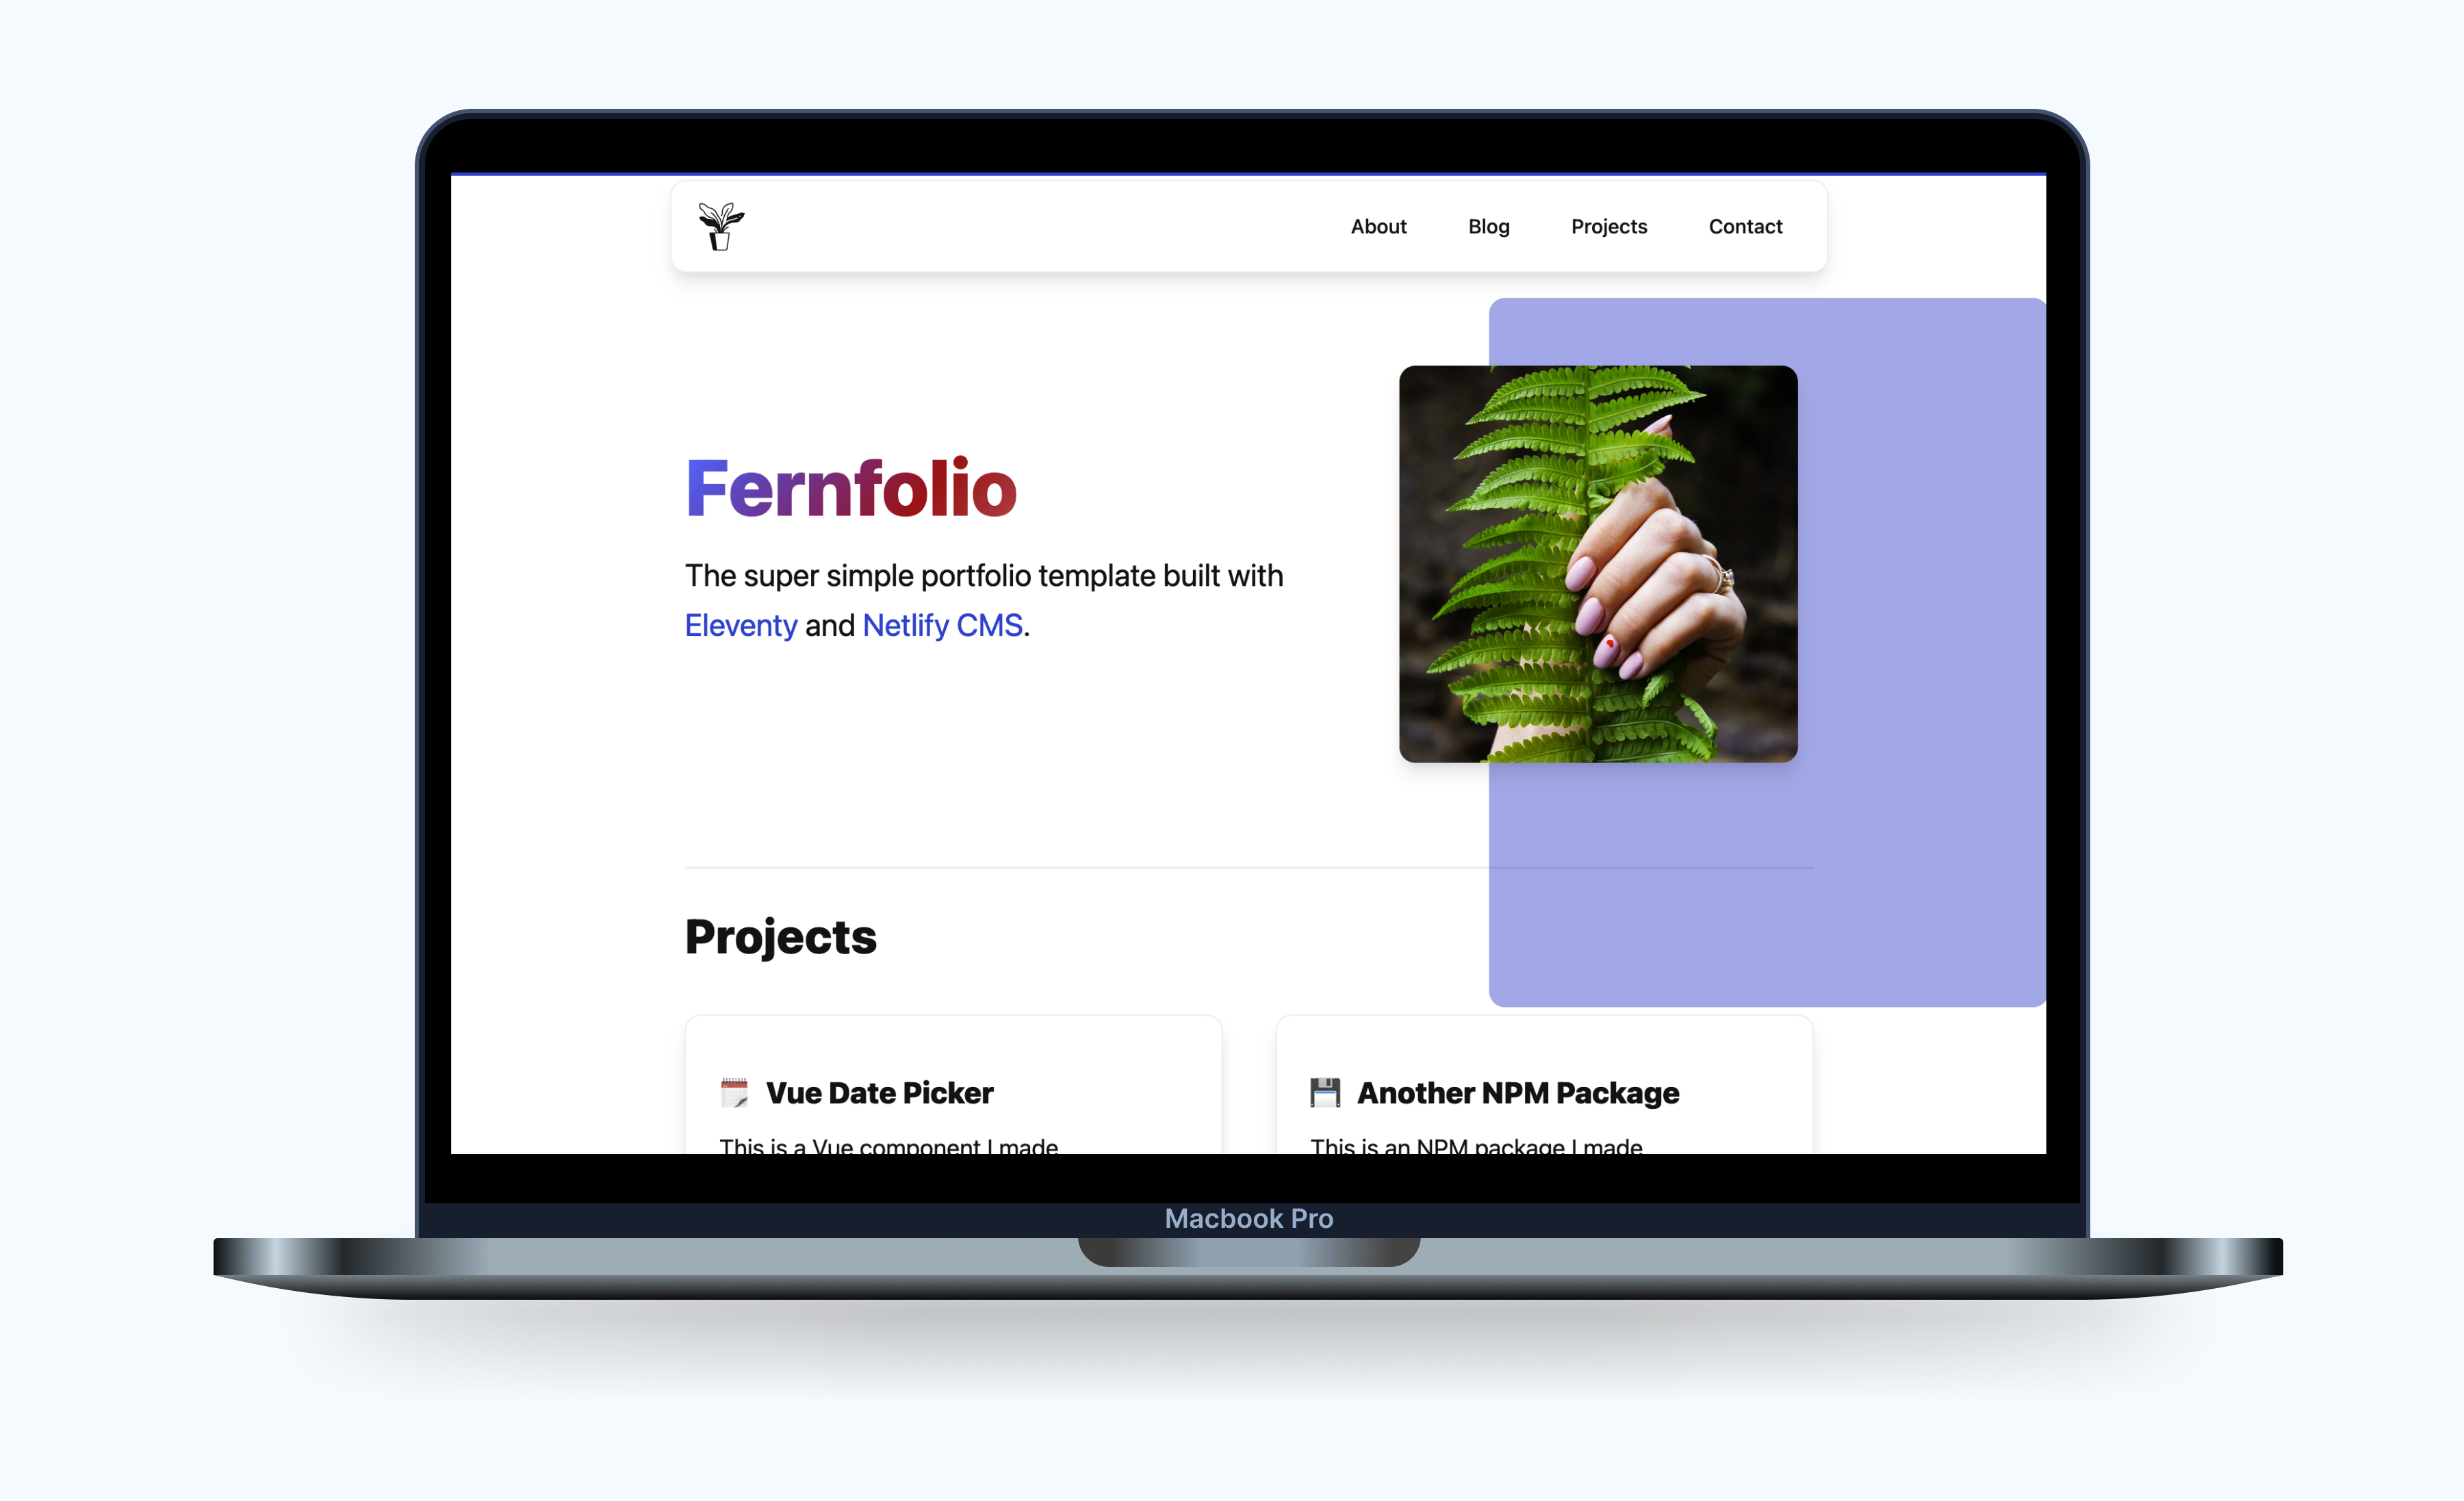
The super simple portfolio template built with Eleventy and Netlify CMS
Fernfolio — An 11ty Portfolio Template
Launch your personal portfolio in minutes and modify content without opening a code editor!

🖥 Demo
🤔 What is this?
An Eleventy theme designed to simplify the process of creating a beautiful portfolio and blog. Tightly integrated with Netlify CMS for flexible, Git-powered content management.
✨ Features
- Deep integration with Netlify CMS. Modify content without opening a code editor.
- Customizable blog and project pages with tag support
- Working contact form powered by Netlify Forms
- Fast page speeds and high lighthouse scores
- Uses Markdown for content files and Nunjucks for layouts
- 100% Javascript framework free
- SCSS support with sane base styles
- Continuous Deployment workflow via Netlify
- Responsive images generated at build time
- Minified HTML with HTMLMinifier
- Minified CSS with cssnano
- Turbolinks integration to enable instant navigation without page refresh
- Useful Nunjuck filters built in
🚀 Quick Start
1. Click the "Deploy to Netlify" button below
This will clone this repo to your github account and will deploy a copy of the demo website to your Netlify account (you can create an account during this process if you don't have one).
2. Setup authentication
After deploying this project, Netlify Identity will add you as a CMS user and will email you an invite. Open that email, hit the "Accept the invite" link, and that should redirect you to the deployed site. From there, you can add your password to finish user setup.
3. Edit some content
Now that you are added as a CMS user, add /admin to the end of your site url, refesh the page, and log in using your new credentials. You should now see the content dashboard. Now you can start editing content!
Any changes saved in the CMS will trigger a git commit in your repo. That new commit will then trigger an auto-deployplent on Netlify.
🏠 Local Development
If you want to test things locally before deploying, follow the steps below:
- open your terminal
- Clone the repo locally
git clone https://github.com/TylerMRoderick/fernfolio-11ty-template.git - Navigate to root folder:
cd fernfolio-11ty-template/ - Install the goods:
npm install - Run it:
npm start - You should now be able to see everything running on localhost:8080
💻 Development Scripts
npm start
Run 11ty with hot reload at localhost:8080
npm run build
Generate minified production build
Use this as the "Publish command" if needed by hosting such as Netlify.
💡 Dark mode
To enable switching from light to dark mode, global.json has some settings:
enable_theme_switch: set totrueif you want your visitors to be able to switch themedefault_theme: set todarkor another value (which always meanslight)use_system_theme: set totrueif you want the system preference to be enforced
🎩 Common issues
If you change the repo that was created at deploy time from public to private, you'll need to regenerate your token, as the token generated using the deploy to Netlify button can only access public repositories. To regenerate your token, head to "Settings" in your Netlify site dashboard, go to the "Identity" section, then scroll to "Services" where you'll see an "Edit settings" button. Click that and you'll see a text link to "Generate access token in GitHub".
🗣 Bug reports, feature requests, etc.
This is a fun side project for me and I always welcome questions/comments. If you run into any problems or have a feature request, please open an issue. I try to read every one and will gladly assist you whenever possible.
Credit
This project was originally forked from eleventy-netlify-boilerplate, but completely revamped to match the needs of a modern porfolio.
