violet_rails
 violet_rails copied to clipboard
Guide: Plugin Development
Introduction
With the help of plugin, we add new desired functionality in our existing system. In Violet Rails, we achieve this with External API Connection.
External API Connection is a part of our API data pipeline which is composed of following entities;
API NamespaceAPI ResourceAPI FormAPI ActionAPI ClientExternal API Connection
To learn further about these entities, see here.
Plugin Body
In External API Connection, we define a class in model_definition field which does our required job. By default, a boilerplate code is provided in the model_definition field.

The plugin is basically a class. Two of the methods which is required are;
-
initialize: In here, we initialize the things we need. In the above image, you can observe an instance variable@external_api_clientis defined, which points to theExternal API Connectionyou are working on. To know more about how this functions, see here. -
start: In here, we are supposed to write the working mechanism of ourplugin. You can see here which implements a basic plugin to send HTTP request to a defined url.
Apart from these 2 (must have) methods, you can also define other private methods to further simplify and refactor your plugin.
Plugin Inputs
For providing inputs to our plugin, we use metadata field of External API Connection. The provided value is accessed by following way;
attribute_name = @external_api_client.metadata[ATTRIBUTE_NAME]

The above image is from SyncAttributeToApiNamespace Plugin. To learn further more about this, see here for reference.
NOTE: As of now, we cannot provide files as input to our External API Connection
Installing Plugin over the deployed violet-rails app
-
Select an
API Namespaceor create a new one over which the plugin is intended to be installed from api-namespaces page. (example: violet-rails.com/api_namespaces) -
Select the
Connectionstab.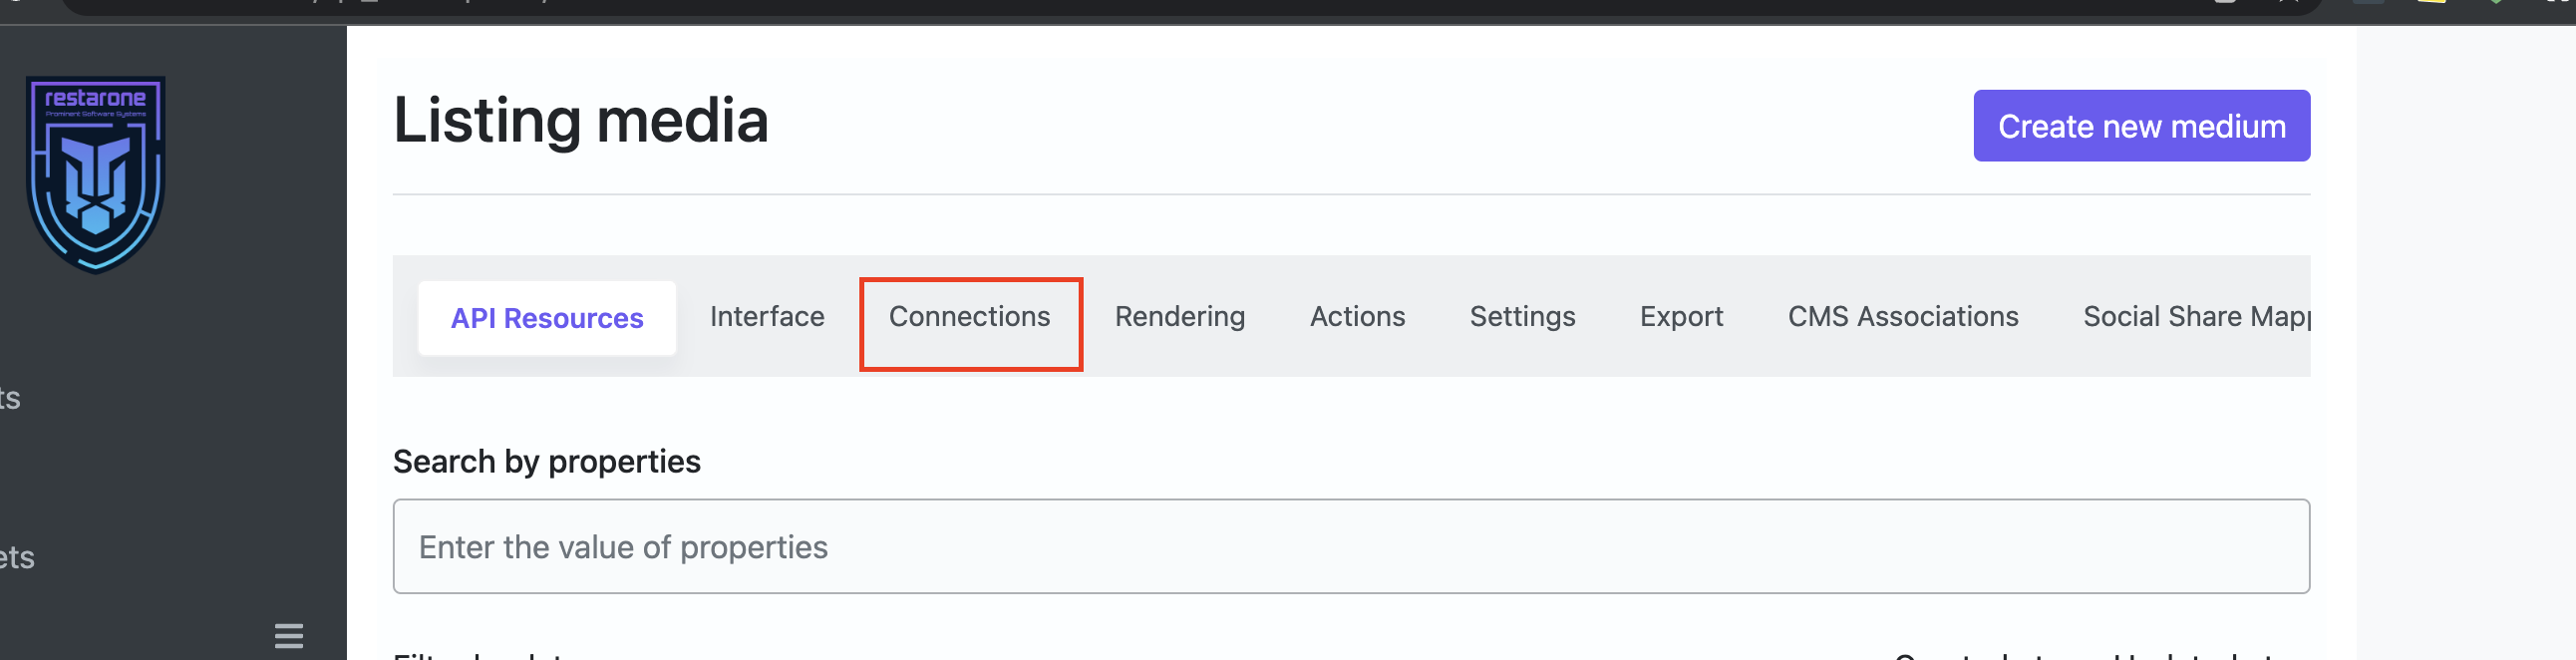
-
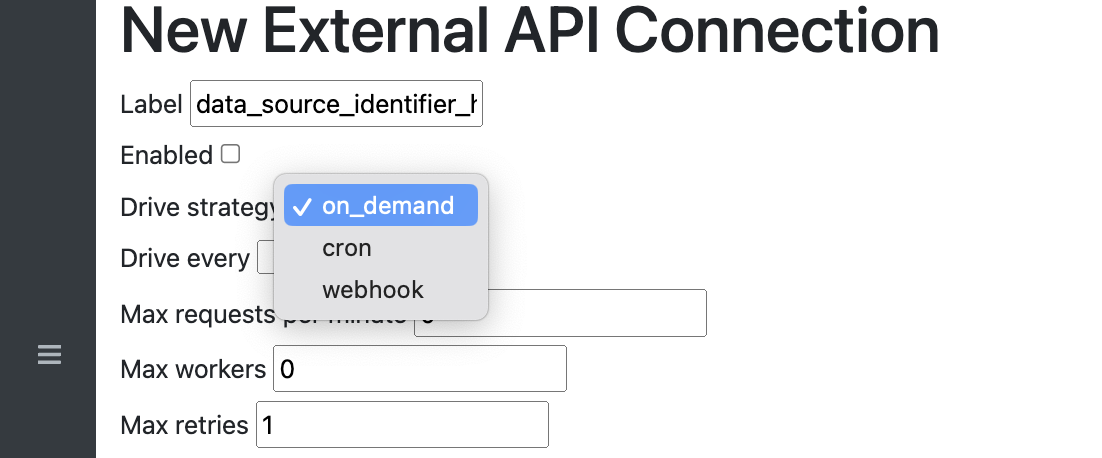
Click on
New External API Connectionwhich will open the following page -
Provide new plugin's
model_definition,drive_strategyand other details. -
Check the
enabledcheckbox to enable the plugin. -
Provide the necessary inputs through
metadatafield. -
Save the plugin
Triggering Plugin
Plugins in violet rails can be triggered using webhook or cron-job or on-demand basis.
To know more about how these are triggered (working mechanism), see below;
- on-demand: see here (search for
startaction) & see here (search forrunmethod) - cron-job: see here (search for
self.cron_jobsmethod) - webhook: see here (search for
webhookaction)
Unlimited runtime for Plugin (External API Connection)
For plugins with on-demand and cron-job strategy, such plugins have unlimited run-time since they are executed using sidekiq's job (ExternalApiClientJob).
see here
When the Plugin raises error
If an exception is raised during the execution of plugin, the plugin is re-run a number of times defined as per its max_retries. If it still fails, the error-message and its backtrace are saved.
Shipping newly developed Plugin
- The newly developed plugin should be saved as a new fixture file inside
test/plugin_fixtures/folder. see here - Import the new fixture file in external_api_clients.yml file. see here (search for
Specific plugins are moved to its separate files.comment) - The different dependent records specific to the new plugin should also be moved inside
test/plugin_fixtures/dependencies/[record-type]/folder. see here - Add detailed test cases for your
Plugin. see here - Create a documentation (Github Issue) for your plugin. Reference
NOTE: Whenever the plugin is updated, the plugin author needs to update this documentation as well.
Notes on breaking down fixture file (yml files)
-
All the broken-down yaml files are put under
test/plugin_fixturesinstead oftest/fixturesdue to following reasons;- Rails does not allow multiple fixtures per model. So, we are basically breaking the main fixture file into smaller bits to prevent the main file from getting overcrowded. see here
- By default, the system will load the fixtures form
test/fixtures/. If the broken-down yaml files are put insidetest/fixtures, it will throw error as it violates with rails' single fixture file per model. see here
-
If the file does not contain any embedded ruby code, it can be imported over its parent fixture file by following way; reference
<%= IO.read(Rails.root.join [PATH_TO_FIXTURE_FILE]) %> -
If the file contains embedded ruby code, it should be imported over its parent fixture file by following way; reference
<%= ERB.new(IO.read(Rails.root.join [PATH_TO_FIXTURE_FILE])).result %>
a few things to add/surface:
- External API Connections have an unlimited run-time
- Errors are handled automatically: the connection is stopped, error metadata is captured (if any), and the error trace is emailed to admins
- using the API Renderer you can create a UI for your Plugin
- plugin install is done via the Web console. Plugin authors need to maintain their installation script. See example: https://github.com/restarone/violet_rails/wiki/API-Namespace-plugin:-subdomain-events-V1#installation
How to access files from External API Connections?
In the example below, we upload a CSV file under Files and use the web console to run the following Ruby code:
Apartment::Tenant.switch('crm') { file = Comfy::Cms::Site.first.files[1] ; csv_string = file.attachment.download ; headers = CSV.parse(csv_string)[0] }
we see the following output-- with the CSV headers (if formatted with headers):
["id", "api_namespace_id", "ack", "email", "has_flu", "full_name", "phone_number", "covid_contact", "has_travelled", "contact_travelled", "created_at", "updated_at", "user_id"]
to do the same, in your External API Connection, you can use the following code:
class ExternalApiConnection
  def initialize(parameters)
    @external_api_client = parameters[:external_api_client]
  end

  def start
    Comfy::Cms::Site.first.files.each do |file|
       csv = file.attachment.open(&:first).parse_csv
        api_resource = @external_api_client.api_namespace.api_resources.create(
          properties: {
            status: "pending",
            headers: csv,
          	file_name: file.attachment,
          }
        )
    end
  end
end

ExternalApiConnection
the above code assumes you have configured your API Namespace to look something like this: