chatGPT-discord-bot
 chatGPT-discord-bot copied to clipboard
Integrate ChatGPT into your own discord bot
ChatGPT Discord Bot
Build your own Discord bot using ChatGPT
Warning According to OpenAI's latest announcement, using unofficial API may result in the ban of your account. Please assess the risks yourself
2023-03-03 Update: Official GPT-3.5 model
2023-02-25 Update: Website ChatGPT model
2023-02-08 Update: ChatGPT API is highly unstable now
Features
/chat [message]Chat with ChatGPT!/privateChatGPT switch to private mode/publicChatGPT switch to public mode/replyallChatGPT switch between replyall mode and default mode/resetClear ChatGPT conversation history/chat-modelSwitch different chat model- Modifying the
CHAT_MODELfield in the.envfile change the default model OFFICIAL: GPT-3.5 model(paid model)UNOFFICIAL: Website ChatGPT (free model)
- Modifying the
Chat
Mode
-
public mode (default)the bot directly reply on the channel
-
private modethe bot's reply can only be seen by the person who used the command
-
replyall modethe bot will reply to all messages in the server without using slash commandsWarning The bot will easily be triggered in
replyallmode, which could cause program failures
Setup
Critical prerequisites to install
-
run
pip3 install -r requirements.txt -
Rename the file
.env.devto.env
Step 1: Create a Discord bot
-
Go to https://discord.com/developers/applications create an application
-
Build a Discord bot under the application
-
Get the token from bot setting

-
Store the token to
.envunder theDISCORD_BOT_TOKEN
-
Turn MESSAGE CONTENT INTENT
ON
-
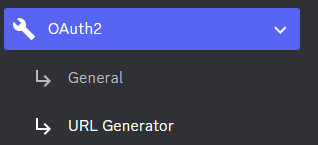
Invite your bot to your server via OAuth2 URL Generator
Step 2: Official API authentication
Geanerate an OpenAI API key
-
Go to https://beta.openai.com/account/api-keys
-
Click Create new secret key

-
Store the SECRET KEY to
.envunder theOPENAI_API_KEY -
You're all set for Step 3
Step 2: Website ChatGPT authentication - 2 approaches
Email/Password authentication (Not supported for Google/Microsoft accounts)
-
Create an account on https://chat.openai.com/chat
-
Save your email into
.envunderOPENAI_EMAIL -
Save your password into
.envunderOPENAI_PASSWORD -
You're all set for Step 3
Session token authentication
-
Go to https://chat.openai.com/chat log in
-
Open console with
F12 -
Open
Applicationtab > Cookies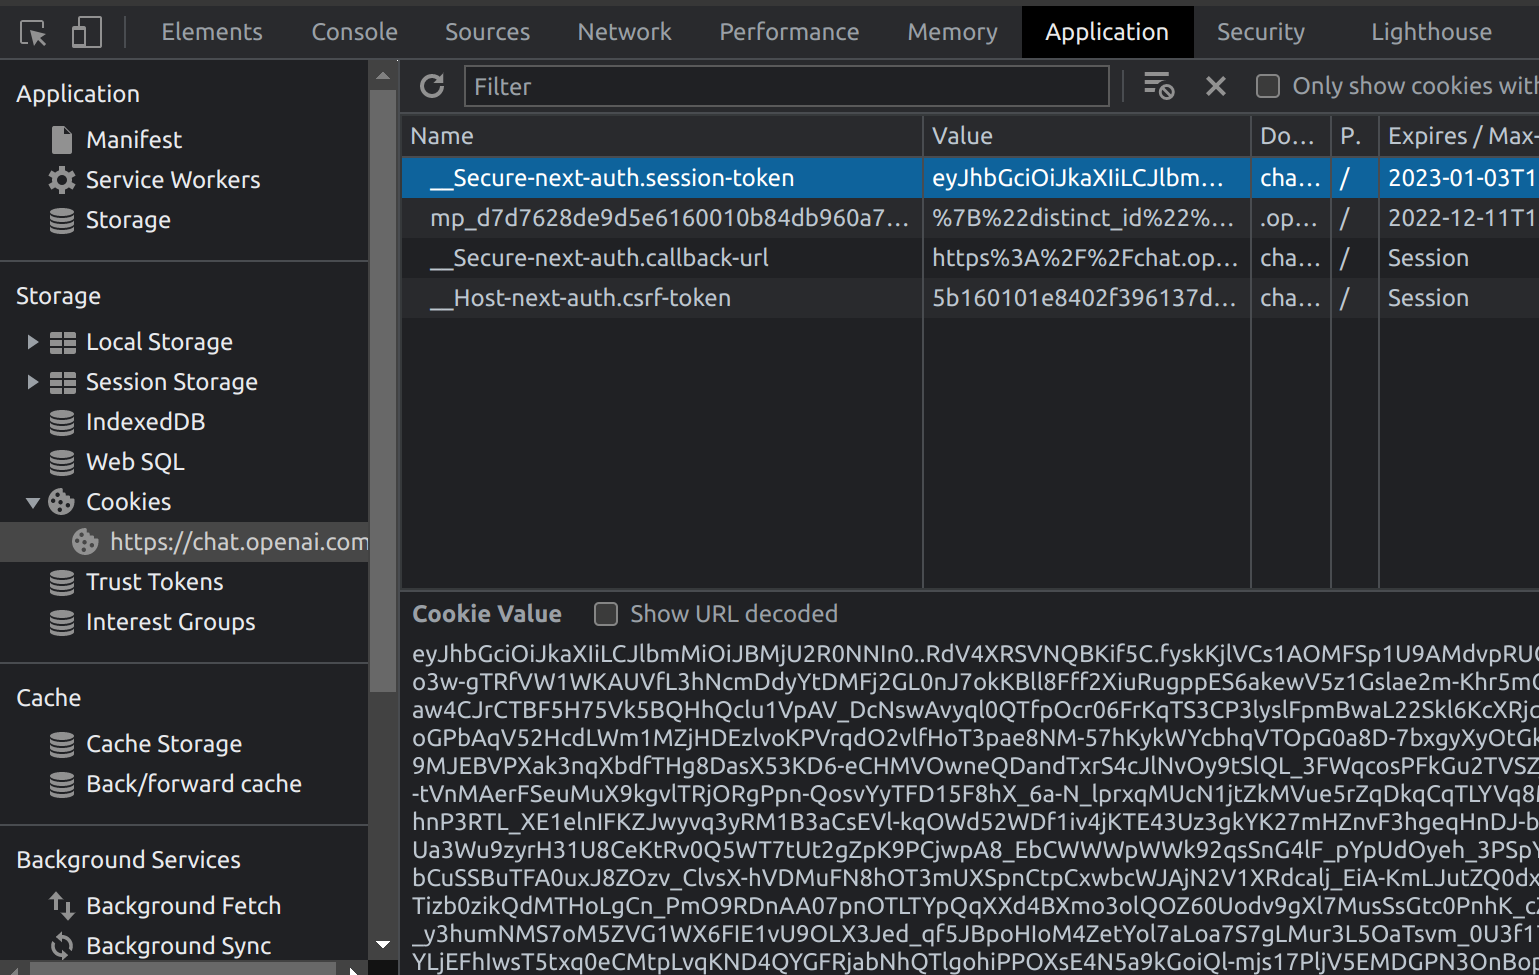
-
Copy the value for
__Secure-next-auth.session-tokenfrom cookies and paste it into.envunderSESSION_TOKEN -
You're all set for Step 3
Step 3: Run the bot on the desktop
-
Open a terminal or command prompt
-
Navigate to the directory where you installed the ChatGPT Discord bot
-
Run
python3 main.pyto start the bot
Step 3: Run the bot with Docker
-
Build the Docker image & Run the Docker container
docker compose up -d -
Inspect whether the bot works well
docker logs -t chatgpt-discord-botStop the bot:
docker psto see the list of running servicesdocker stop <BOT CONTAINER ID>to stop the running bot
Have a good chat!
Optional: Disable logging
- Set the value of
LOGGINGin the.envto False
Optional: Setup starting prompt
-
A starting prompt would be invoked when the bot is first started or reset
-
You can set it up by modifying the content in
starting-prompt.txt -
All the text in the file will be fired as a prompt to the bot
-
Get the first message from ChatGPT in your discord channel!
-
Right-click the channel you want to recieve the message,
Copy ID
-
paste it into
.envunderDISCORD_CHANNEL_ID
-